

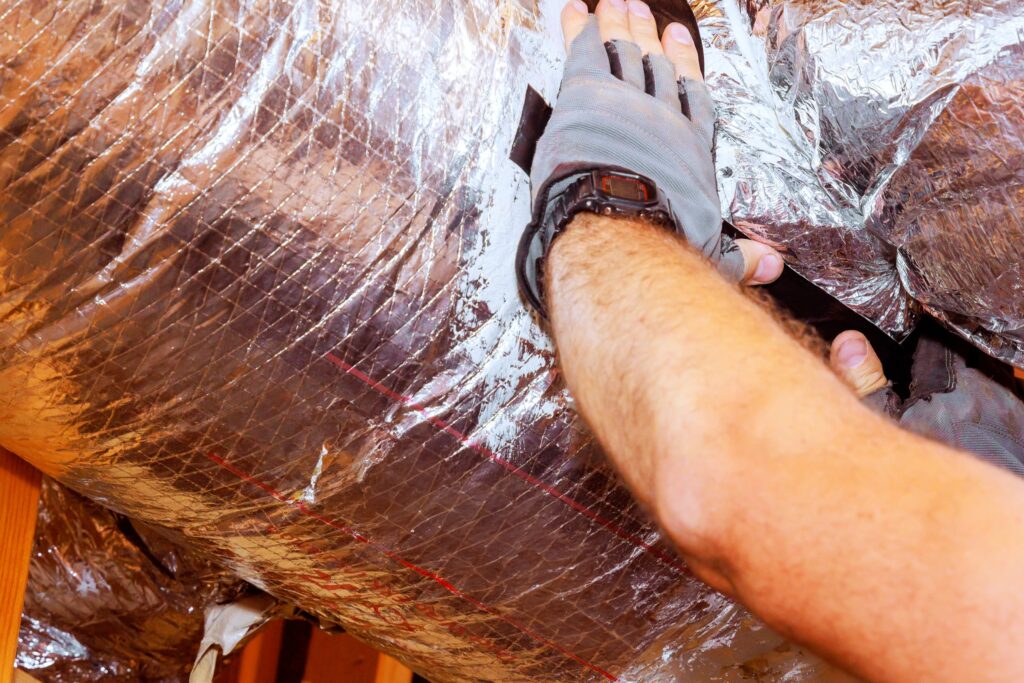
Duct Boot Sealing – Stop Ceiling Gaps From Leaking Air
Key Takeaways About Duct Boot Sealing
Duct boot sealing closes gaps where a metal boot meets drywall to stop conditioned air loss and attic air intrusion. This matters for homeowners and property managers when dust streaks, odors, or uneven room temperatures appear.
- Identify dust lines and odors around ceiling registers.
- Prevent attic air from entering conditioned living spaces.
- Avoid failed seals by preparing surfaces properly first.
- Spot loose screws and damaged drywall before sealing.
- Reduce energy waste and uneven room temperatures with sealing.
- Plan professional help when attic access or drywall is unsafe.
Introduction
Gaps where the HVAC boot meets the drywall can let conditioned air leak into the attic and pull dusty attic air into living spaces. Duct boot sealing with mastic and foam targets those exact boot-to-drywall joints to stop air movement. Left unchecked, these gaps create visible dust lines on ceilings and uneven room temperatures. Homeowners notice the dust first and often blame filters or ductwork instead of the ceiling junction.
Air leakage at boots also wastes energy because the system runs longer to hold set temperatures. In some homes the problem causes rooms to feel drafty near supply registers even when the system is on. Moist attic air pushed into the house can carry dust and odors that show up around vents. For properties in North Richland Hills, TX the symptom often appears after attic work or insulation upgrades.
Sealing the boot-to-drywall joint reduces dust migration and helps the HVAC system maintain comfort more consistently. The work focuses on the thin gap where the metal boot flange meets drywall or plywood. A thorough repair also keeps attic air from short-circuiting into conditioned space. Homeowners in Trophy Club sometimes see reduced dust streaking after a proper seal.
Even when the ceiling looks intact the boot connection can leak enough air to matter for comfort and indoor air quality. A professional inspection will confirm whether dust lines and uneven temperatures come from boot leakage. Technicians will check the supply plenum, register, boot flange, and attic side for obvious gaps and airflow signs. If the inspection shows leaking boots, targeted sealing with mastic and foam is the common remedy professionals use.
What Duct Boot Sealing Is And How It Works
Duct boot sealing is the process of closing gaps where the metal boot meets drywall using mastic, foam, or both to stop air movement. A sealed boot stops attic air from entering conditioned rooms and reduces dust lines around vents. Homeowners often ask whether sealing really helps indoor air quality, and the answer is yes when gaps are the source of dust and odors. Professionals use duct boot sealing to cut invisible leaks that make rooms feel uneven in temperature.
- Mastic forms a flexible, long-lasting seal.
- Low-expansion foam fills irregular gaps.
- Mechanical fasteners hold the boot in place when needed.
- Insulation covers prevent thermal bridging at the flange.
The work typically targets the narrow boot-to-drywall joint and the boot flange on the attic side. A tech will apply mastic around the flange perimeter and then add foam where the gap is deep or irregular. Proper adhesion requires clean metal and dry surrounding drywall before material application. Sealing stops both conditioned air loss and inward leakage of attic dust and odors.
To confirm a leak, a professional will perform simple diagnostic checks like feeling for drafts with the system running. They may inspect the supply plenum, register, and boot flange from the attic side for gaps and dust trails. An infrared camera or smoke pencil helps show air movement during a live test when visible cues are unclear. After sealing, technicians often verify airflow and look for reduced dust streaking as evidence of success.
For homeowners in Trophy Club and North Richland Hills, TX this method often follows an attic inspection to find connected issues like missing insulation or loose ducts. If the boot flange is detached or the drywall is damaged around the opening, those conditions get repaired before sealing. For more extensive duct leakage beyond boots, consider professional duct sealing services such as the options described on the duct sealing services page. Properly applied mastic and foam give a durable seal that improves comfort and reduces dust migration.
Common Causes Of Gaps Around Ceiling Boots
Poor initial installation often leaves small gaps when the metal boot flange is not flush with the drywall opening. Over time, nails or screws can loosen and allow the boot to pull away slightly, creating a narrow channel for air and dust. Building settling or minor ceiling movement also opens joints that once fit tightly. In some cases, the boot sits on uneven drywall which prevents a continuous seal along the flange edge.
Mechanical damage around the ceiling cutout causes irregular spaces where foam or mastic must fill voids. Renovation work, recessed lighting installs, or attic access can nick the drywall edge and stretch the opening. Pets, stored attic items, or someone working above the ceiling may accidentally shift the boot or crush insulation near the flange. Where the drywall is crumbled or missing, standard mastic cannot adhere properly until the substrate is repaired.
Thermal expansion and contraction of sheet metal and building materials slowly worsen tiny openings every season. Metal boots and drywall expand at different rates when temperatures change, opening joints during hot afternoons and closing at night. Repeated cycles can break the initial sealant bond and let attic air push through. This seasonal movement explains why duct boot sealing sometimes appears to fail only after months or years.
Disconnected or undersized duct runs can tug on the boot and create gaps around the joint that allow attic air into the room. A technician checking airflow and system balance may perform pressure testing or review duct pressure mapping to find imbalances that stress boot connections. For homeowners in Trophy Club, this is common when ducts shift after attic work or insulation changes. North Richland Hills, TX properties with loose ducts often show dust lines that trace back to stressed boot flanges.
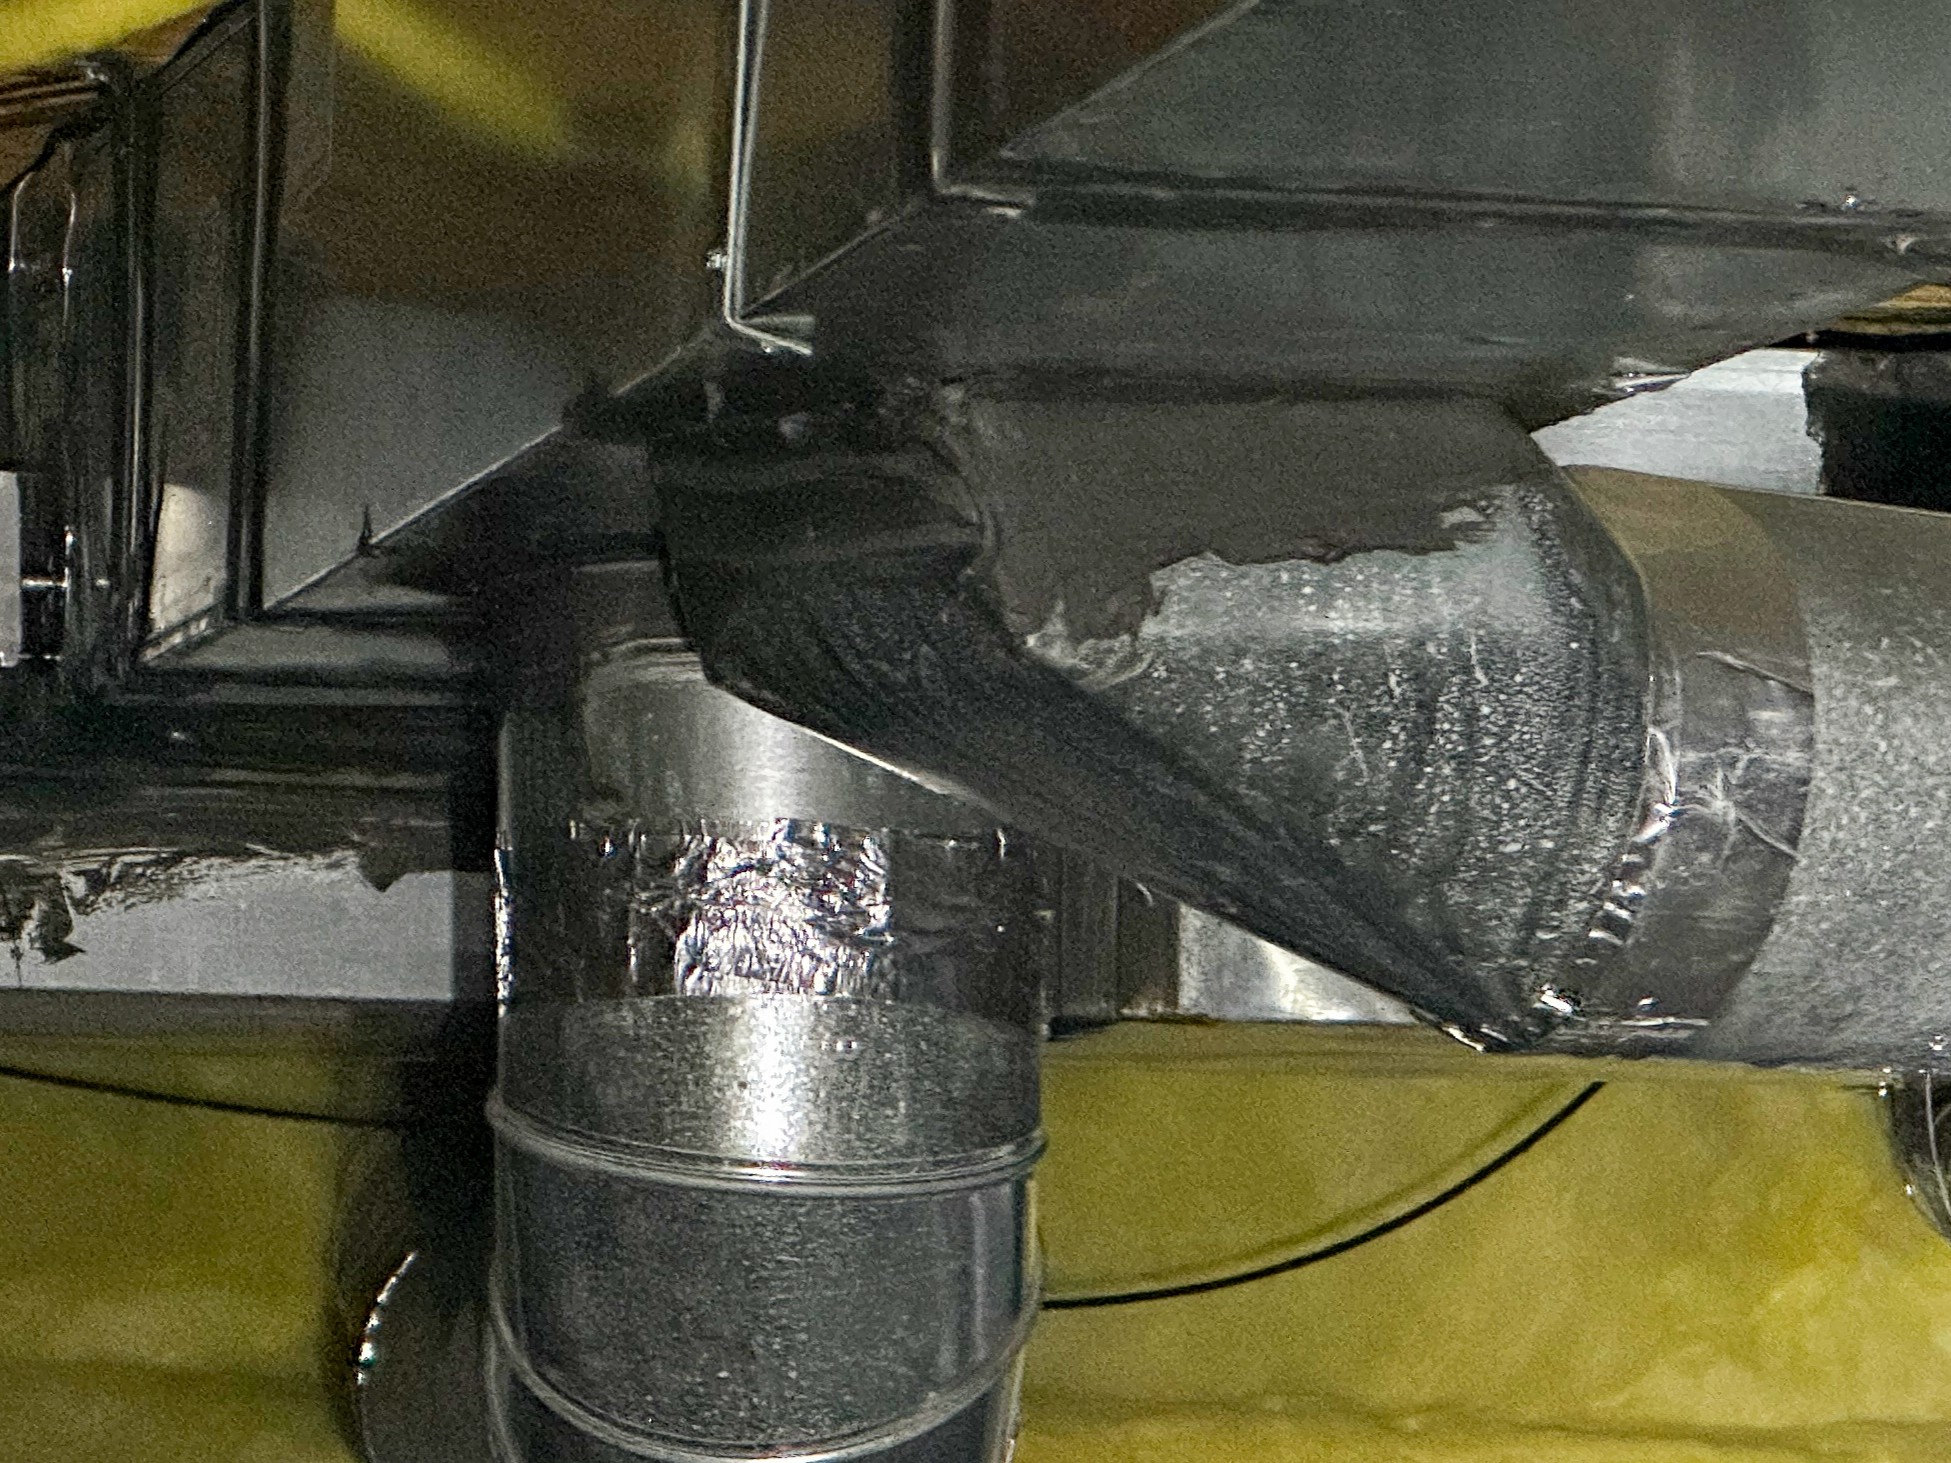
Why Air Leaks Happen At Boot To Drywall Joints
Metal fatigue and vibration at the flange create tiny fractures in paint and sealant that grow into airflow paths over time. Air moving through those cracks carries attic dust and can leave dark streaks on the ceiling around the register. A displaced screw or a strip of missing mastic often shows where the leak started and where air pressure finds the weakest spot. Technicians inspect the flange edge and probe for loosened fasteners when tracking the source of persistent dust lines.
Differences in pressure between the supply plenum and attic drive air through even hairline gaps, especially when the system cycles. If the supply plenum has higher pressure from blower activity, air pushes through any seam in the boot-to-drywall junction. Conversely, negative pressure during return runs can pull attic odors into conditioned rooms through the same openings. Professionals evaluate plenum pressure and perform simple smoke tests to confirm whether pressure-driven leakage is present.
Improperly trimmed drywall or rough cuts around the opening prevent mastic from forming a continuous bead, which shortens seal life and invites re-leakage. When the drywall edge crumbles, mastic has less to adhere to and low-expansion foam may over-compress rather than fill the void. Repairing drywall edges or installing a small backer before sealing gives the sealant the support it needs to last. In many cases the attic side shows dust accumulation near the flange that matches indoor dust trails, pointing to the exact joint to repair.
Age and previous repairs with incompatible materials also explain recurring leaks despite attempts to fix them. Old caulks and silicones can repel new mastic, causing adhesion failure down the line and reopening air paths. A qualified technician will test adhesion and remove old sealants when needed before applying new mastic and foam. For more extensive leakage or to quantify duct leakage before and after repair, professionals often perform formal testing such as the options described on the duct leak testing page.
Seasonal temperature swings change material sizes and reveal weak seals during extremes, which homeowners notice as intermittent drafts near vents. Repeated thermal cycling stresses the joint and can separate the boot flange from drywall marginally each season. Technicians may recommend mechanical fastening plus mastic to resist future movement when thermal cycling is severe. Homeowners in Trophy Club sometimes schedule inspections after noticing seasonal return of dust streaks and drafts.
Signs You Have Leaking Ceiling Duct Boots
Look for thin, dark dust streaks radiating from the register that move when the system runs. You might also smell faint attic odors near the vent during or after cycles. Rooms near leaking boots can feel slightly cooler or warmer than the rest of the house. Visible gaps where drywall meets the boot flange often show loose screws or crumbled edges that need repair.
- Dust lines around the register that worsen when heating or cooling runs.
- Noticeable attic or musty smells near the supply register.
- Small drafts felt at the register face with the system on.
- Dust accumulation on the attic side near the flange.
Another sign is fluctuating airflow at the register compared to other vents in the same room. A simple check is to hold a tissue near the register while the system runs and note irregular movement. If airflow seems weak or pulsing, the boot joint could be leaking and altering pressure. Technicians often pair this observation with plenum pressure checks for a complete picture.
Professionals confirm leaks by inspecting the attic side for matching dust buildup and by using a smoke pencil to reveal air paths. They may follow that with an airflow performance test to measure how leakage affects room delivery. Recorded photos and pressure readings help document the issue and guide sealing decisions. For homeowners in Trophy Club and North Richland Hills, TX, these diagnostic steps point directly to whether targeted duct boot sealing is needed.
DIY Mastic And Foam Sealing Step By Step
Prepare the work area by turning the HVAC system off at the thermostat and covering furniture beneath the register with a drop cloth. From the attic side, clear insulation away from the boot flange to expose the full joint and inspect for loose screws or damaged drywall. Use a flashlight and feel for airflow along the flange perimeter with a hand held near the gap while a helper runs the system briefly. If you detect strong drafts or visible gaps, plan to use both low-expansion foam and HVAC mastic for a durable repair.
Clean the flange and drywall surface by brushing away dust and loose paper so the mastic sticks well to metal and gypsum. Remove old caulk or flaky sealant with a putty knife and wipe the area with a dry cloth to remove residue. For gaps deeper than about 1/2 inch, apply low-expansion spray foam in short bursts to partially fill the void without bowing the drywall. Let the foam cure according to the product instructions before trimming excess flush with a utility knife.
Apply an HVAC-grade mastic bead around the trimmed foam and along the boot-to-drywall seam on the attic side, pressing it so it bonds to both materials and forms a continuous seal. Smooth the mastic with a putty knife or gloved finger to eliminate voids and ensure a tear-resistant fillet that resists vibration. For added mechanical support when the flange is loose, fasten the boot with screws into framing before the mastic fully sets. Allow the mastic to cure fully before replacing insulation to avoid disturbing the bond.
For example, a homeowner in Trophy Club noticed dust streaks return after a prior patch job, a tech checked the attic and found compressed foam that failed to seal properly. The professional trimmed the old foam, resealed with low-expansion foam and applied mastic, then verified reduced airflow at the register with a tissue test. After repair, the attic side showed no matching dust buildup and the homeowner reported fewer odors near the vent. If you are unsure about attic access or the condition of the drywall, contact a pro rather than risk falling or damaging ceiling finishes.
When To Call A Professional For Duct Boot Sealing
If you notice large gaps, active attic odors, or repeated seal failures despite DIY fixes, a professional evaluation is the right next step. A trained technician will inspect the supply plenum, boot flange, and attic-side drywall, and they will check for loose screws or crushed insulation that DIY repairs may miss. They use simple diagnostic tools like a smoke pencil and airflow checks to confirm pressure-driven leakage and to locate every leaking joint that contributes to the problem. When access is limited or the ceiling finish is fragile, a pro reduces the risk of accidental damage during the repair.
Call a pro when the boot flange is detached from framing or when the drywall around the opening is crumbly and unstable. These conditions often require backing, fasteners, or drywall patching before mastic will adhere and last through seasonal movement. A technician may also recommend mechanical reinforcement plus sealant when ducts tug on the boot, ensuring the flange stays secured during system cycles. Professionals coordinate attic repairs and sealing so the work holds up under repeated thermal expansion and vibration.
Contact a professional if your home has multiple leaking boots or if you suspect broader duct leakage affecting whole-house comfort. Technicians perform systematic checks across registers, measure differential pressures, and can combine targeted boot sealing with broader duct sealing or insulation upgrades. They often inspect duct connections, the supply plenum, and register airflow to determine whether a single boot or the duct system needs more extensive attention. For homes where attic insulation and duct exterior exposure matter, professionals may suggest paired solutions like duct insulation and sealing to improve results, such as the services linked on the insulating HVAC ductwork page.
If you are uncomfortable working in the attic, worried about ladder safety, or unsure how to diagnose a stubborn leak, arrange a professional visit. Certified technicians bring experience with proper mastic application, low-expansion foam use, and mechanical fastening techniques to form a durable seal. They provide written observations, photos, and simple verification tests after the repair to show the issue resolved and to document improved airflow. Homeowners in Trophy Club and North Richland Hills, TX often choose a pro when repairs involve attic access or when previous fixes did not stop dust lines.
Preventive Maintenance Tips To Avoid Future Leaks
Schedule periodic checks of ceiling registers at least twice a year to spot new gaps early and avoid larger failures. Inspect attic drywall around boot flanges for signs of movement, crumbling, or displaced insulation that reduce seal life. A quick tissue or smoke pencil test during a system run helps detect renewing leaks before dust lines appear on ceilings. If you find loosened screws, resecure the flange to framing promptly to reduce stress on the mastic and foam.
- Check registers after attic work.
- Look for fresh dust streaks.
- Trim and reseal compressed foam.
- Inspect fasteners for looseness.
- Keep attic insulation clear of the flange.
Maintain balanced airflow by ensuring return pathways are unobstructed so supply plenum pressure does not force air through boot joints. Review return grille locations and clean return filters regularly to reduce pressure differentials that stress seals. A professional can inspect the system and suggest adjustments to returns and supply to maintain neutral pressure across ceilings. For help evaluating return layouts and balancing, see the related information on return air pathways and balance to prevent pressure-driven leakage.
When adding attic insulation or storage, leave a clearance around boot flanges and avoid compressing existing foam seals to prevent later failure. Use non-compressive insulation techniques near registers to keep the flange accessible for future inspections and repairs. Mark attic locations of sealed boots so future contractors avoid disturbing the area during work. In Trophy Club homes, these simple habits reduce recurring seal problems after insulation upgrades or attic projects.
Document any repairs with photos and notes so you know what materials and methods were used at each register for future maintenance. Keep a small kit of HVAC mastic and low-expansion foam on hand for minor touch-ups between professional visits. If seal failures repeat at multiple boots, schedule a pro to evaluate duct connections and plenum pressures as recurring issues may signal system-level balance problems. For North Richland Hills, TX homeowners, a coordinated approach to maintenance and balancing prevents repeated intrusion of attic air into living spaces.
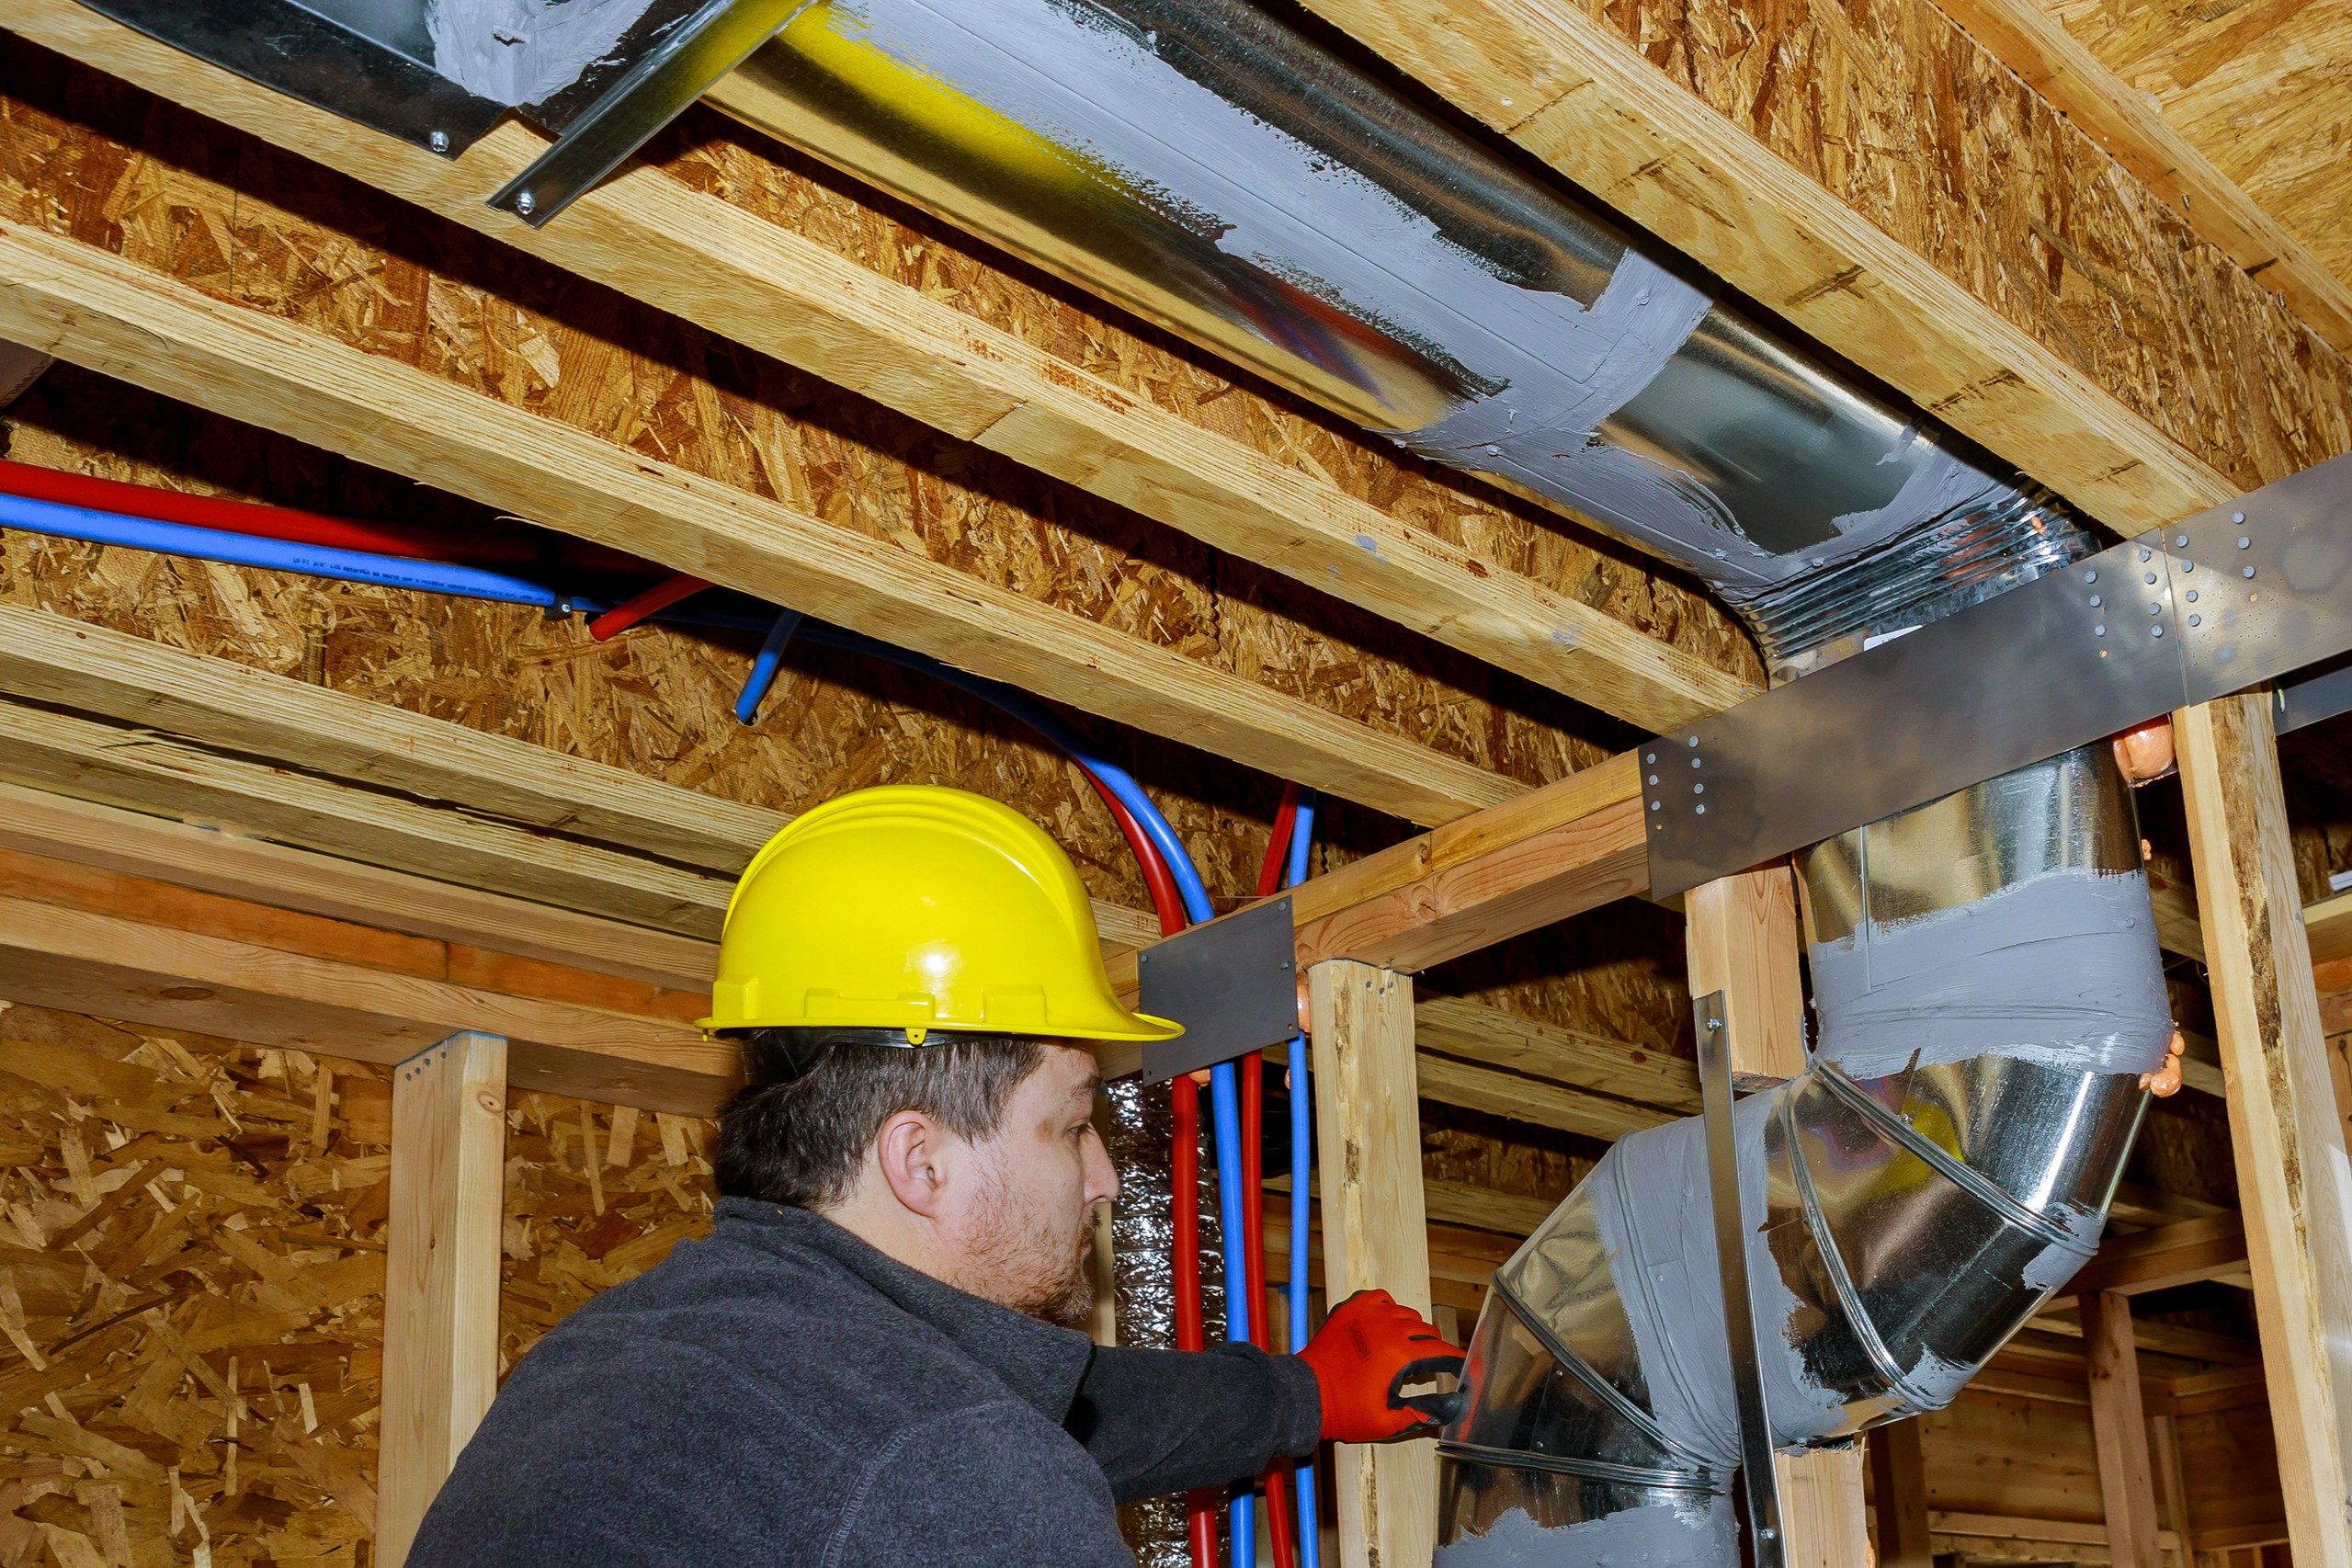
Cost Considerations And Choosing The Right Materials
Material choice affects long-term performance when sealing boot-to-drywall joints, so pick products made for HVAC use and adhesion to metal. HVAC-grade mastic remains flexible and resists vibration better than generic caulk, helping the joint survive seasonal expansion and contraction. Low-expansion spray foam works for irregular voids but can overfill and bow drywall if applied excessively, so use in short controlled bursts. Consider a combination approach for best results where foam fills deep gaps and mastic forms the continuous exterior fillet.
Evaluate compatibility with existing surfaces before applying new sealants to avoid adhesion failure from old incompatible materials. If previous silicone or old paint repels new mastic, remove the old layer and prepare the metal and drywall for bonding. Mechanical fastening provides a backstop where the flange sits loose, reducing stress on mastic during blower cycles. For unstable drywall edges, a small plywood or gypsum backer behind the flange gives a solid substrate for both fasteners and sealant.
Durability and serviceability matter when selecting products because attic access and future maintenance occur over years. Choose a mastic that cures to a tack-free, tear-resistant film so small vibrations do not reopen the seam. Pick low-expansion foam labeled for use with HVAC openings so it will not off-gas odors into the system or degrade over time. Keep manufacturer curing times in mind to avoid disturbing the joint before the seal achieves full strength.
Professionals diagnose material needs by inspecting the flange, measuring gap depth, and testing adhesion with a light pull or probe before recommending specific products. A tech may use a smoke pencil to confirm leak paths, then measure void width and depth to choose foam density and mastic bead size. If system balancing looks necessary after multiple sealed boots, consider coordinating sealing with an air balancing visit from a licensed pro who can assess pressure differences. Homeowners in Trophy Club and North Richland Hills, TX benefit from combined sealing and balancing to reduce recurrent leakage caused by improper supply pressures.
Frequently Asked Questions
How does duct boot sealing stop attic air and dust?
Duct boot sealing closes gaps where the boot meets drywall, blocking pathways for attic air and dust to enter living spaces. Proper mastic and foam create an airtight barrier that reduces pressure-driven leakage and visible dust lines around vents. Stopping these leaks cuts energy loss and limits attic contaminants from circulating through the supply plenum and grille. If seams are large or near insulation, exercise caution and consider hiring a professional to avoid disturbing wiring or attic hazards.
What signs mean a boot-to-drywall joint is leaking?
Visible dust lines or dark streaks radiating from a ceiling register often indicate air leaking at the boot-to-drywall joint. You may feel drafts or notice uneven room temperature near the register when the system runs. Attic air or dust entering the room and a rattling or whistling sound around the register are other common signs. If you see moisture, mold, or large gaps, stop work and call a professional because attic air and electrical hazards can create safety risks.
Can I seal a boot myself or should I call a pro?
Many homeowners can handle basic duct boot sealing with caulk or foam around visible gaps and dust lines. If the boot sits near attic access or shows large gaps, the job may be harder and require attic insulation work. If you notice wiring, damaged drywall, or uncertain duct connections, stop and call a professional for safety. A trained technician will diagnose leakage with visual inspection and simple pressure checks and complete a safe, lasting seal.
Which materials work best for long-lasting boot seals?
For long-lasting boot seals, use fiber-reinforced HVAC mastic around the metal boot flange for a flexible, durable barrier. Back low gaps with minimally expanding foam to stop attic air and reduce dust tracking. Finish edges with foil HVAC tape rated for temperature and UV exposure to protect the mastic and seams. If you see large gaps or suspect fire or safety issues, stop and call a professional to inspect and seal safely.
How do technicians diagnose persistent register dust?
Technicians start by inspecting supply registers and ceiling boots for dust lines, gaps, and loose seams while the system runs. They use a flashlight and smoke pencil or simple tissue test to detect airflow direction and leakage at boot-to-drywall joints. They check attic-side duct connections, insulation, and look for attic air intrusion or disconnected plenums during a brief attic inspection. If they find hazards like exposed wiring or unstable attic access, they stop work and recommend a professional for safe repair and proper duct boot sealing.