
Fall HVAC Preparation for Arlington Homeowners
Key Takeaways About Fall HVAC Preparation
Fall HVAC preparation means readying your heating and cooling system for cooler weather and reduced summer loads. This guidance is for Arlington homeowners and matters before overnight temperatures drop or heating cycles begin.
- Identify unusual smells noises or visible leaks near HVAC components.
- Prevent restricted airflow by checking filters grilles and return paths.
- Avoid short cycling by testing thermostat calls and blower response.
- Spot weak registers and cold spots by feeling supply vent airflow.
- Reduce water risks by inspecting condensate drains and pan condition.
- Plan professional diagnostics when electrical combustion or refrigerant issues appear.
Introduction
After months of heavy air conditioning use, many home systems show wear that matters when temperatures drop. Fall HVAC preparation matters because neglected components can fail when you need heat most. Small issues often begin as odd sounds, weak airflow, or uneven temperature zones. Addressing these signs before cooler weather helps avoid emergency repairs and discomfort.
Homes in Arlington, TX face a quick shift from hot days to cool nights that puts stress on HVAC components. Refrigerant line wear, a dirty evaporator coil, and tired blower motors can all reduce system reliability. People notice problems first through smells, new noises, and longer run times. Recognizing those early cues lets homeowners act while options still exist.
Thermostat behavior and airflow often reveal hidden problems before a full heating breakdown occurs. A thermostat that loses settings, a slow fan response, or cold spots at vents point to issues needing inspection. Professionals check the heat exchanger, blower motor, and condensate drain when diagnosing these symptoms. Clear diagnostics give homeowners confidence about the next steps.
One Hour Air Conditioning & Heating of Fort Worth can provide professional fall readiness checks and system diagnostics. Technicians inspect visible components, test airflow, and record performance readings to confirm concerns. If repairs or maintenance are needed they explain findings and recommended actions for your home. Scheduling a fall tune up reduces surprises and keeps indoor comfort consistent through seasonal change.
Understanding Fall HVAC Preparation And Seasonal Needs
Fall HVAC preparation means readying heating and cooling systems for cooler weather and the end of heavy summer use. A key homeowner question asks what to prioritize first, and the answer is inspection of visible components and controls. Seasonal needs include confirming airflow, thermostat response, and safe operation of heat systems. Preparing now reduces the chance of sudden failures when temperatures drop unexpectedly.
- Check filter condition visually.
- Listen for unusual blower or compressor noises.
- Look for leaks around refrigerant lines.
- Verify thermostat programs hold settings.
Systems often shift from cooling-dominant operation to occasional heating cycles during fall, which creates different load patterns. Homeowners commonly ask how to tell if the heat will start reliably, and simple checks include calling for heat and observing burner ignition and blower response. A professional can confirm by measuring airflow, testing thermostat signals, and inspecting the heat exchanger for cracks. These steps show whether the system moves from cooling to heating smoothly.
Some seasonal needs are specific to component wear after continuous summer cycling, including capacitor strain and capacitor failure signs. You might notice slower fan spin, humming from the condenser, or longer run times before temperature change occurs. A technician would diagnose these by checking voltage at the capacitor, measuring blower motor current, and recording static pressure across the supply plenum. Those measurements help decide whether cleaning, repair, or part replacement is appropriate.
Prepare documentation and notes before a technician visit to speed diagnosis and action during a fall tune up. For a structured homeowner checklist and steps technicians follow, review the HVAC seasonal preparation checklist and use it to guide inspections. Professionals record readings such as temperature split, pressure readings, and observed combustion behavior when present. Clear records and photographed findings help you make informed decisions about maintenance and repairs.
Why System Wear Occurs After Summer Use
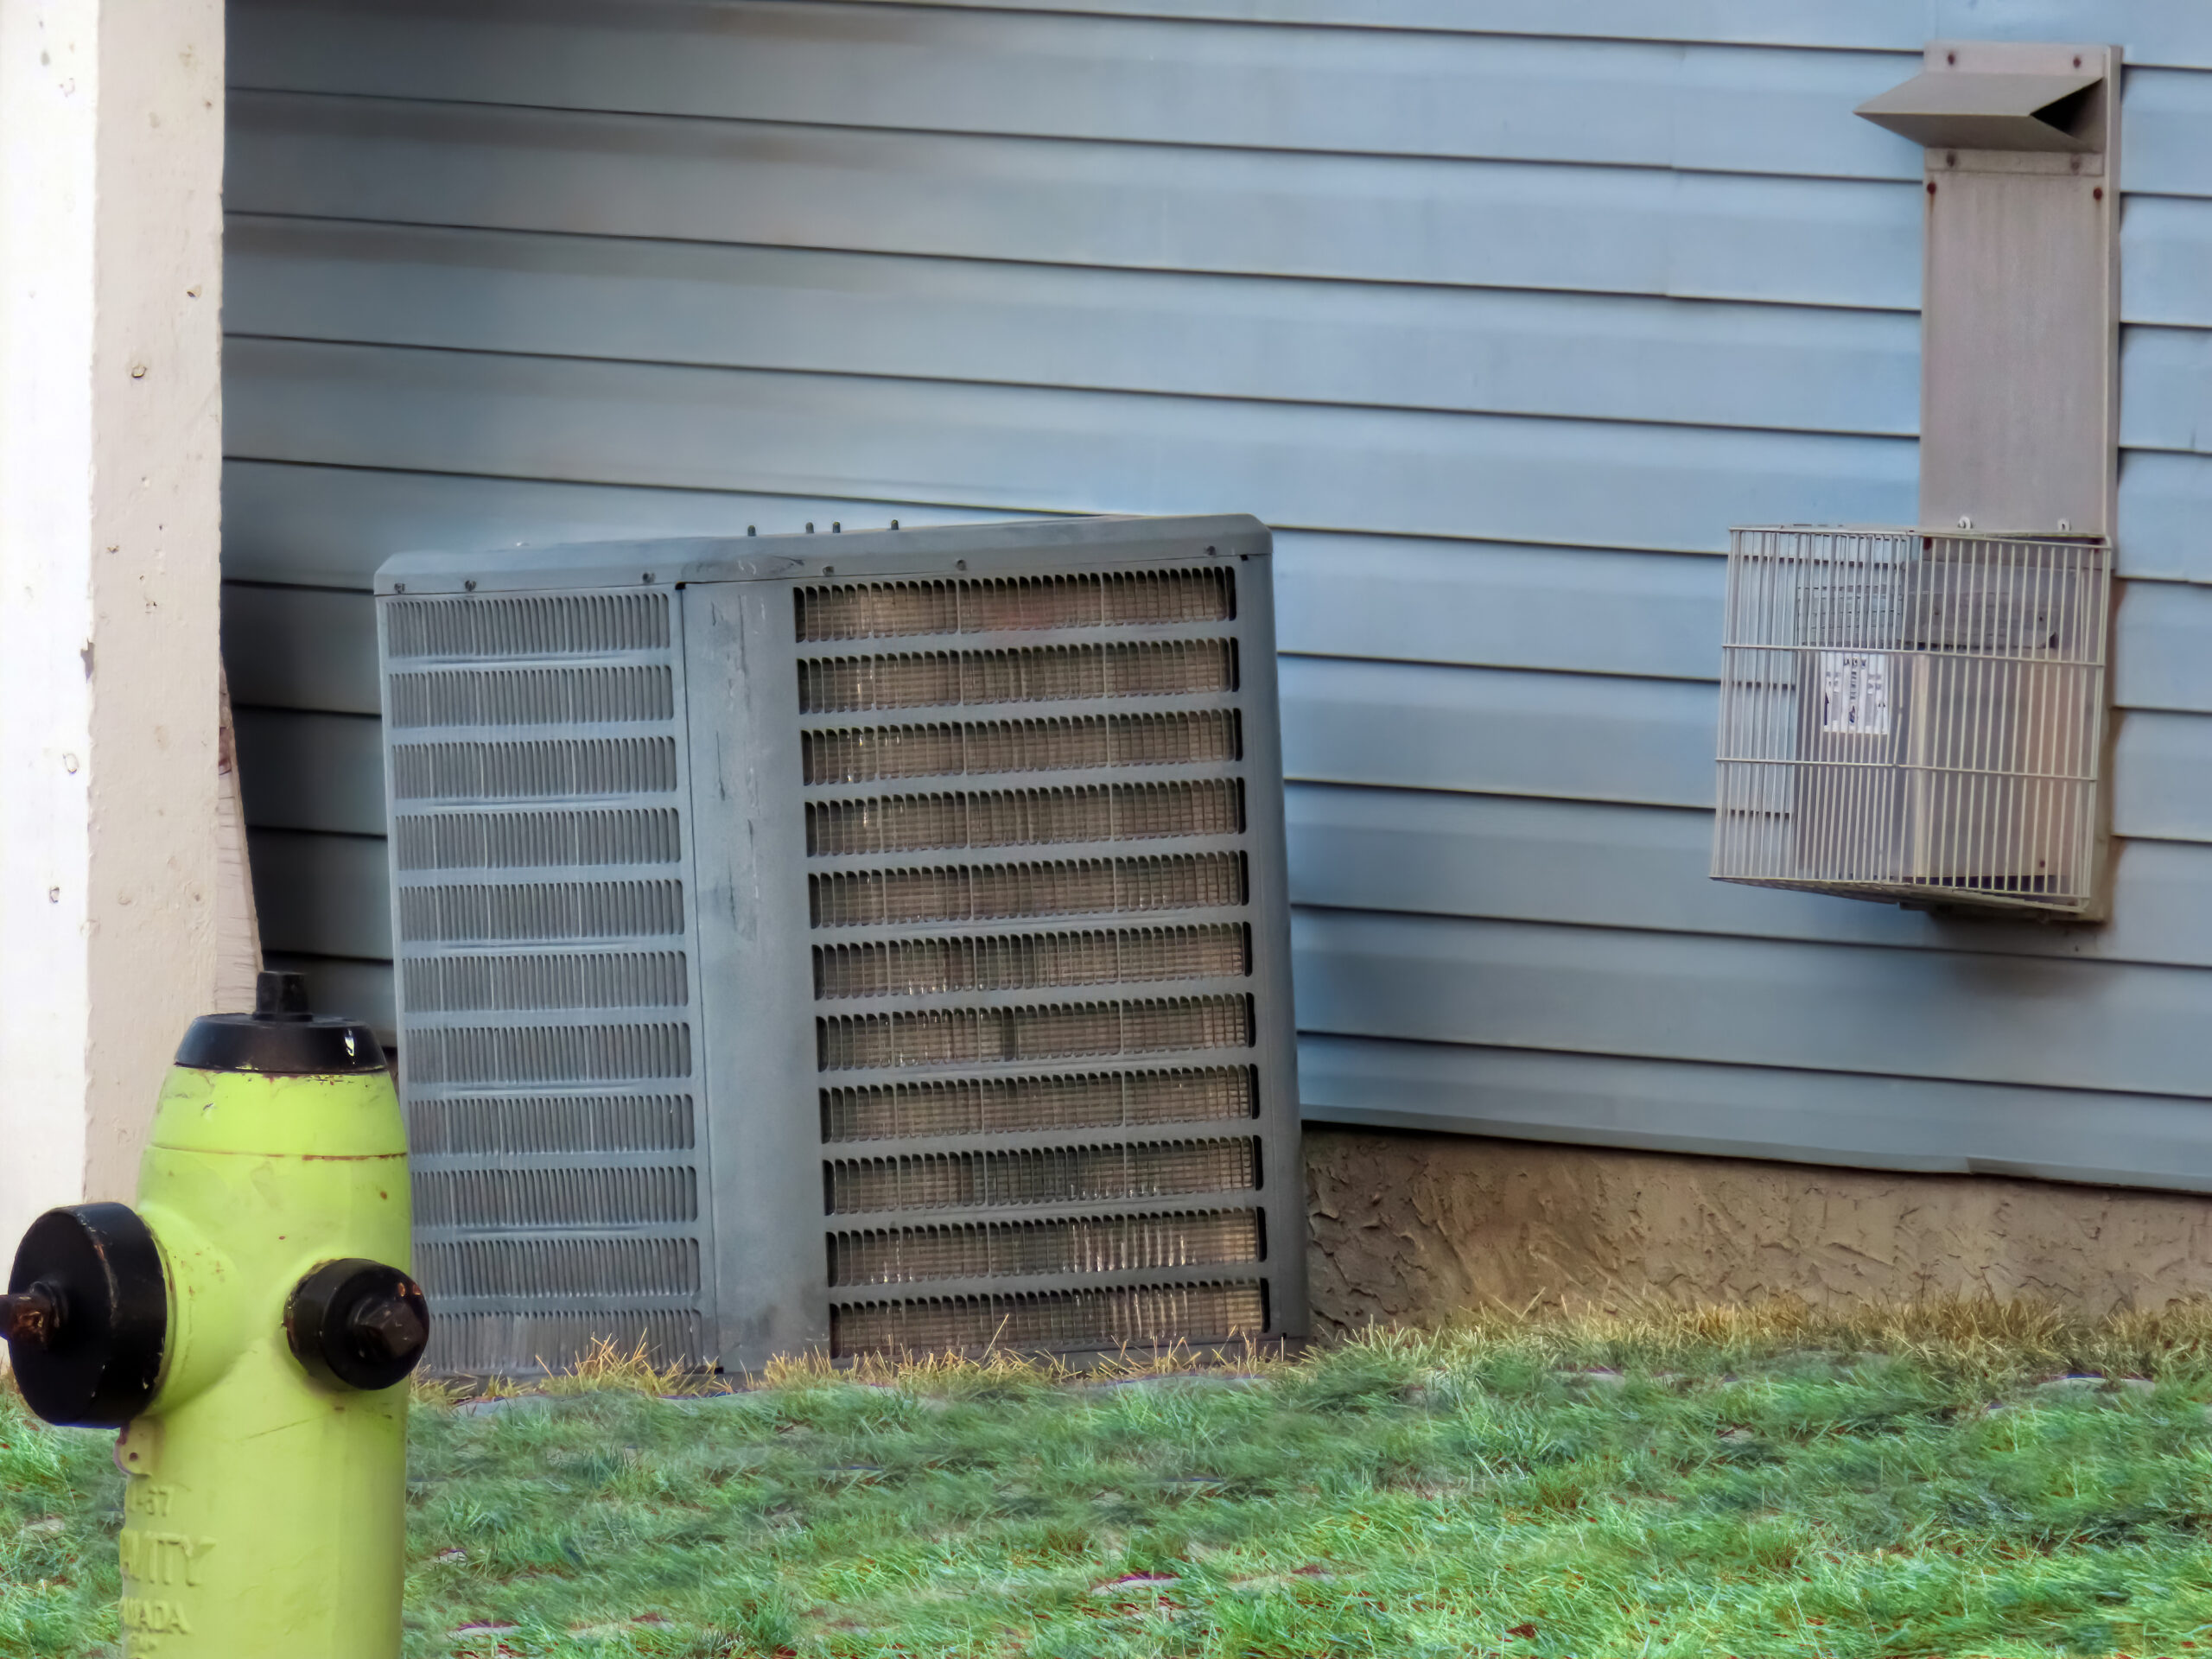
After a summer of frequent cycling, bearings, belts, and electrical contacts show cumulative fatigue that leads to reduced performance. Repeated start-stop cycles strain the compressor and contactor so components heat and cool unevenly. Outdoor condensers collect dust and debris that hide minor corrosion or bent fins which then worsen under load. These small mechanical stresses raise the chance of a part failing once the system shifts to heating mode.
Moisture and pollen buildup during summer can accelerate coil and drain-line issues that become more evident in fall. When the evaporator coil holds grime it reduces heat transfer and forces the blower to work harder. Clogged condensate drains can develop slow leaks or back up into the drain pan, producing odors and potential water damage. Technicians inspect the coil and measure temperature difference across the coil to confirm restricted heat exchange.
Electrical wear often shows up as intermittent faults that a homeowner notices as flickering blower operation or a failing thermostat connection. Loose wire terminals and worn capacitors produce soft starts, humming, or longer run times before achieving set temperature. A professional would diagnose these problems by checking voltage and amperage at the blower motor and testing capacitor microfarad readings. Those measurements reveal whether parts need tightening, cleaning, or replacement to restore reliable operation.
Seasonal refrigerant and airflow imbalances worsen after sustained summer use due to gradual leaks or dirty filters reducing system efficiency. Reduced refrigerant or an obstructed return grille causes the compressor to run hotter and longer than designed. Technicians check refrigerant pressures with gauges and record the temperature split between supply and return to confirm imbalance. Correct readings guide whether the remedy is cleaning, refrigerant service, or airflow adjustments.
Transient symptoms often precede outright failure and give homeowners a chance to act before cold weather sets in, especially in Arlington, TX where temperature swings can be abrupt. Observations like new smells, odd compressor clicks, or inconsistent vent temperatures tell a technician where to start diagnostics. For fall-focused inspections and heat-pump checks, scheduling a professional tune up can reveal worn parts and provide documented test results.
Inspecting Filters Ducts And Indoor Airflow Paths
Start by checking the air filter condition and confirming it seats properly in the cabinet to prevent bypass and reduced airflow. Hold the filter up to light, if light does not pass through, replace it to restore proper flow. Also inspect the return grille for blockages like furniture or drapes that can starve the system of air. Visible dust on the filter or grille often signals a deeper duct or airflow restriction needing attention.
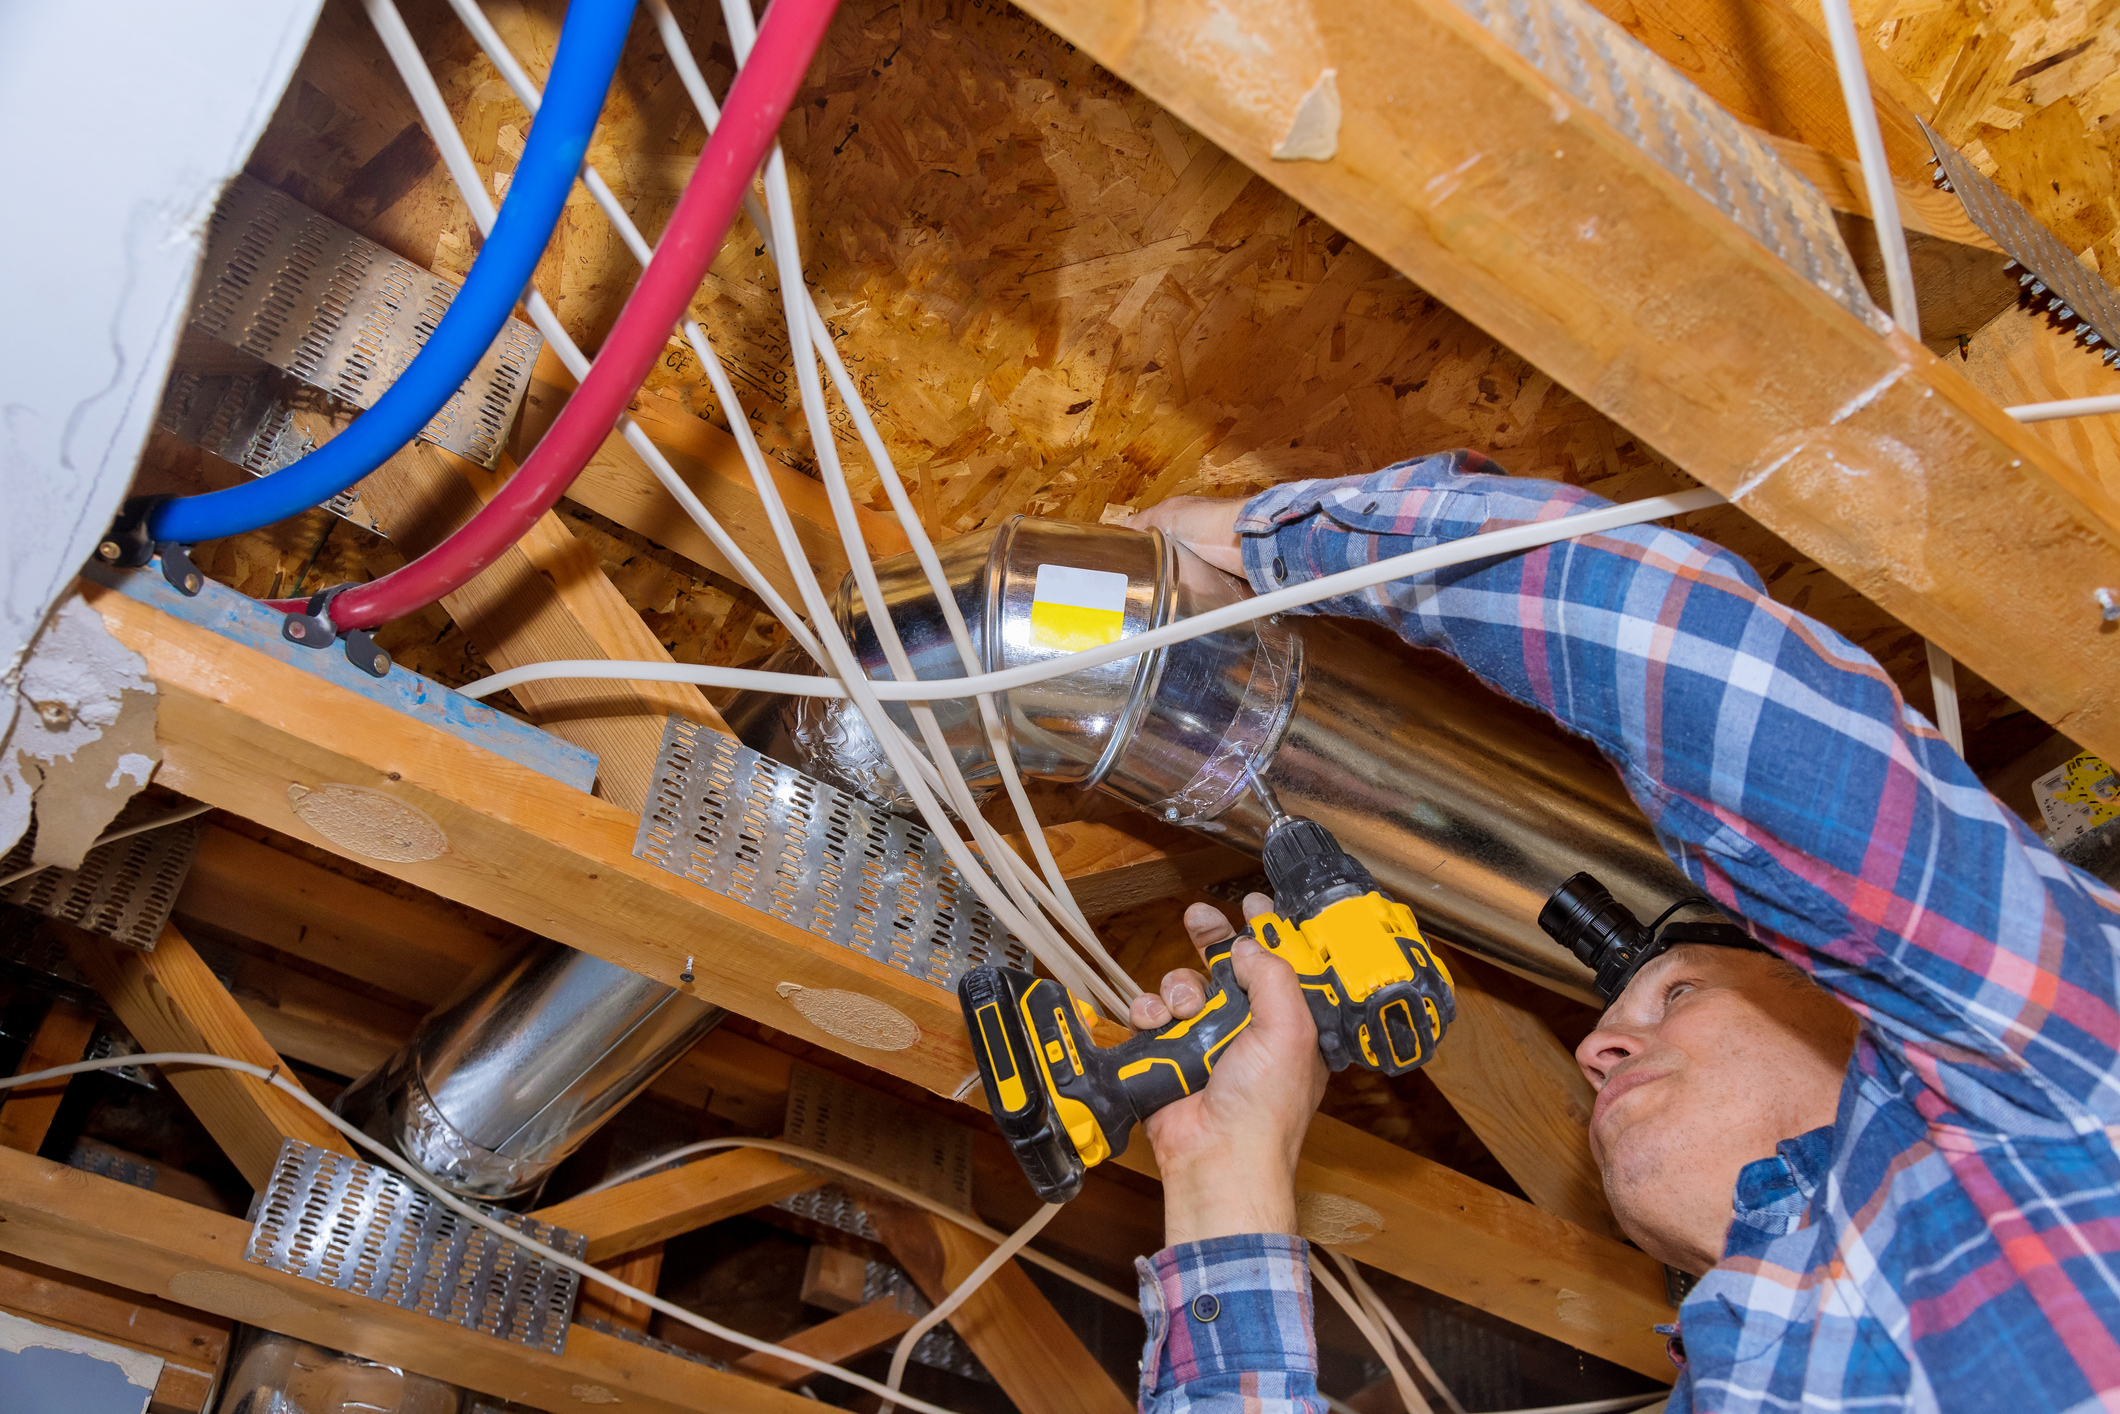
Look inside accessible ducts for signs of disconnection, crushed sections, or heavy dust lines along seams that indicate leaks or poor sealing. A tape or mastic-secured seam that is peeling should be noted for professional sealing to restore designed static pressure. Smells such as musty or burnt odors near vents suggest moisture intrusion or electrical stress that require diagnostic checks. Record any odors and their vent locations to share with a technician during inspection.
Test airflow at several supply registers by feeling for consistent pressure and temperature differences compared to other rooms to map weak zones. If one room has noticeably lower airflow, a technician will check the blower motor, supply plenum, and dampers to identify the restriction source. They may use a manometer to measure static pressure or anemometer readings at registers to confirm diagnosis. Those measurements show whether cleaning, balancing, or blower adjustments will correct uneven distribution.
For example, a living room with warm return air and weak supply prompted a professional to inspect the evaporator coil, blower motor, and duct collar for leaks or blockage. The tech used infrared imaging and static pressure readings to find a collapsed flex section and dirty coil reducing airflow. After the collapsed section was replaced and the coil cleaned, supply temperatures and register velocities returned to normal, and recorded measurements confirmed improvement. Homeowners can use similar observations to decide whether to call for detailed diagnostics.
Check condensate drain lines near the air handler for slow drainage or stains on the pan that suggest partial clogs affecting indoor humidity and airflow. A slow drain can cause overflow conditions that affect nearby insulation or wiring, so document any water staining and call for professional clearance if present. Review thermostat wiring at the control board for tight, corrosion-free connections since poor signals can cause irregular fan behavior and airflow timing. Finally, prepare thermostat settings and scheduling after inspection by reviewing advice on adjusting controls for cooler Texas nights with the linked thermostat preparation guide.
Thermostat Settings Calibration And Energy Decisions
Set the thermostat schedule to match occupancy and nighttime setbacks to reduce unnecessary runtime while keeping comfort. Calibrate the thermostat by comparing its reading to a separate room thermometer placed near the return grille. If readings differ by more than two degrees, recalibrate following the thermostat manual or note the offset for a technician. For smart thermostats, confirm Wi-Fi connectivity and that the schedule retains changes after brief power interruptions.
- Check programmable schedules for accuracy.
- Verify fan settings on Auto versus On.
- Inspect thermostat placement away from sunlight.
- Replace batteries if the display is dim.
- Note any lost programming after outages.
Consider energy choices like mild setbacks overnight to balance comfort and efficiency during cooler nights. Avoid large temperature swings that cause excessive compressor or furnace cycling and wear. For homes using heat pumps, keep a smaller setback to prevent backup heat stages from running frequently. Track runtime changes after adjustments to judge energy and comfort tradeoffs over several days.
Professionals diagnose thermostat-related complaints by checking control signals at the furnace or air handler control board. They observe transformer voltage, continuity of thermostat wires, and the correct call sequence when changing modes. Technicians may use a multimeter to verify R, W, Y, G connections and confirm the control board responds as expected. These checks reveal whether the thermostat device or wiring requires repair or replacement.
For homeowners in Arlington, TX, placement near drafty windows or heat sources can skew readings and affect heating startup. In Fort Worth, TX properties, program review and calibration before the first sustained cold spell prevents uncomfortable nights and inefficient operation. If you notice frequent short cycling or loss of settings, contact a professional to perform a full calibration and control diagnostic. Follow the linked guidance on how to prepare HVAC for temperature swings to refine thermostat strategies and reduce surprises.
Identifying Warning Signs Of Imminent Heating Failure
Watch for unusual smells when the heat first runs, such as a metallic or burned odor near the furnace or air handler. Persistent smells often indicate electrical stress, oil on a blower motor, or debris on heating elements that require inspection. A professional will check wiring connections, the blower capacitor, and the control board for heat-related faults during diagnosis. If you notice a smell that returns each cycle, document when it occurs and where it is strongest.
Pay attention to new or louder noises during startup, including rattles, scraping, or high-pitched squeals from the air handler or outdoor unit. Those sounds suggest failing bearings, a loose blower wheel, or a failing belt that a technician will inspect visually and with a quick motor spin check. During diagnostics, the tech will measure motor current and listen while the system cycles to confirm the noise source reliably. Record when the noise happens to help the technician reproduce the fault on arrival.
Frequent short cycling when the heater turns on and off quickly is a common warning sign that affects reliability and comfort. Short cycles can stem from a faulty thermostat signal, restricted airflow, or a heat exchanger overheating condition that trips safety limits. A technician will measure temperature rise across the heat exchanger, check thermostat call sequencing, and look for clogged filters or blocked returns to confirm the root cause. Note whether short cycling follows setpoint changes or appears immediately after startup.
Uneven heat distribution or cold spots at vents after calling for heat point to blower or duct issues that may worsen into failure. Technicians diagnose this by measuring register velocities, static pressure in the supply plenum, and inspecting for closed dampers or collapsed flex runs. They may also inspect the heat exchanger surface for uneven heating patterns or signs of combustion instability if applicable. Keep a simple list of which rooms feel cooler and when to share with the technician during the visit.
Another sign is delayed or repeated ignition attempts on gas furnaces or heat pumps that struggle to enter heating mode consistently. A professional confirms this by observing ignition cycles, testing gas valve operation or reversing valve function, and checking ignition control voltages with a multimeter. Document the timing of failed ignition attempts and any error codes shown on the control panel to speed diagnosis. For help with thermostat staging and smoother mode transitions, review guidance on thermostat staging and comfort transitions while preparing for seasonal change in Arlington, TX and planning service visits in Fort Worth, TX.
Simple Homeowner Maintenance Tasks To Prevent Breakdowns
Change or check disposable air filters before the first regular heating cycle to keep airflow steady and reduce strain on the blower motor. Inspect the filter frame and seating to ensure no gaps that allow bypass and reduced efficiency. While replacing filters, look for dust accumulation near the return grille that signals a need for deeper duct cleaning. Note filter size and MERV recommendation so replacements fit correctly and perform as expected.
Clear debris at the outdoor unit base and trim vegetation that restricts airflow around the condenser or heat pump coil area. Remove loose leaves and grass clippings that can work into the fins and slow heat exchange during transitional operation. Straighten visibly bent fins carefully with a fin comb or call a technician if fins are severely damaged. Keep the area free of obstructive objects so the fan can draw and exhaust air without restriction.
Test basic safety switches and the condensate pan by pouring a small amount of water into the drain pan to confirm the float switch and drain line clear properly. Observe the pan during filling for any overflow or slow drainage that suggests a partial clog or cracked pan. Check the visible condensate line for moss, algae, or sludge buildup and wipe accessible connections to reduce blockages. If water does not clear quickly, schedule a professional drain clear and inspection to prevent indoor water damage.
Run the system through a short heat cycle and listen for odd sounds while watching vents for steady temperature rise and consistent airflow. Confirm the thermostat commands produce the correct response and that the blower starts without hesitation or repeating short cycles. Record any unusual noises, delayed starts, or weak registers so a technician can reproduce issues during diagnosis. For an in-depth seasonal check, consider scheduling a service visit that follows the documented furnace tuneup essentials process.
Inspect visible electrical connections at the air handler for loose terminals and signs of overheating like discoloration or melting on insulation. Turn off power before checking and avoid touching components if you are unsure about safe handling of electrical parts. Note any repeated tripped breakers or blown fuses and report those observations to a professional for a full electrical diagnostic. Homeowners in Arlington, TX should record these findings to discuss with technicians when scheduling a service visit in Fort Worth, TX.
When To Call A Professional For Fall HVAC Preparation
If you notice persistent warning signs that simple checks did not fix, schedule professional service for a thorough fall HVAC preparation inspection. A technician will perform visual and operational tests focusing on components homeowners cannot access safely. They check the heat exchanger, blower motor, contactor, capacitor, and control board for wear or unsafe conditions. Professionals also verify combustion behavior or heat pump reversing valve function when applicable.
- Inspect heat exchanger and combustion if present.
- Measure blower motor current and airflow.
- Check thermostat control signals at the control board.
- Test refrigerant pressures and reversing valve operation.
When diagnostic clarity is needed, the pro will use measurements and observations to confirm failures rather than guesswork. They may record temperature rise across the heat exchanger or measure static pressure in the supply plenum. Technicians often use a multimeter to verify transformer voltage and continuity at thermostat connections. These recorded readings provide clear evidence for recommended repairs or adjustments.
Call for service when safety risks appear, such as burning smells, persistent leaks, or repeated ignition failure during the first heat cycle. If you find water staining near the air handler or a repeatedly tripped breaker, contact a technician for safe diagnosis. Homeowners in Arlington, TX should document symptoms and times to speed the diagnostic process. A trained professional in Fort Worth, TX can then inspect components and provide a written report confirming the findings.
Preparing The Outdoor Unit And Condensate Drain Lines
Start by clearing debris around the condenser and lifting any light objects that could block airflow during the first cool nights. Inspect fan blades visually for chips or bends and note wobble when the system briefly runs. Check the refrigerant line insulation for missing or shredded sections that reduce efficiency during transitional operation. If you see oil stains on line sets or the unit base, document those and have a technician confirm the source.
Flush visible condensate drain sections by pouring a cup of distilled white vinegar followed by water to help dissolve algae and sludge buildup. Observe the drain pan while running a short cooling cycle to confirm water exits freely and the float switch operates correctly. If you notice slow drainage or water pooling under the air handler, stop and schedule a professional to avoid water damage. Professionals will use a wet/dry vacuum and inspection camera to confirm full clearance when homeowner methods do not clear the blockage.
Inspect visible electrical connections at the outdoor unit disconnect for tight terminals and absence of corrosion before the first heating season demand. Watch for frayed wiring insulation or melted areas that indicate past overheating and record their locations for the technician. When professionals diagnose outdoor electrical concerns, they measure voltage and motor amperage and compare readings to nameplate specifications to confirm component health. Share any recorded observations with the technician to speed targeted diagnostics.
Keep a maintenance record showing dates you cleaned the coil area, cleared drains, and replaced filters to assist professional fall HVAC preparation visits. Replace disposable filters on the manufacturer schedule and follow guidance in the linked filter change resource to maintain airflow and protect the evaporator coil. For issues beyond basic clearance, technicians use pressure gauges and a camera inspection to locate condensate obstructions and verify refrigerant pressures. Homeowners in Arlington, TX and Fort Worth, TX should report symptoms and recent observations when scheduling professional drain or outdoor unit service.
Frequently Asked Questions
How should I start fall HVAC preparation this season?
Begin Fall HVAC preparation by replacing or inspecting the air filter and clearing debris around the outdoor unit for proper airflow. Check the thermostat settings and batteries, and program a schedule that matches cooler evening temperatures. Listen for unusual sounds from the blower motor or heat exchanger and look for visible rust, cracks, or water leaks, if found, contact a professional because these issues pose safety risks. Schedule a professional tune-up to test refrigerant pressure, inspect the condensate drain line, and confirm safe operation before heating demand rises.
What warning signs mean I need professional HVAC help?
Unusual smells like burning or rotten eggs, loud grinding or rattling from the outdoor unit, or persistent short cycling signal professional attention.
If your furnace or heat pump blows cold air despite calling for heat, a technician should inspect refrigerant, thermostat, and heat exchanger.
Visible water leaks, frozen refrigerant lines, or continuous condensation present mold and electrical risks, so shut down the system and call a pro.
During Fall HVAC preparation, delayed or uneven heating and frequent blower failures also indicate needed diagnostics and possible component replacement by a professional.
How do I check thermostat and airflow before cold nights?
Set the thermostat to heat a few degrees above room temperature and listen for the blower and burner or heat strips to start running. Check airflow by holding your hand near several supply registers to confirm even, warm air and no cold spots. Inspect the return grille and replace a dirty filter to improve airflow, and ensure vents are fully open and unobstructed. If the thermostat won’t change modes, shows erratic readings, or airflow is weak after these checks, stop and call a professional for diagnosis and safety.
When should I schedule a fall HVAC preparation tune‑up?
Schedule a fall HVAC preparation tune‑up in early autumn, ideally several weeks before overnight temperatures regularly drop. Busy seasons fill calendars, so book sooner if your system struggled during summer. If you notice odd smells, loud noises, or uneven heating, contact a professional right away for inspection. For safety and warranty reasons, leave combustion‑system checks and refrigerant or electrical work to a licensed technician.
What simple checks prevent furnace or heat pump failures?
Check and replace the air filter monthly during Fall HVAC preparation to keep airflow steady and reduce strain on the furnace or heat pump. Inspect the outdoor unit for leaves, debris, and ice buildup and clear a two-foot area around it for proper ventilation. Test the thermostat settings and batteries, and verify the fan and heat cycles run normally, if you detect burning smells or unusual noises, turn the system off and call a professional. Have a technician inspect the heat exchanger, refrigerant lines, and electrical connections yearly to catch leaks, cracks, or weak components before failure.