

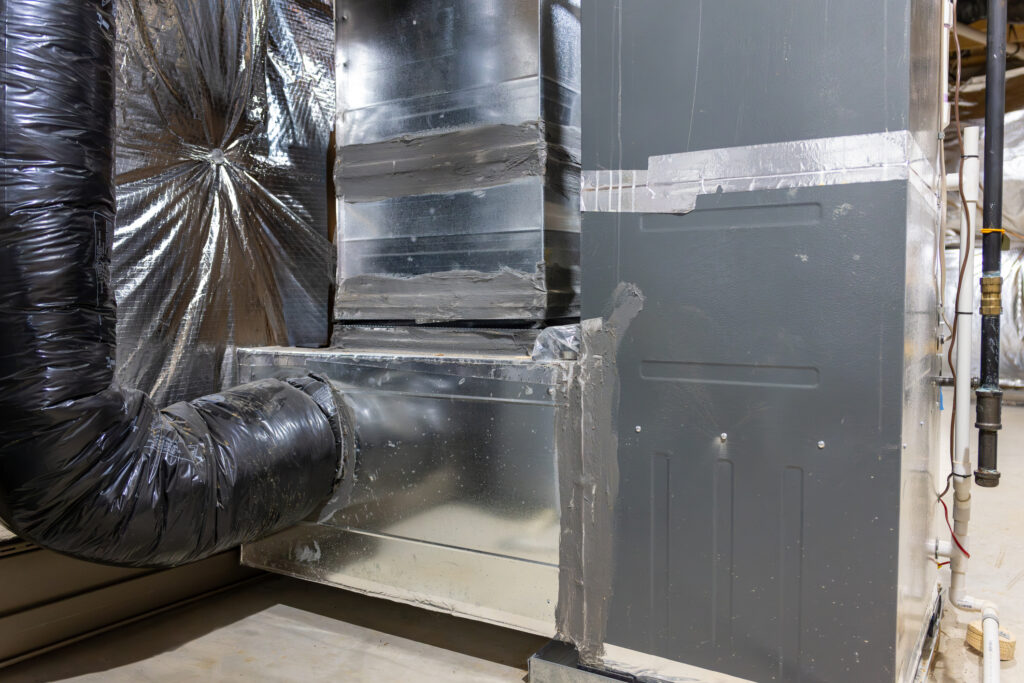
Air Handler Leveling That Quiets Operation
Key Takeaways About Air Handler Leveling
Air handler leveling means adjusting the cabinet so it sits plumb and stable to reduce vibration and ensure condensate drains correctly. This guide is for homeowners and property managers who notice noise, water, or motor issues and need practical steps to prevent damage.
- Identify loose feet and compressed isolation pads under the cabinet
- Prevent condensate pooling by confirming pan slope and outlet flow
- Avoid using soft or improvised shims that compress over time
- Spot vibration sources by listening during blower startup and operation
- Reduce motor and bearing wear by restoring even cabinet support
- Plan regular level checks and document readings with photos
Introduction
Loose or tilted air handler cabinets cause more than noise. Vibration wears bearings, rattles panels, and shortens blower motor life. Uneven cabinets also trap condensate and lead to slow drains or leaks. Homeowners often notice these issues before they see water stains or smell mildew.
When an air handler sits out of level, airflow can become uneven across the evaporator coil. That imbalance raises energy use and can encourage frost or condensate buildup on the coil. You might hear regular thumps or feel more vibration when the blower cycles on. These symptoms point to a mechanical alignment problem rather than a control or refrigerant issue.
Condensate that does not drain properly can damage insulation, electrical components, and the cabinet base. Over time corrosion and standing water create persistent odors and mold growth around the unit. In climates like Trophy Club homeowners may notice these problems during high humidity months. Ignoring slight tilts often turns a quiet fix into a service call for water damage or motor replacement.
Professionals diagnose these issues by observing sounds, measuring tilt, and checking condensate flow and drain lines. A technician will inspect the blower motor mounts, evaporator coil seating, and cabinet frame for stress or loosened fasteners. For property managers in Arlington, TX recurring vibration complaints often trace back to a poorly leveled cabinet or settling pad. Addressing level and shim issues protects components and restores quieter operation.
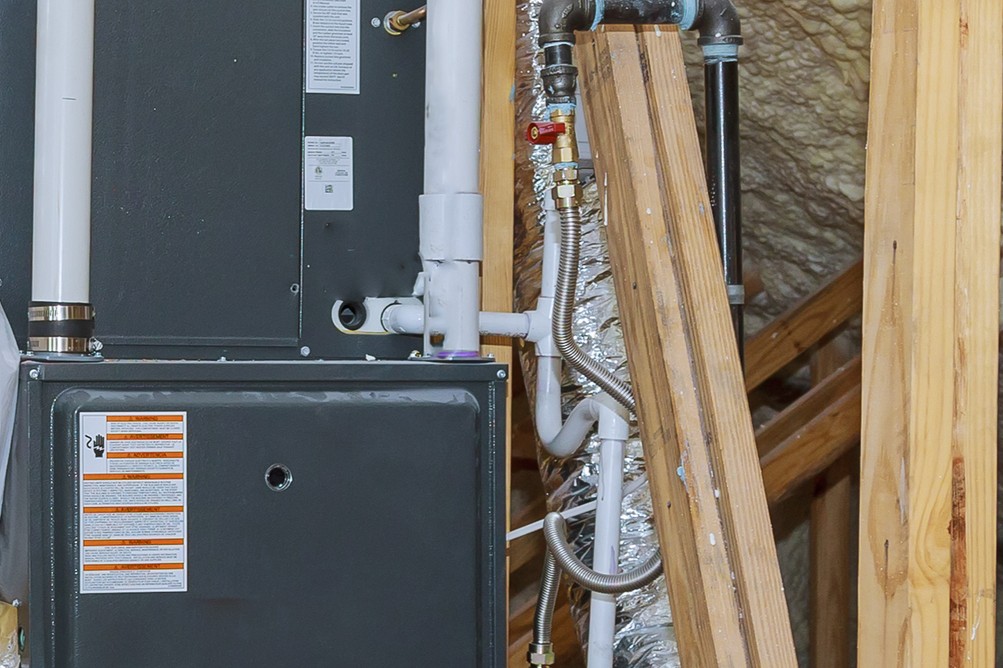
What Air Handler Leveling Does And Why It Happens
Air handler leveling means adjusting the cabinet so it sits plumb and stable to reduce vibration and ensure proper drainage. Proper leveling spreads blower forces evenly across the frame and keeps the evaporator coil seated correctly. Homeowners often ask if a slight tilt matters, even small angles can reroute condensate and increase wear on bearings. A clear sign a tilt matters is water pooling at the cabinet base instead of flowing to the trap and drain.
- Reduces panel rattles and blower vibration
- Directs condensate to the drain pan outlet
- Prevents stress on motor mounts and bearings
- Keeps the evaporator coil aligned for even airflow
Leveling protects electrical components by preventing condensate contact with wiring and controls. Technicians check the cabinet level with a spirit level and measure tilt across two axes to confirm alignment. They also inspect the drain pan outlet and run a water test to watch drainage path and trap function. If drainage stalls during the test, shimming and re-leveling are typically required to restore flow.
A professional diagnosis includes listening for specific vibration points and testing blower operation at different speeds. They may temporarily loosen fasteners to see how the cabinet settles or use a torque inspection on mounting bolts. Observations often include photos, level readings, and drain flow notes recorded on a written report. For more detailed troubleshooting steps, see the air handler vibration resource linked in the industry guide.
In a common situation, homeowners notice a new thumping sound when the blower starts after attic humidity spikes during summer. A technician would check cabinet tilt, inspect the evaporator coil seating, and run a condensate flow test next. For properties in Arlington, TX recurring noise complaints often lead back to uneven support or a settling pad issue. When homeowners in Trophy Club see water at the base, acting quickly prevents mold and motor damage.
Common Causes Of Uneven Cabinet Support
Uneven cabinet support often starts with the unit sitting on an unstable surface such as a warped plywood platform or settling concrete pad. Support points can compress differently under the cabinet weight, making one corner bear more load and twisting the frame. Loose fasteners at mounting brackets allow the cabinet to shift when the blower starts, increasing wobble and misalignment. A technician will note these physical support problems during a visual inspection and while palpating the cabinet for movement.
Corroded or missing isolation pads beneath mounting feet reduce vibration damping and change support height over time. Insulation contact with a wet base or trapped condensate can degrade pads, causing one side to sag and the cabinet to lean. Damaged or bent base channels from prior service or impact can lift a corner, creating a hard point that transmits vibration into the structure. Professionals check pad condition and base integrity as part of a standard leveling assessment.
Improperly sized or absent shims between the cabinet and support surface let smaller inconsistencies become larger problems after thermal cycling. Materials like thin metal or unstable wood used as shims may compress or corrode, changing level after a few months. Incorrectly placed shims can also block condensate flow paths or pinch the drain pan, making drainage worse. A proper diagnosis includes removing suspect shims and measuring level across two axes with a spirit level and straightedge.
Service access panels and internal components that were reinstalled without aligning the cabinet can push the frame out of plumb. For example, a misaligned evaporator coil cassette or over-tightened corner screws can distort the cabinet and change how the unit sits. Technicians will open panels, check coil seating, and run a condensate test to confirm whether internal fit affects external support. Homeowners in Trophy Club should note any recent service or attic work if they later hear new vibration or see water at the base.
When multiple small issues combine, the result becomes noticeable vibration and poor drainage that worsen over time. A professional would document level readings, take photos of supports and shims, and test condensate flow while making incremental adjustments. This diagnostic approach reveals whether the problem is the pad, isolation materials, shims, or internal component alignment. For guidance on routine checks and what a technician inspects during maintenance, see the air handler maintenance guide found at air handler maintenance guide.
How Improper Leveling Increases Vibration Damage
When an air handler leans, vibration energy shifts from the blower into frame joints and mounting bolts, producing metal fatigue over time. Repeated cycles cause fasteners to loosen and create new gaps that increase rattle and movement. Panels that start to flex can rub against internal components, wearing insulation and wiring at contact points. A trained technician would inspect mounting bolts and palpate frame seams to find this progressive loosening.
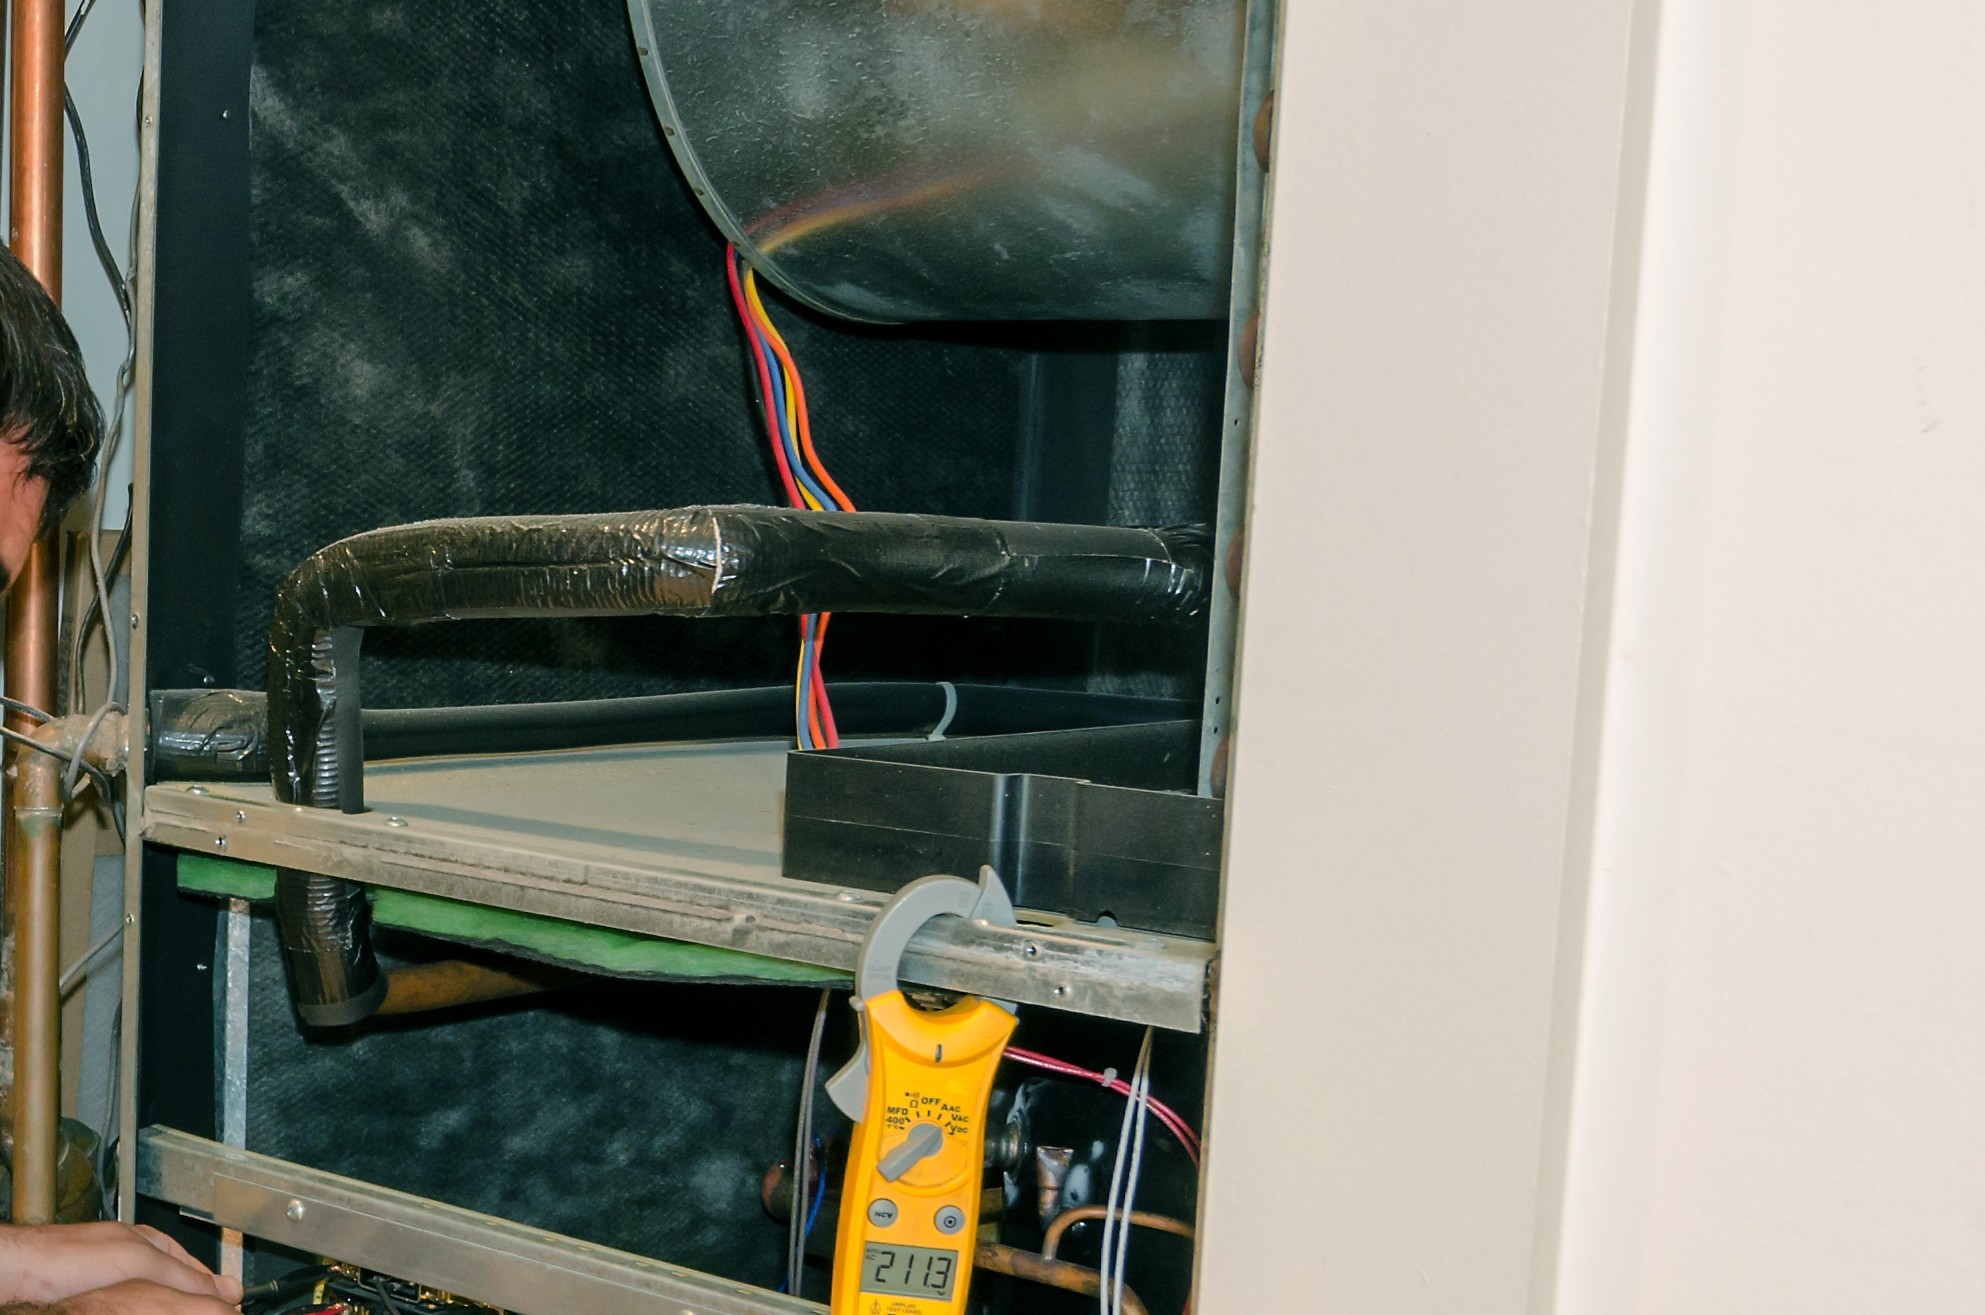
Imbalanced loads also change how the blower wheel spins, stressing bearings and the motor shaft with each start and stop. Bearings that run hot or show play lead to humming, grinding, or increased amperage draw on the motor. Electricians or HVAC techs check voltage and current during startup to confirm abnormal motor load before recommending repairs. Evidence of bearing wear often appears as metal shavings near the blower housing or a noisy motor under load.
Vibration transfers into the evaporator coil and can break the coil seating seals, allowing air bypass and reducing heat transfer efficiency. Air bypass increases system run time and encourages uneven refrigerant distribution that can create freezing or condensate surge events. Technicians examine coil clips, cassette seating, and evaporator mounting points for looseness or visible gaps as part of diagnosis. If seating issues exist, re-leveling and reseating the coil typically restores proper airflow paths.
Improper shim materials or placement create hard contact points that concentrate vibration into the drain pan area, increasing the chance of cracks or punctures. Once the drain pan is compromised, trapped condensate can corrode nearby metal and contact electrical controls. A professional diagnosis includes a water test while observing the pan for flex and checking drain line slope and trap function. For cases requiring repair beyond leveling, read more about our air handler repair options at air handler repair.
Vibration can also move pipes and refrigerant line sets, stressing fittings and potentially causing slow leaks over months. Leakage signs include oily residue near connections, unexplained pressure changes, or reduced cooling capacity. A technician will inspect refrigerant lines, fittings, and insulation while leveling to catch early damage before it worsens.
Signs Your Air Handler Needs Immediate Attention
Listen for changes in sound that mean mechanical stress not normal operation, such as new grinding or steady high-pitched whine when the blower runs. Look for water dripping where none existed before or fresh stains on the cabinet base that appear after a cycle. Watch for the blower starting smoothly but then producing a repeating thump that grows louder over minutes of operation. If you smell musty odors near the supply plenum, that suggests trapped condensate contacting insulation or nearby materials.
- Repeated loud thumping at startup
- Visible water at the cabinet base
- New musty or mildew smells
- Increased or unusual blower noise
- Loose or vibrating access panels
Another clear sign is condensate draining slowly while the coil looks wet or frosted in spots during normal cooling cycles. A technician would check the drain pan tilt and test flow while observing the pan for flex or misalignment that blocks the outlet. They may also inspect the blower housing alignment and blower wheel seating to confirm vibration sources. Photographs and level readings often accompany the inspection to document the problem and guide repairs.
Motor behavior can reveal trouble when the motor runs hotter than before or trips breakers intermittently during continuous cycles. Professionals measure voltage and amperage at the motor and check capacitor condition to rule out electrical causes before adjusting cabinet support. You should act quickly if the motor shows thermal stress signs or if breakers trip repeatedly during normal operation. For homeowners in Trophy Club or property managers in Arlington, TX delaying inspection can allow minor vibration issues to become component failures.
Step By Step Homeowner Leveling And Shimming Guide
Start by turning off power to the air handler at the disconnect or breaker and confirming the unit is dead before touching anything. Remove access panels and look for loose feet, missing isolation pads, or compressed shims beneath the cabinet using a flashlight. Measure tilt across two axes with a small spirit level placed on the cabinet top and near the drain pan to get baseline readings. If the cabinet rocks when you press a corner, note which feet need lift or support before adding shims.
Clean the drain pan area and run a small cup of water into the pan outlet to see current flow and where water pools during a test run. Check the condensate drain line slope visually and feel for blockages by gently depressing the trap, do not dismantle the trap unless comfortable with plumbing basics. If the blower motor shows signs of strain or odd sounds during a brief powered test, stop and isolate power then consider professional evaluation or blower motor service options noted in the blower motor replacement resource. Record level readings and take photos so a technician has reference if you need to call for help later.
Select shims made from stable materials like stainless steel or composite packers rather than thin metal or cardboard that compresses over time. Lift the cabinet slightly with a pry bar protected by scrap wood and insert shims at the feet that need correction, adding thin layers until the spirit level reads plumb within a small tolerance. Tighten any mounting bolts gradually while rechecking level to avoid distorting the frame, and reinstall isolation pads if old pads show compression or rot. After adjustments, run another water test to confirm condensate flows to the outlet without pooling or flexing the drain pan.
Inspect internal components like the evaporator coil seating and blower housing for shifts created by re-leveling, ensuring clips and access panel screws sit flush and do not press on insulation. If you notice damaged insulation or damp insulation near the cabinet after leveling, consider upgrading insulation or learning about air handler insulation benefits to prevent future moisture issues. Watch the unit over several cycles for recurring noises or new leaks, and keep your documented photos and level readings for any follow-up service. If vibration or drainage problems persist after DIY shimming, contact a licensed technician for a full inspection and safe repairs in Arlington, TX or Trophy Club.
When To Call A Professional For Air Handler Leveling
Call a professional when vibration or drainage symptoms continue after your shimming attempts, or when you detect electrical or motor irregularities. A technician will perform a full inspection including level measurements across two axes and a visual check of motor mounts and blower wheel seating. They will also test condensate flow under powered conditions to observe pan flex and outlet alignment. If you notice musty odors or repeated tripping of breakers, schedule an expert evaluation promptly.
Professionals use tools like a long spirit level, straightedge, and moisture meter to confirm the cabinet sits plumb and the drain pan slopes correctly. They will inspect isolation pads, fasteners, and base channels for corrosion or compression that might require replacement rather than simple shimming. During diagnosis the tech may run voltage and amperage checks at the blower motor to rule out electrical causes of noise. These measurements help decide whether repairs extend beyond leveling.
If condensate backs up or the trap appears blocked, the technician will clean and inspect the trap and drain line and confirm continuous downward slope to the drain. For persistent slow drainage a professional might perform a force test and then clear blockages or recommend drain trap servicing. Homeowners can review routine cleaning guidance such as the condensate trap cleaning instructions for Saginaw to understand the process. Proper drain testing ensures leveling changes actually restore reliable condensate removal.
Call for professional service when the cabinet shows structural damage, significant frame twist, or if re-leveling requires lifting the unit and disconnecting ductwork. Technicians will document level readings, take photos, and provide repair steps when structural fixes or component replacements are needed. For property managers in Arlington, TX or homeowners in Trophy Club, recurrent vibration after DIY attempts signals it’s time to involve a licensed technician. Prompt professional intervention prevents further damage and preserves system reliability.
Preventative Maintenance Tips To Keep Units Stable
Schedule regular visual checks of feet, isolation pads, and mounting bolts every three to six months to catch changes early. During inspections, test cabinet stability by pressing each corner and listening for new rattles or movement. Make a short log of level readings and photos so changes show over time and guide future adjustments. If you notice new moisture or odors, mark the date and conditions for follow-up inspection by a technician.
- Check isolation pads for compression or rot.
- Verify mounting bolts stay snug after operation.
- Inspect shims for corrosion or movement.
- Run a condensate flow test after adjustments.
Keep the condensate path clear by flushing the trap and drain line during routine maintenance to prevent clog-related tilt. A trained technician can confirm proper trap slope and outlet alignment during an inspection, homeowners may review guidance on evaporator drain trap slope beforehand. Ensure attic or closet framing does not press on duct collars, which can nudge the cabinet out of plumb over time. Small shifts from duct pressure or settling often show as new panel rattles that deserve attention.
Replace soft or improvised shims with stable materials such as stainless steel or composite packers when you spot compression signs. After replacing shims, recheck level across two axes and run another water test to ensure the drain pan no longer flexes. Monitor the blower motor for changes in sound or temperature after adjustments to confirm vibration reduction. If vibration continues despite proper shimming, arrange a professional evaluation in Arlington, TX to identify hidden structural or component issues.
Include level checks in any service visit that involves removing panels or adjusting internal components to prevent accidental misalignment. When insulation or wiring touches the cabinet base, reposition or secure them to avoid uneven compression beneath feet. Store replacement shims and small isolation pads near the unit so quick fixes use approved materials rather than temporary items. For homeowners in Trophy Club, seasonal humidity shifts make these preventative checks particularly useful to avoid recurring drainage and vibration problems.
How Proper Leveling Improves Drainage And Lifespan
Proper leveling helps condensate travel continuously toward the pan outlet, reducing the chance of standing water that accelerates corrosion. When the drain pan sits flat and does not flex under load, trapped moisture cannot soak nearby insulation or wiring. A professional checks pan slope and watches for low spots while running a water flow test. If pan damage is found, replacing or repairing it prevents repeated corrosion and moisture exposure to components.
Correct level reduces vibration that can open tiny cracks or seams where condensate escapes during high-humidity cycles. Less movement means seals around the evaporator coil and access panels remain tight longer, preventing air bypass and moisture intrusion. Technicians may reseat clips and tighten fasteners after leveling to preserve those seals and stop future leaks. Over time, stable cabinets lower mechanical stress on bearings and extend the blower motor service life.
Consistent drainage protects control boards and capacitors from intermittent wetting that shortens electrical lifespan and causes erratic faults. By directing water reliably to the trap and drain line, the cabinet avoids exposing sensitive components to moisture during heavy cycles. Professionals often recommend adding secondary protection for vulnerable installations to catch overflow before it reaches electronics. For installations where an overflow risk exists, consider secondary drain pan protection to provide an extra safeguard against leaks and component damage.
Proper leveling also reduces long-term maintenance needs by preventing uneven wear that leads to motor and coil problems. A leveled unit runs smoother and requires fewer corrective interventions, so scheduled maintenance focuses on cleaning rather than constant repairs. Homeowners in Trophy Club and property managers in Arlington, TX notice fewer callbacks when units stay plumb and drains clear. If you observe persistent pooling or recurring motor noise after adjustments, contact a licensed technician for a full inspection and written recommendations.
Frequently Asked Questions
How does air handler leveling stop rattles and thumps?
Uneven cabinets let panels and internal parts shift when the blower motor runs, producing rattles and thumps you hear. Air handler leveling stops that movement by bringing the cabinet into firm contact with its mounting surface and shims. Proper level also keeps the blower wheel, motor mounts, and duct connections aligned so parts don’t strike each other during startup. If vibration persists or you suspect loose mounts, use caution and call a professional to inspect and secure components.
Can slight tilts cause slow condensate drainage?
Yes, slight tilts can slow condensate drainage by preventing water from reaching the drain pan outlet efficiently. Standing water can accumulate near the evaporator coil and cause corrosion or reduced cooling performance. This pooled moisture may lead to biological growth and clogged drain lines if not corrected. If you suspect drainage issues, exercise caution around electrical components and call a licensed HVAC pro to inspect and perform proper air handler leveling.
When should I call a pro for cabinet shimming?
Call a pro when you hear new rattling, humming, or increased vibration that simple adjustments don’t fix. If condensate pools around the drain pan or you notice water stains, contact a technician to prevent coil or motor damage. If the cabinet sits on an uneven pad, has corroded mounts, or the blower housing flexes, a pro can shim and reinforce safely. For any electrical or refrigerant access or if you suspect structural risks, stop DIY work and call a licensed technician.
Will leveling protect the blower motor and bearings?
Yes, proper air handler leveling helps protect the blower motor and bearings by reducing frame stress and vibration during operation. When the cabinet sits level, bearings experience more even loads and less lateral wear over time. Reduced vibration also cuts the chance of loosened fasteners and misaligned shafts that can damage motor components. If you notice unusual noise or heat, stop operation and call a professional for inspection and corrective leveling.
How do technicians measure and confirm level?
Technicians first place a torpedo level on the air handler cabinet and across the blower housing to check pitch and roll. They record readings front-to-back and side-to-side, noting any deviation in inches or millimeters. For precise Air handler leveling, they may use a digital inclinometer and confirm drain pan slope toward the condensate outlet. If the unit sits on a subfloor or attic joists, technicians warn of safety risks and recommend a professional to adjust and secure the cabinet.