

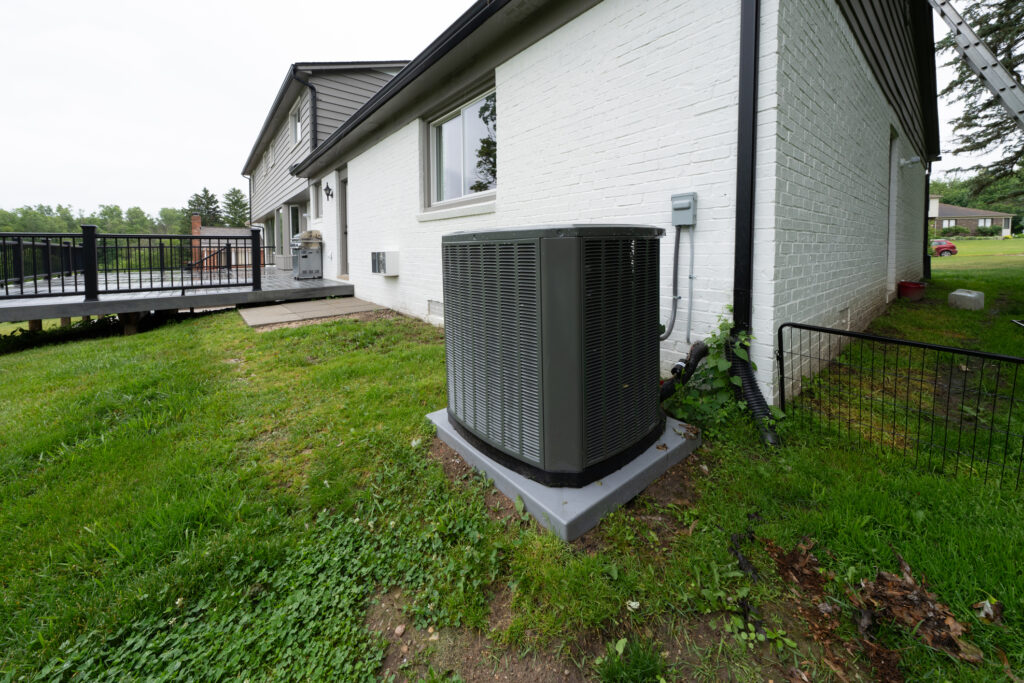
Compressor Sound Blanket Install Cuts Unit Roar
Key Takeaways About Compressor Sound Blanket Install
A compressor sound blanket install uses dense, heat-resistant material to reduce noise from the outdoor compressor casing. This guide is for homeowners and property managers who notice persistent compressor noise or performance changes and want safe options.
- Identify the dominant noise source before adding sound materials.
- Prevent blocked airflow by keeping manufacturer clearances intact.
- Avoid masking mechanical faults that need repair first.
- Spot changes by comparing suction and discharge pressure readings.
- Reduce vibration using rated materials and nonconductive fasteners.
- Plan post-install checks for airflow temperatures and sound levels.
Introduction
A loud outdoor compressor can make living rooms, patios, and bedrooms uncomfortable and reduce the perceived value of a home. A compressor sound blanket install can cut the unit roar and restore quieter operation without changing the equipment. Homeowners often call when noise becomes constant or when sound spikes during startup and cooling cycles. In some cases the complaint hides a deeper issue that needs diagnosis before adding sound materials.
Before installing a blanket, a technician will assess whether the compressor, condenser fan, or loose panels cause most of the noise. Proper assessment matters because wrapping the wrong component can trap heat or mask failing parts. A qualified inspection checks refrigerant pressures, electrical connections, and clearance around the unit. That inspection helps protect performance and prevents unintended damage after a sound treatment.
Installing a sound blanket requires materials rated for outdoor HVAC use and a plan that preserves airflow and service access. The right product resists moisture and heat while dampening vibration and tonal noise from the compressor casing. If airflow or refrigerant pressures change after installation we recommend immediate reevaluation to avoid reduced efficiency or safety risks. Professionals verify static pressure, evaporator coil condition, and blower performance after any changes to the outdoor unit.
Homeowners in Argyle often notice noise first when entertaining outdoors or during warm evenings when the compressor runs longer. In a common situation, a unit that suddenly grows loud will get a visual inspection for loose panels and a pressure check for low refrigerant. For properties in Grapevine, TX the same symptoms can signal both simple vibration and more serious mechanical wear. When noise accompanies odd smells, frequent short cycling, or reduced cooling, contact a professional for a full diagnostic and safe next steps.
How Compressor Sound Blanket Install Reduces Noise
A compressor sound blanket install uses dense, heat-resistant material to reduce airborne and structure-borne noise from the compressor housing.
- It absorbs tonal frequencies that make the compressor sound sharp.
- It reduces panel vibration that transmits sound into the yard.
- It adds mass to the casing, lowering resonance peaks.
- It keeps discrete low-frequency rumble from carrying far.
The blanket works by changing how sound waves leave the compressor and how the casing vibrates under load. Homeowners often ask whether the blanket will silence the unit entirely, it will not, but it can significantly lower steady hum and startup clangs. A professional inspects clearances and adds the blanket where it dampens noise without blocking airflow. This ensures the blanket helps rather than harms performance or longevity.
Materials used are chosen to resist outdoor moisture and compressor heat while still allowing service access panels to open. Installers leave at least the manufacturer-recommended clearance so the condenser fan can pull air freely. After installation, a technician will listen for remaining tonal sources and check refrigerant pressures to confirm performance. For more detail about product options and installer best practices see the manufacturer’s guidance and pages like compressor sound blanket.
In Argyle and in Grapevine, TX homeowners notice the biggest difference during night hours when background noise drops. A diagnostic check often follows the install to confirm only the compressor noise was addressed and no cooling capacity was lost. If noise persists, the technician will inspect the condenser fan, mounting pads, and electrical components for additional faults. If safety risks arise, professionals will recommend repair before further sound treatments.
Understanding Why It Happens In Compressors
Internal causes of loud compressor noise often start with mechanical wear inside the compressor shell. Bearings, pistons, and valves can produce metallic clanks or rhythmic knocks as tolerances widen with age. A technician listening for changes in tone during startup and steady run can often localize whether sounds come from within the compressor or from attached components. That audible diagnosis guides whether a sound blanket will help or merely mask a failing mechanical part.
Refrigerant issues also change how a compressor sounds under load and can indicate deeper problems than surface vibration. Low refrigerant or a partial restriction causes the compressor to work harder and run hotter, often producing a higher-pitched whine or faster cycling noise. During a service visit, techs measure suction and discharge pressures and compare readings to expected values to confirm whether refrigerant is a factor. These pressure checks determine if addressing fluid charge is required before any noise treatment.
Mounting and isolation problems transmit compressor vibration into the cabinet and the surrounding pad or structure, increasing perceived noise. Loose mounting bolts, deteriorated rubber grommets, or a warped baseplate let mechanical energy reach sheet metal and yard surfaces. Professionals inspect mounting hardware visually and by hand, then test vibration levels by placing a stethoscope or listening device on the casing. Fixing the mount often reduces structure-borne noise and can change the approach to the compressor sound blanket install.
Heat management affects both safety and effectiveness of sound treatments on compressors, particularly when materials sit close to hot surfaces. A qualified installer checks compressor surface temperatures and leaves recommended clearances so the blanket does not trap heat or contact electrical terminals. They may reference routine maintenance practices found in resources like HVAC compressor care tips to confirm the unit received proper preventive service. Ensuring cooling paths remain clear helps preserve compressor life while the blanket reduces noise.
For example, a homeowner in Argyle reports noisy startup followed by steady humming through the night, a technician would first listen, then check mounting and refrigerant pressures. In a common situation, recorded sound and pressure gauge readings show high suction pressure and worn mounts, which point to repair before adding insulation. Those diagnostics let the installer decide whether a blanket will meaningfully reduce noise or simply hide failing parts that need replacement. When noise links to measurable faults, repair takes priority for safe long-term results.
Assessing If Your Unit Is Suitable For Blanket
Begin by confirming the outdoor unit model and access panels that technicians use for service. A visual check verifies service ports, electrical disconnect, and whether the compressor casing has factory openings that affect blanket fit. Measuring clearances and noting how the condenser fan draws air informs whether added material might impede airflow. Installers also check that controls and contactor locations remain reachable without removing permanent fasteners.
Next, inspect the compressor casing for damage, oil leaks, or missing fasteners that indicate internal problems rather than just vibration. A visible oil film or fresh oil drops suggest internal seal or refrigerant issues that need repair before any blanket is applied. Technicians probe mounting bolts and rubber isolators by hand to detect looseness or degraded mounts that transmit structure-borne noise into the pad. If mounts fail this check, secure mounting must occur before pursuing the compressor sound blanket install.
Measure operating temperatures and listen for tonal peaks while the unit runs to determine the dominant noise source and safe blanket clearances. Temperature readings across the casing and pressures at service ports help confirm the compressor does not already run excessively hot under load. This data also shapes blanket material choice and placement so heat-sensitive components stay uncovered. For guidance on maintaining sufficient space for airflow after the wrap see outdoor unit clearance and airflow.
Finally, consider site-specific constraints like nearby walls, fences, or hard surfaces that amplify sound and limit service access. Homeowners in Argyle often show installers tight backyard placements that require a different mounting approach. A unit in Grapevine, TX with limited side clearance may need selective panel coverage and more frequent post-install checks. When diagnostic checks reveal clearances, temperatures, and mounting are acceptable, the installer can proceed with a measured compressor sound blanket install.
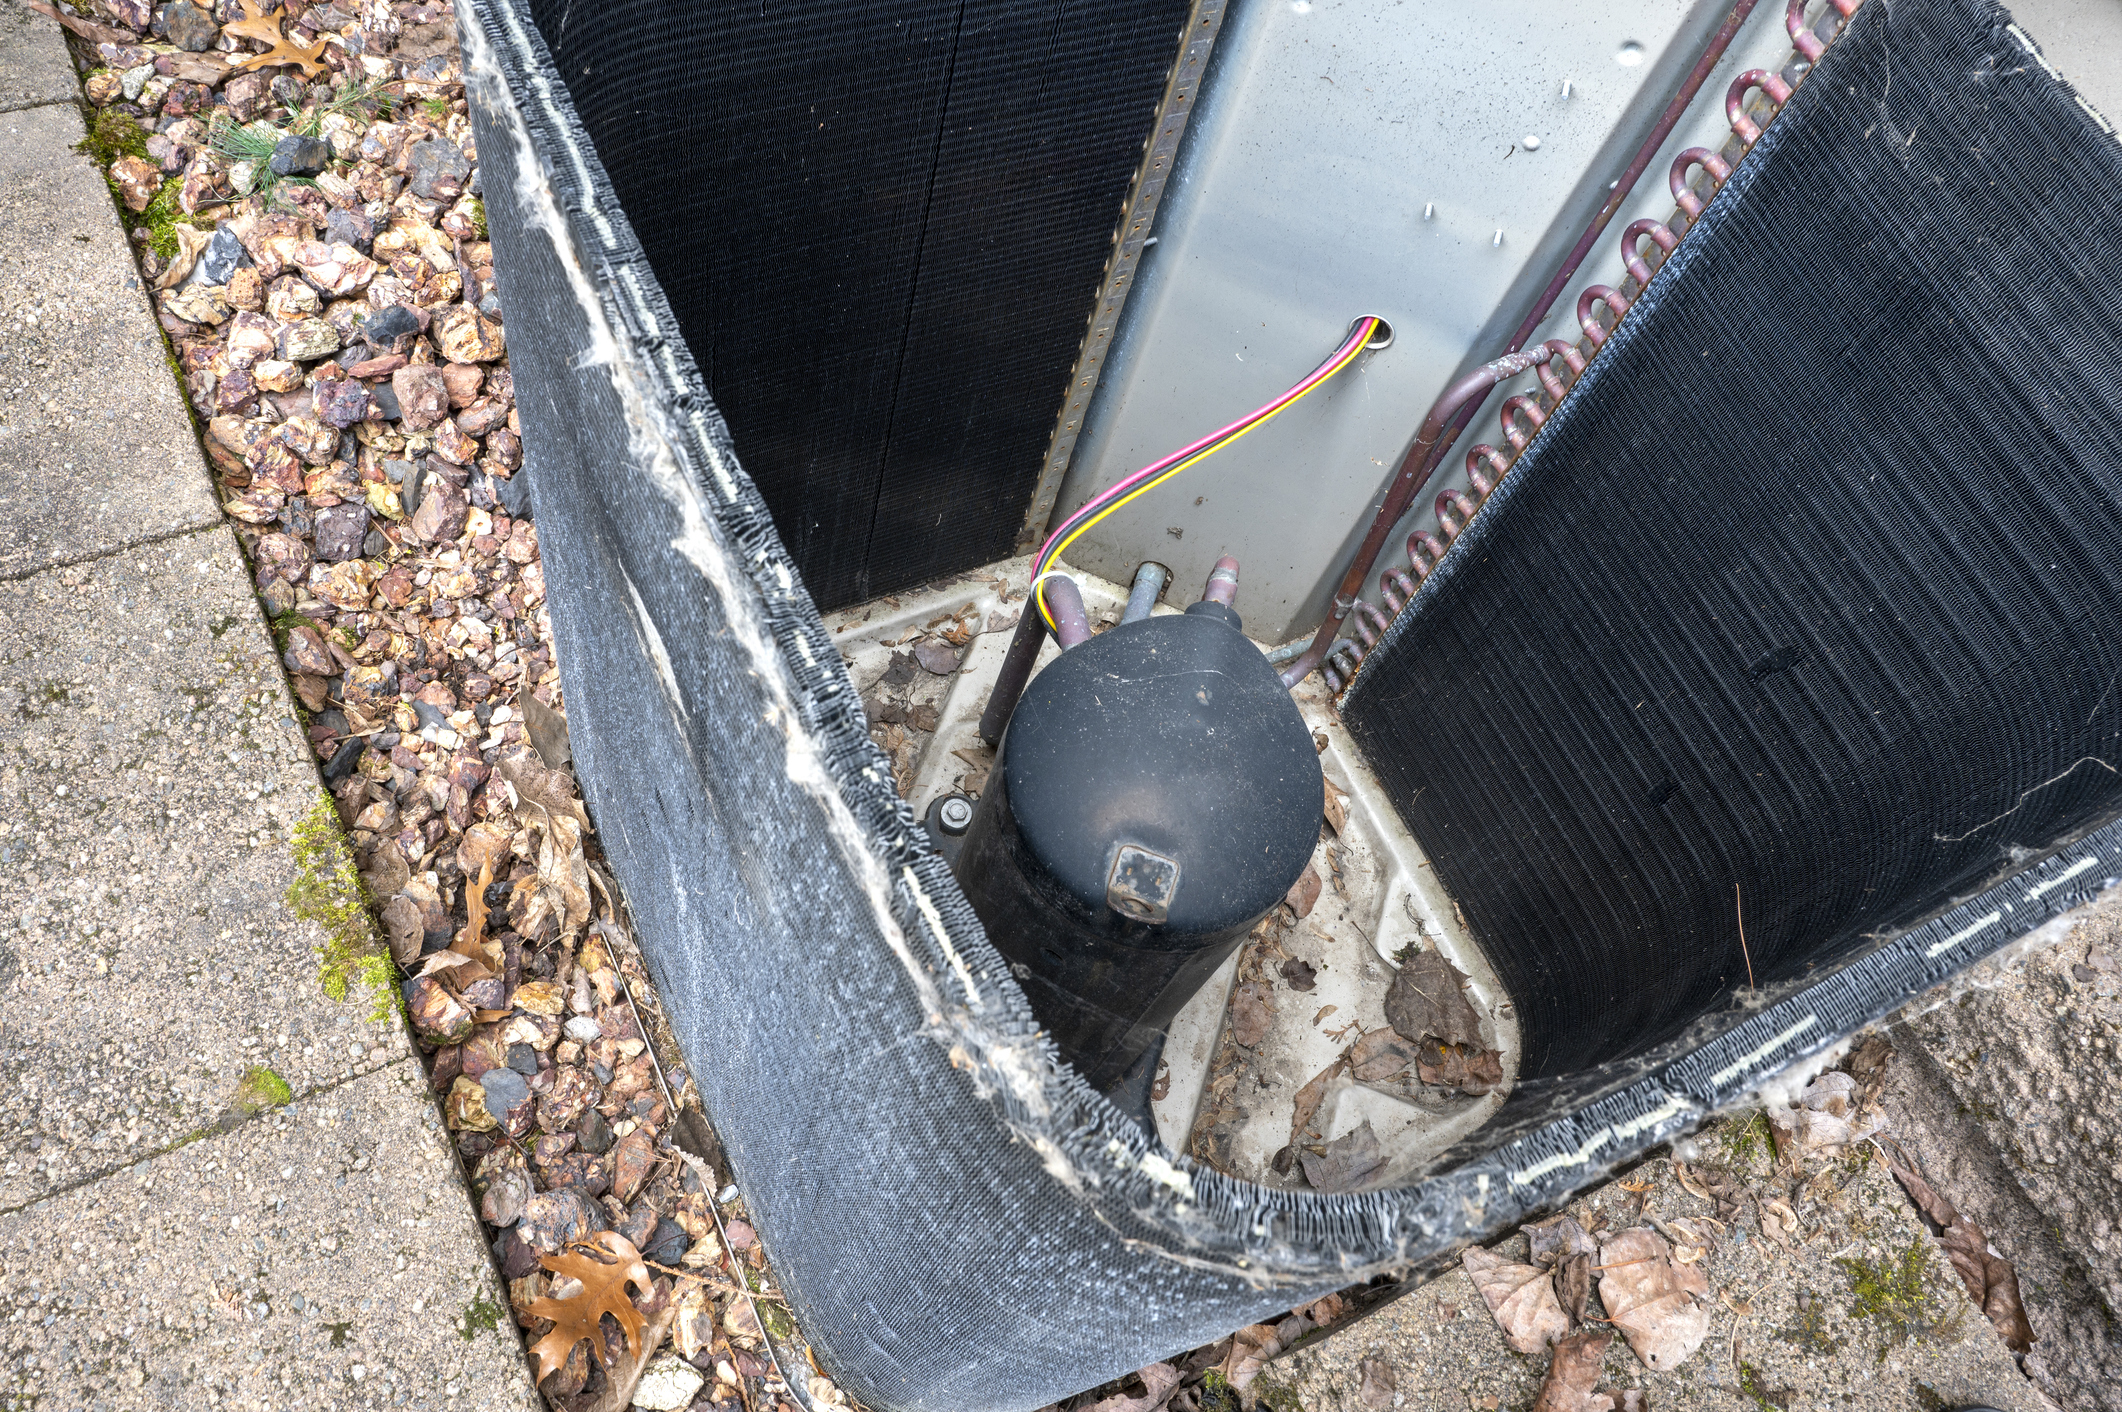
Warning Signs That Indicate Excessive Unit Roar
If your outdoor unit suddenly sounds harsher during startup or under high load, it may need attention beyond a blanket. Listen for sharp metallic clanks or rhythmic knocking that change with compressor RPM because these often indicate internal wear. Pay attention to unusual smells like burnt insulation or oil, which suggest leaks or electrical stress needing immediate inspection. Also note if noise increases during specific times of day when the unit runs longer, as that can reveal overheating or cooling-path restriction.
- Persistent high-pitched whine during steady run.
- Intermittent loud clanks at startup.
- Vibration that transfers to nearby walls or deck.
- Noticeable warm oil or refrigerant odor near the unit.
Check whether the compressor temperature visibly rises above the normal warm range while operating, since excessive heat reduces safe blanket options. A professional would record suction and discharge pressures and compare them to expected ranges during diagnosis to confirm refrigerant-related noise. Technicians also inspect mounting bolts and rubber isolators for looseness because structure-borne vibration often amplifies perceived roar. If service ports show oily residue, a refrigerant charge audit may be scheduled before any sound treatment is applied.
Homeowners sometimes report that noise correlates with the condenser fan cycling or hitting a specific speed setting, which points to fan or motor issues rather than the compressor shell. A tech will isolate the fan, listen at the cabinet, and use simple vibration checks to identify the dominant noise source. In Argyle and in Grapevine, TX, confined placements near fences or masonry can magnify symptoms and change the urgency of repair. If diagnostic checks suggest mechanical or refrigerant faults, address those issues first before proceeding with a compressor sound blanket install.
Safe Steps To Prepare For Compressor Sound Blanket Install
Before handling the compressor casing, shut off power at the outdoor disconnect and verify zero voltage at the unit with a multimeter. Remove loose debris and vegetation around the unit so work areas stay clear and service panels open freely. Photograph control terminals and service port positions before disassembly to preserve reassembly accuracy and to document pre-install condition. If you see oil stains or frayed wiring, stop and schedule a professional inspection because these indicate repair needs before any blanket is applied.
Measure compressor surface temperatures at several locations while the unit runs and record suction and discharge pressures using standard gauges. Confirm the condenser fan clearance and airflow direction to prevent blocking intake paths once the blanket is installed. Prepare the blanket material rated for outdoor HVAC use and check that fasteners will not pinch wires, terminals, or service hoses. Keep access panels and the electrical compartment reachable without removing permanent blanket sections.
Create a mock fit by draping the blanket loosely around the compressor casing to confirm service access and clearance from the condenser fan. Use nonconductive spacers or standoffs where the blanket approaches electrical terminals to avoid accidental contact with live parts. Label fasteners and mark panel edges so technicians can reattach covers without disturbing factory seals during later maintenance. For homeowners wanting a post-install airflow verification, reference an airflow performance test such as the one used in Colleyville.
Plan for immediate post-install checks by assigning someone to monitor the unit during its next cooling cycle for unusual noises or temperature rises. Keep a basic tool kit and pressure gauges nearby so the installer can retake suction and discharge readings promptly after the wrap. Note any changes in startup behavior or cycling and record them for the technician to assess whether the blanket affected system operation. If warm spots, reduced cooling, or odd smells appear, remove the blanket and call for a professional diagnosis.
Step By Step Installer Actions And Decision Points
Begin by positioning the installer to have clear tool access, the electrical disconnect open, and the unit powered down for safe work. The technician removes the compressor access panel and inspects fasteners, noting any stripped screws or damaged seals that affect reassembly. Next, they perform a surface-temperature spot check to confirm safe blanket contact points and mark areas where standoffs are required. If electrical terminals show corrosion or oil accumulation the installer documents findings and delays the wrap until repairs finish.
Fit the blanket loosely first, aligning cutouts to match service ports, control boxes, and the condenser fan sweep. The installer secures the blanket with nonconductive straps and stainless fasteners placed where they do not compress wiring or refrigerant tubing. Decision points include whether to leave a removable top section for compressor access or to use quick-release straps for future service visits. If the blanket touches moving parts or service access is impaired, the installer reconfigures attachment points before final tightening.
After the blanket is secured, the technician re-energizes the unit and watches the startup sequence while standing at a safe distance to listen for new or changed noises. They then conduct a static pressure test as part of the follow-up, using the recorded pre-install baseline to compare any changes in airflow. If static pressure rises beyond acceptable variation the installer loosens or repositions the blanket and retests until readings return to safe levels. Documented readings and photos help decide whether the wrap stays or must be modified for performance.
Finally, the installer records suction and discharge pressure readings and compares them to pre-install values to confirm refrigerant behavior remains normal under load. If pressures shift significantly or the compressor temperature climbs, the technician removes or reworks blanket sections and schedules a detailed diagnostic. For homeowners in Argyle and in Grapevine, TX this step prevents masking underlying faults and keeps cooling capacity intact. The installer hands the homeowner simple monitoring steps and schedules a short follow-up to confirm long-term stability.
When Homeowners Should Call A Professional Service
If you notice persistent noise after a compressor sound blanket install and the unit shows new smells or higher running temperatures, call a professional immediately. A trained technician will perform a focused diagnostic rather than rely on sound alone. They will verify electrical connections, check for oil or refrigerant leaks, and confirm safe clearances around the compressor casing. Prompt professional attention prevents damage that a blanket could otherwise hide.
- Unusual smells near the unit require immediate inspection.
- Repeated tripping of breakers calls for a technician.
- Rapid temperature rise at the compressor needs evaluation.
- Sharp new noises after the wrap indicate further service.
If the homeowner notices reduced cooling following a compressor sound blanket install, schedule an expert to retake suction and discharge pressure readings. A professional will compare those readings to expected ranges and the pre-install baseline to detect charge or flow problems. They will also check refrigerant line insulation and service port seals for disturbances from the installation. Accurate pressure checks reveal whether performance dropped or remained stable.
When site constraints limit access, homeowners should request a service visit that inspects the blanket fit and access strategy. Technicians can adjust quick-release straps or removable sections so future maintenance remains safe and efficient. In some cases, they will recommend adding a simple condensate detail like a condensate cleanout tee to improve long-term serviceability. Homeowners in Argyle and in Grapevine, TX should keep monitoring the unit and call for professional follow-up when any operational change appears.
Verifying Airflow And Pressures After Install
After a compressor sound blanket install, start verification by measuring return and supply airflow using a vane meter or pitot tube near the supply plenum. Compare airflow to pre-install baseline or to manufacturer airflow guidance to spot reductions that could affect comfort. If airflow drops noticeably, loosen or reposition the blanket where it restricts the condenser fan intake or airflow path. Persistent low airflow after adjustments requires professional troubleshooting to avoid reduced efficiency or coil frosting.
Next, retake suction and discharge pressure readings at the service ports while the system runs through a typical cooling cycle and record values for comparison. Watch pressures for unusual swings during startup and steady run, since the blanket can change operating temperatures slightly. If pressures move outside expected ranges, remove sections of the blanket and re-test to determine whether the wrap influenced refrigerant behavior. Technicians may also inspect the evaporator coil and blower for secondary effects from altered airflow.
Also monitor compressor surface temperature and nearby cabinet temperatures with an infrared thermometer to ensure the blanket does not trap excessive heat. Look for hot spots near electrical terminals, contactor, or service valves that could signal unsafe contact or inadequate clearance. If temperatures exceed safe operating ranges, take the blanket off and contact a professional for a full diagnostic and possible repairs. For related condensate issues that sometimes appear after airflow changes, review condensate details and testing like those used in condensate pump repair and testing.
Finally, listen and log sound levels before and after tweaks using a simple sound meter app or technician-grade decibel meter to quantify improvement. Note any new tonal peaks or rattles that begin after the wrap and inspect mounting hardware and fan blades for secondary noise sources. In a follow-up visit, a technician uses recorded readings, pressure gauges, and airflow tests to decide whether the blanket remains or requires permanent rework. Homeowners in Argyle should report any sudden performance change promptly so professionals can verify safe, long-term operation.

Frequently Asked Questions
Will a compressor sound blanket install damage my unit?
A proper compressor sound blanket install will not damage your unit when fitted correctly around the compressor housing and clearances. Technicians check refrigerant lines, electrical connections, and condenser coil access before fastening the blanket. Poorly placed insulation can trap heat or block airflow, so caution and correct clearances matter. If you’re unsure, hire a licensed HVAC pro to install and verify pressures and airflow after the job.
How do technicians check pressures before and after install?
Technicians connect refrigerant manifold gauges to the service ports and record static and running pressures with the system at steady state.
They note ambient temperature, refrigerant type, and line temperatures to compare expected pressure-temperature relationships.
After a compressor sound blanket install they repeat readings and compare suction, discharge, and subcooling numbers to pre-install values.
If readings deviate or you smell refrigerant, stop and call a licensed HVAC pro because working with refrigerant can be hazardous.
Can a blanket fix loud startup clanks or internal wear?
A compressor sound blanket install can reduce airborne noise but it will not stop mechanical clanks from loose parts or bearings. Loud startup clanks or grinding usually indicate internal wear inside the compressor or mounting hardware. Do not ignore these sounds, because continuing to run a worn compressor risks sudden failure and refrigerant leaks. For safety and accurate diagnosis, have an HVAC pro inspect the unit, check refrigerant pressures, and repair or replace worn components.
What clearance and airflow checks are done during install?
Technicians confirm at least the manufacturer’s recommended clearance around the compressor to maintain adequate ventilation and service access. They measure airflow at the unit discharge and check return airflow to ensure the blanket does not restrict the system. A pressure gauge verifies refrigerant pressures remain within normal operating ranges after the Compressor sound blanket install. If readings look off or the blanket touches moving parts, stop and call a professional because safety and system performance can be affected.
How soon should I call a pro if noise or temps rise?
Call a professional within 24–48 hours if noise worsens or indoor temperatures climb after a compressor sound blanket install, since changes may signal airflow or refrigerant problems. Persistent rattles, grinding, or new high-pitched whines need immediate attention to avoid compressor damage. If you notice higher discharge or suction pressures on gauges, shut the system off and contact a technician right away. For safety, avoid poking at electrical components or refrigerant lines and let a pro diagnose and repair.