

Temperature Split Test Confirms Cooling Performance
Key Takeaways About Temperature Split Test
A temperature split test measures the difference between supply and return air to evaluate cooling performance. This guide is for homeowners and property managers who notice weak airflow uneven cooling or unusual system behavior and need to decide when to call a professional.
- Identify weak airflow by checking vents and filter condition first.
- Prevent coil icing by maintaining proper airflow and filter changes.
- Avoid DIY refrigerant work because it requires trained handling and tools.
- Spot refrigerant problems using pressure gauges and temperature cross checks.
- Reduce energy waste by correcting airflow restrictions and balancing ducts.
- Plan professional diagnostics when splits remain abnormal after basic checks.
Introduction
A temperature split test checks the difference between supply air and return air temperatures to reveal cooling performance problems. When the split is wrong, rooms stay uncomfortable and energy use rises. Homeowners often notice weak airflow, uneven cooling, or longer run times before calling for help. Those symptoms usually point to airflow problems or incorrect refrigerant charge.
Measuring the supply-return temperature difference helps separate airflow issues from refrigerant problems. A small or large split tells a trained technician where to look next. Airflow problems can come from a clogged filter, blocked return grille, or a failing blower motor. Refrigerant issues show different signs during pressure and temperature checks.
For properties in Aledo and Arlington, TX, heat and humidity make accurate cooling crucial for comfort. Poor cooling can lead to more frequent system cycles and higher humidity indoors. Ignoring an abnormal temperature split can increase wear on the compressor and other components. Prompt diagnostic work prevents minor problems from turning into major failures.
If you notice weak vents, warm supply air, or unusual system noises, a temperature split test is one of the first professional checks. A technician will record temperatures, inspect the evaporator coil, and check fan performance to confirm the cause. Many homeowners find a clear test result helps prioritize repairs or adjustments. When safety or refrigerant handling is involved, contact a trained HVAC professional for service.
How The Temperature Split Test Works Mechanically
A temperature split test measures the difference between return air and supply air to show how the system moves heat. Technicians use a thermometer at the return grille and another at a nearby supply vent to get the two temperatures. This test isolates whether the system is moving conditioned air and removing heat effectively. A common homeowner question is whether a simple thermometer reading can diagnose problems, and the answer is yes, it gives a clear starting point for further checks.
- Measure return air at the largest return grille.
- Measure supply air in a nearby supply vent after five minutes of run time.
- Record both temperatures and calculate the difference.
- Repeat measurements in another room for comparison.
Mechanically, the evaporator coil removes heat from return air and the blower moves cooled air into the home. If the blower speed is low, supply air will be warmer and the temperature split shrinks. If the evaporator coil is blocked or frozen, the coil cannot transfer heat and readings will indicate abnormal splits. Professionals often watch the static pressure, inspect the evaporator coil, and verify blower motor operation to confirm airflow issues.
Refrigerant charge affects coil temperature and pressure, changing the temperature split in predictable ways during diagnosis. A properly charged system will produce a stable, expected split while technicians check refrigerant pressures with gauges while also watching temperature readings. For homeowners in Aledo, this mechanical interaction explains why poor splits often link to longer run cycles and higher indoor humidity. To learn more about related airflow and balancing problems, consult the guidance on temperature imbalances and home causes.
When a professional diagnoses the issue, they combine temperature split numbers with visual and tool-based checks to confirm the root cause. Observable cues like weak airflow at vents, ice on the evaporator coil, or abnormal fan noise guide the next steps technicians take. They will measure static pressure, inspect the condensate drain, and test blower motor amperage if needed. These steps produce documented readings that help decide whether to adjust airflow, add refrigerant, or recommend repair.
Typical Temperature Split Test Measurement Methods
Technicians choose from several practical measurement methods to perform a temperature split test depending on access and tools available. One common approach uses a digital probe thermometer placed at the center of the return grille and again in the supply vent after steady run time. Another method pairs a clamp-on temperature sensor at the duct surface with a second reading inside the vent to avoid disturbing registers. Professionals often document each reading with time and location for repeatability and written reports.
For airflow-focused checks, a technician may combine the temperature split test with a static pressure measurement in the supply plenum to see how resistance affects the split. They will record static pressure with a gauge and compare it to the supply-return temperature difference to detect restricted flow. When measuring static pressure, they also note filter condition and grille restrictions that could skew split numbers. This combined data helps decide whether to pursue airflow corrections first.
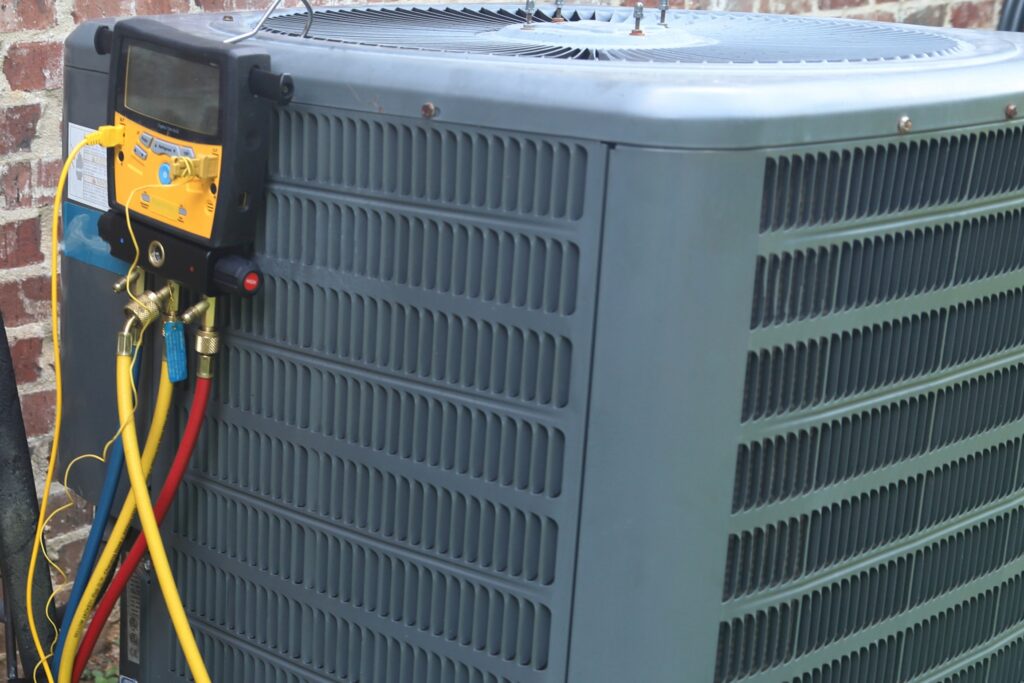
A second diagnostic path ties the temperature split test to refrigerant verification by adding refrigerant pressure readings at the service ports while monitoring return and supply temperatures. Technicians use manifold gauges and record suction and discharge pressures alongside temperatures to interpret coil performance. At times they will also use a handheld infrared thermometer to spot cold spots on the evaporator coil that indicate uneven refrigerant distribution. These steps provide cross-checks before any refrigerant adjustment is considered.
Some procedures include fitting a temporary discharge air sensor in the supply duct to capture stabilized outlet temperature while the system runs under normal load conditions, ensuring consistent split data. Accurate placement matters, because readings too close to the register can show mixed room air rather than true supply temperature. For tests that evaluate whole-system balance, technicians may reference an airflow performance test and use supply-plenum readings for comparison. Homeowners in Aledo and Arlington, TX commonly find documented temperature split and pressure readings useful when deciding on repairs or next steps.
Interpreting Results And Normal Split Ranges
A normal temperature split test result for most residential systems typically falls between 14 and 22 degrees Fahrenheit, but technicians interpret that range alongside other measurements. They compare a recorded split to expected manufacturer guidance for the system model and to static pressure readings taken in the supply plenum. If the split sits inside the expected band, techs still check evaporator coil surface temperatures and return airflow to confirm consistent performance. For homeowners in Aledo, seeing splits within this range usually means comfort issues lie elsewhere in the home envelope.
When the split is consistently below about 14 degrees, professionals suspect low airflow or short cycling as primary causes that reduce heat transfer. They verify by measuring blower motor current, inspecting the filter and return grille condition, and checking for closed dampers or blocked ducts. If airflow checks are normal, a low split combined with low suction pressure points toward an undercharged refrigerant condition as the next step. In some cases, technicians perform a targeted refrigerant check using service port gauges while monitoring the split to confirm charge issues.
A split higher than about 22 degrees often indicates excessive airflow resistance or an overcharged system that cools the coil too much relative to the air passing over it. Professionals will look for restricted return air paths, a dirty evaporator coil, or improper fan speeds that raise the apparent split. They may also compare suction and head pressures against expected ranges and use a refrigerant charge audit to document discrepancies. For a dedicated refrigerant inspection, technicians will follow standard diagnostic steps such as those outlined in a refrigerant charge audit for Benbrook.
Technicians confirm any diagnosis by combining temperature split readings with direct observations and tool outputs to avoid misdiagnosis. They record supply and return temperatures, static pressure, blower amperage, and refrigerant pressures to build a consistent picture of system health. If readings conflict, they repeat tests under steady-state run conditions and inspect the evaporator coil visually and with an infrared scanner. Homeowners who notice persistent uneven cooling or longer run times should share recorded observations with the technician to speed accurate diagnosis.
Airflow Problems Explaining Why It Happens
Restricted airflow often starts with simple, visible issues that reduce air moving across the evaporator coil. A clogged filter or a partially closed return grille forces the blower to work harder and lowers the cubic feet per minute of air. Technicians watching static pressure will spot unusually high resistance that aligns with a reduced temperature split. Homeowners in Aledo may notice weak vent flow or rooms that never reach thermostat setpoints when this happens.
- Dirty filter blocks air movement.
- Closed dampers divert required return airflow.
- Collapsed flex ducts pinch airflow paths.
- Obstructed return grilles starve the coil.
Mechanical problems with the blower assembly also create poor splits and uneven cooling in the house. A failing blower motor can lose speed or stall under load, so supply air temperature rises and the split shrinks. Technicians diagnose this by measuring motor amperage and observing blower RPM compared to manufacturer specs. In many cases they also inspect the capacitor and blower wheel for damage or imbalance.
Restricted airflow changes evaporator coil behavior and can mimic refrigerant issues during testing, which complicates diagnosis. A dirty or iced coil reduces heat transfer area, producing lower-than-expected temperature changes across the coil. Professionals confirm coil condition visually and with an infrared scan before altering refrigerant levels or making charge adjustments. If refrigerant work is required, technicians follow safe handling practices and may refer to guidance on identifying low refrigerant levels during diagnosis.
Refrigerant Charge Issues Explaining Why It Happens
Low refrigerant charge reduces the evaporator coil’s ability to absorb heat, causing the coil to run colder and sometimes form frost on the tubing. Technicians confirm low charge by comparing suction and discharge pressures to expected ranges while watching the temperature split test results. They also feel the suction line and inspect the coil for frost or pooling condensate before starting any refrigerant work. Homeowners in Aledo who see ice on coils should avoid running the system and call a pro to prevent compressor damage.
An overcharged system can push the evaporator coil temperature lower than necessary, creating an unusually large temperature split and lowered suction pressure readings. Professionals check for proper subcooling and superheat using gauges and temperature probes at the service ports to verify charge condition. They inspect the liquid line sight glass when present and check for oil tracking that suggests long-term overcharge or leaks. In Arlington, TX heat and humidity can make these symptoms more noticeable during heavy cooling loads.
Leaks and undercharging usually develop slowly and can show as gradual loss of cooling efficiency and steadier run times, which homeowners may notice before a technician tests. A technician performs a leak search with electronic detectors and dye when visible signs appear, then documents pressures and split readings to confirm the diagnosis. After finding a leak, they repair it and then evacuate and recharge the system to manufacturer-specified charge levels. Proper repair prevents repeated refrigerant loss and stabilizes the temperature split test readings over time.
Incorrect refrigerant type or improper service practices also cause abnormal split results and can harm system components if left unchecked. During diagnosis, a technician will verify refrigerant type at the outdoor unit nameplate and compare it to measured pressures and temperatures. They will also inspect the evaporator coil surface for cold spots or uneven cooling using a handheld infrared tool to confirm refrigerant distribution. For issues linked to frozen coils or airflow interaction, professionals reference guidance on evaporator coil freeze causes and fixes and may recommend steps from optimize HVAC airflow performance to support correct charging procedures.
Warning Signs That Indicate Immediate Action
Watch for sudden changes in how the system sounds, such as a loud compressor hum or grinding from the blower, which often accompany dangerous faults. Unusual smells like burning insulation or a sharp chemical odor can mean electrical failure or a refrigerant leak requiring immediate attention. If supply vents blow warm air while the outdoor unit runs loudly, stop running the system and call a professional to avoid further damage. Homeowners in Aledo should treat these cues as urgent and avoid DIY fixes when electrical or refrigerant issues appear.
Rapid icing or frost on the evaporator coil or refrigerant lines during operation signals a critical imbalance that can harm the compressor if ignored. If you see ice forming quickly after the system starts, turn off cooling to prevent liquid carryover and contact a technician. Technicians will inspect the coil, check airflow, and use gauges to confirm refrigerant condition before restarting. In many cases a trained technician will also check for a stuck expansion device or blocked metering to rule out underlying causes.
Repeated short cycling, where the system turns on and off several times within an hour, often indicates a safety response to improper temperature split test results or pressure extremes in the refrigerant circuit. Short cycles raise indoor humidity and stress electrical components, so homeowners in Arlington, TX should avoid prolonged use until a professional evaluates the system. A tech would record run times, measure supply and return temperatures, and inspect the thermostat and safety switches to diagnose the trigger. Documented run logs and split readings help technicians form repair plans without guesswork.
Significant reduction in airflow at multiple vents, not just one room, points to a system-level restriction or failing blower rather than a local register problem. Technicians will measure static pressure in the supply plenum, examine the blower motor, and balance ductwork as needed to restore proper cubic feet per minute. For homes with recurring balance concerns, professionals use targeted adjustments to dampers and registers and reference an airflow balancing approach to stabilize performance. Acting on these symptoms quickly prevents long-term compressor and coil damage while restoring comfort control.
When Homeowners Should Call A Professional Service
If you notice persistent abnormal temperature split test results after basic checks, it’s time to call a professional for a detailed assessment. A qualified technician will perform controlled diagnostics that go beyond homeowner checks to confirm root causes. They will use gauges, temperature probes, and airflow tools to collect repeatable readings under steady-state conditions. Prompt professional evaluation prevents minor issues from causing major compressor or coil damage.
- Record recent temperature split readings and symptoms for the technician.
- Note when sounds or smells occur during system operation.
- Point out any visible frost or water leaks near the coil.
- Mention rooms that remain warmer despite vents running.
A technician will validate the temperature split with a flow hood or similar room validation procedure to measure actual supply CFM and register performance. They will also measure static pressure across the system and compare results to expected ranges while watching split numbers. These checks help separate duct or blower failures from refrigerant problems before any refrigerant handling occurs. For homes in Aledo, documented airflow validation reduces the chance of misdiagnosis in humid climates.
If gauges and airflow tests show inconsistent data, a professional will inspect the evaporator coil and metering device for physical faults and uneven refrigerant distribution. They may perform a controlled leak search and pressure test if charge loss is suspected while following safe refrigerant handling practices. When balancing or repairs require adjustments, the technician will re-check the temperature split after each change to confirm improvement. Homeowners in Arlington, TX should schedule service when symptoms persist to protect system lifespan and indoor comfort.
Simple Home Fixes To Improve Temperature Split
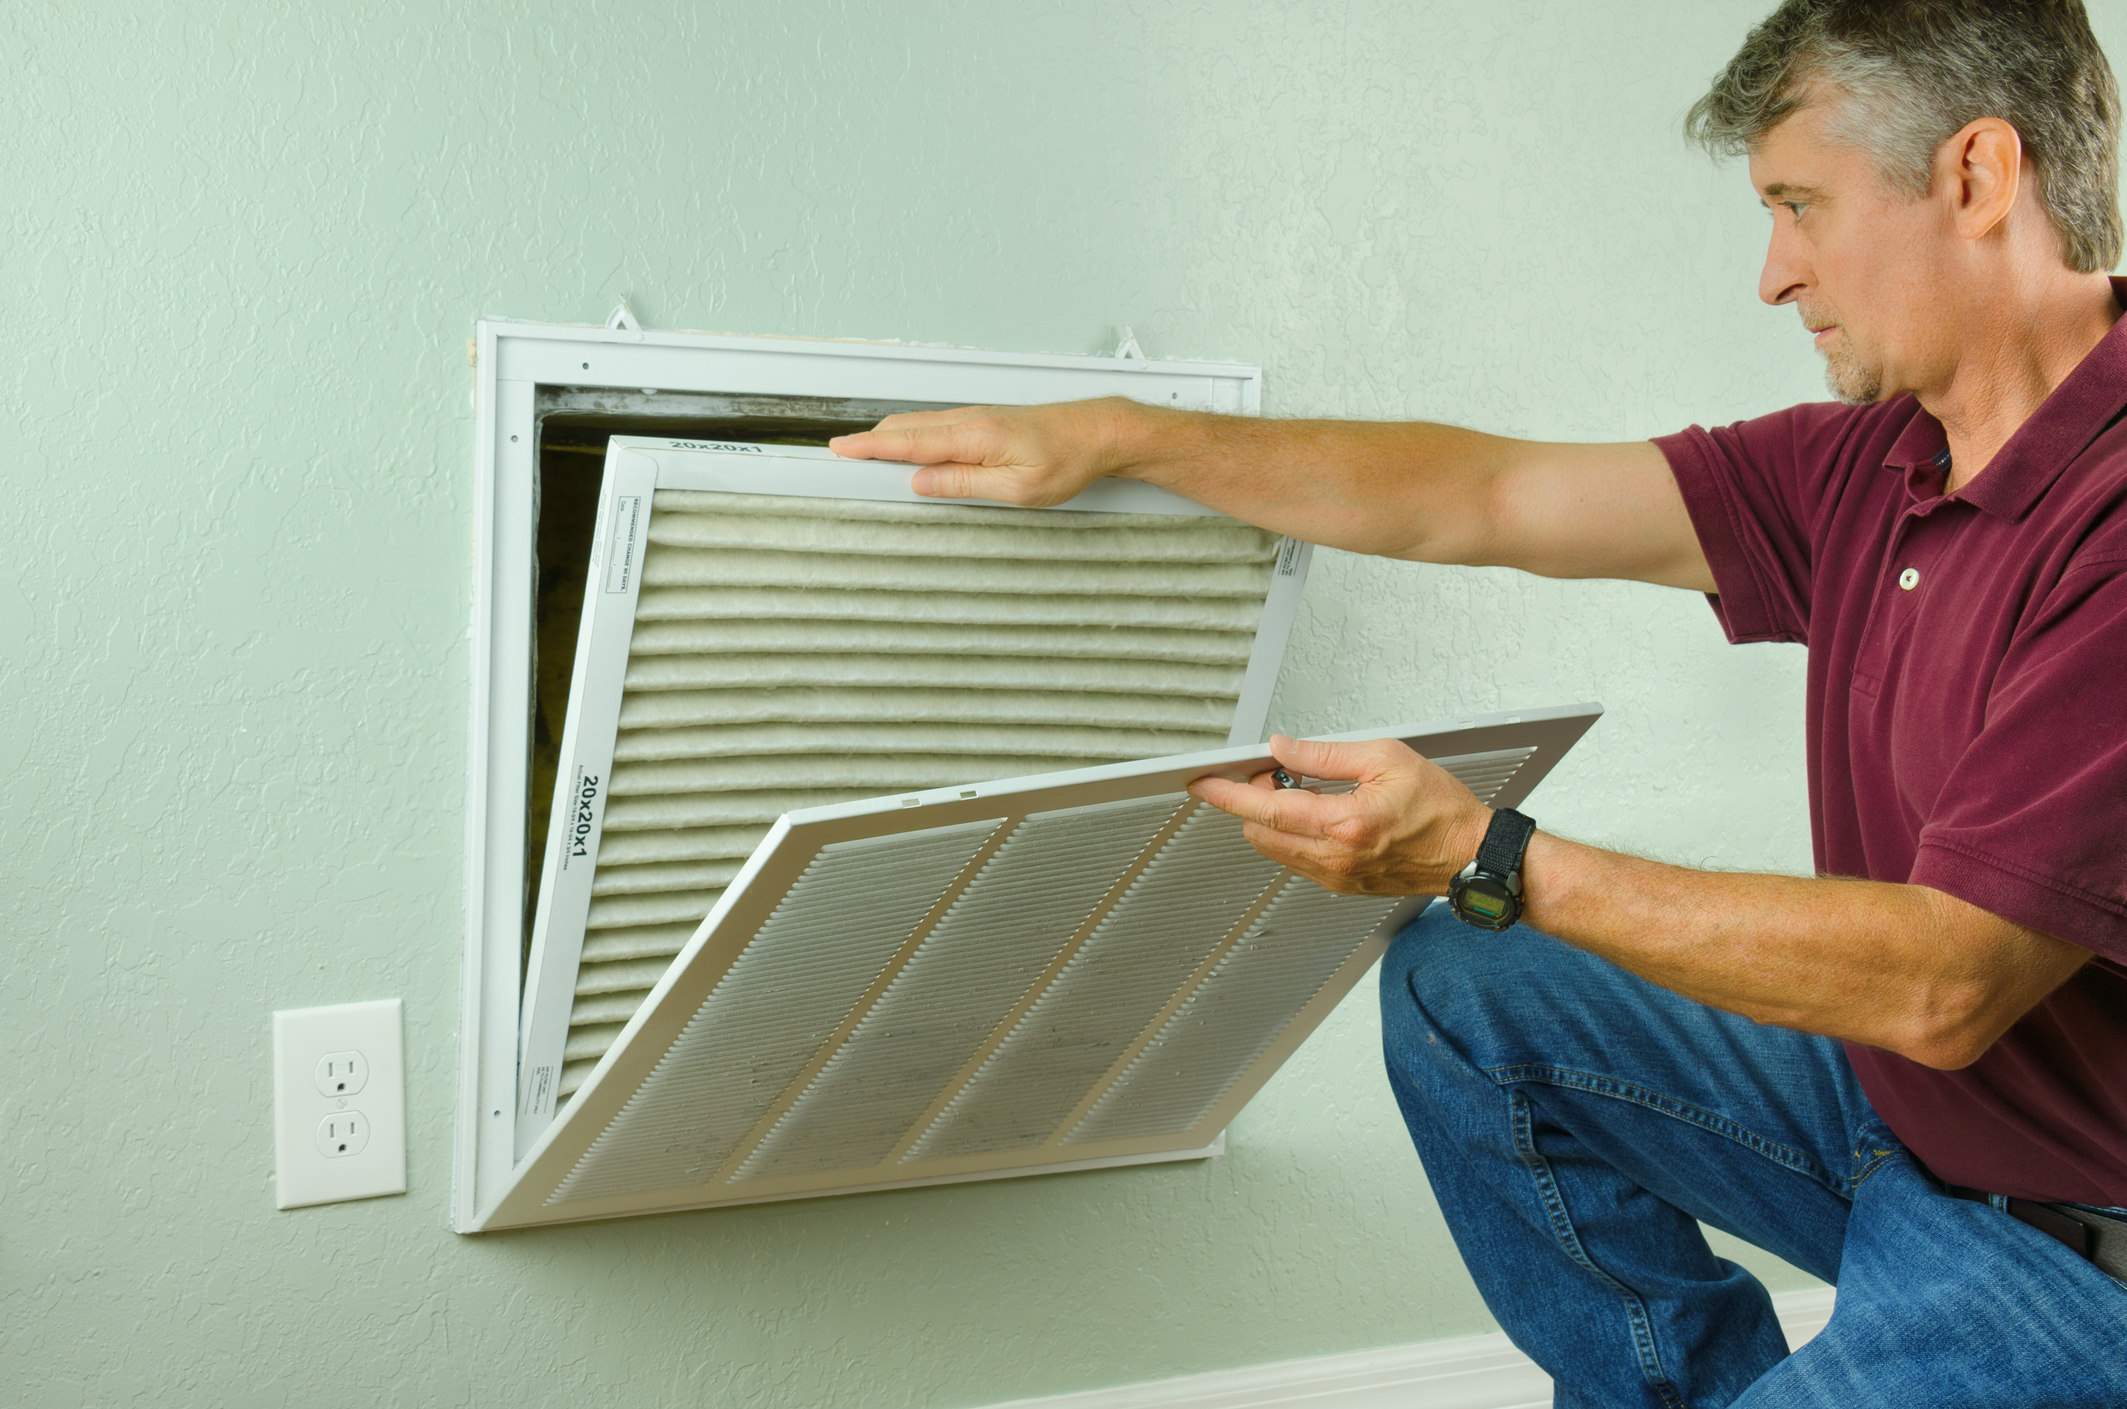
Start with simple airflow fixes that homeowners can safely do without tools beyond a screwdriver and flashlight. Clean or replace the air filter and remove visible dust from return grilles to improve cubic feet per minute through the coil. Open closed interior doors and check that floor or wall registers are fully open so conditioned air reaches rooms as designed. If supply flow still feels weak, inspect accessible duct boots for loose connections or detached flex that pinch airflow.
Adjusting supply registers can help rebalance rooms that run warmer than others without touching the duct main. Slightly close registers in overcooled rooms to redirect more air to warmer spaces and watch temperature change over an hour. Use the thermostat fan setting to cycle blower operation briefly while noting how vents respond, which reveals simple balancing opportunities. If you detect rattles or vibrational noise at a register, tighten loose screws and re-seat the grille to stop minor leaks.
Check the outdoor unit clearance and coil condition because outdoor restriction can affect indoor temperature splits indirectly. Remove leaves, grass clippings, and debris at least two feet from the condenser to maintain steady airflow through the outdoor coil. If fins are visibly bent, use a fin comb or call a technician to straighten them rather than attempting refrigerant work yourself. For homes where duct pressure feels uneven, consider a professional duct static check like the services described at duct static check trophyclub to find hidden restrictions.
If vents blow cold near the supply but rooms stay warm, verify return pathways are unobstructed and that furniture or curtains do not block grilles. Ensure the thermostat is away from direct sunlight and not near a supply vent which can mislead the control into shorter cycles. When you notice ice on the indoor coil, stop using the system and call a pro because that indicates deeper airflow or refrigerant issues. In Aledo, homeowners sometimes fix comfort problems with airflow tweaks, while residents in Arlington, TX may need professional balancing when multiple rooms show inconsistent cooling.
Frequently Asked Questions
What is a temperature split test and why perform one?
A temperature split test measures the difference between supply and return air temperatures to evaluate cooling performance. Technicians take steady readings at the supply register and return grille with a calibrated thermometer or thermometer probe. Results tell you whether airflow, refrigerant charge, or evaporator coil issues may be reducing capacity. If readings look abnormal, avoid DIY charging and call a professional because refrigerant work and electrical checks carry safety risks.
How do I measure supply and return temperatures?
Turn the thermostat to cooling and let the system run for at least 15 minutes to stabilize temperatures. Use a reliable thermometer or infrared gun to read the air at a return grille and a supply vent. Record the supply and return readings and subtract return from supply to get the temperature split test result. If readings seem unsafe near electrical components or refrigerant lines, stop and call a professional for diagnosis.
What split range indicates airflow versus refrigerant issues?
On a Temperature split test, a typical healthy split falls between 16 and 22°F under steady conditions with clean filters and normal airflow. If the split is below about 14°F, suspect low airflow from clogged filters, closed vents, or a weak blower motor. Splits above 24°F often point to undercharge or restricted refrigerant flow, such as a low refrigerant level or a metering device fault. If readings suggest refrigerant problems or you must handle refrigerant, stop and call a licensed professional because handling refrigerant poses safety and legal risks.
When should I call a pro after a temperature split test?
If your temperature split test shows less than about 12°F to 15°F difference, call a pro to diagnose airflow or refrigerant issues. If you measure more than 20°F difference, call a technician because low airflow or a dirty evaporator coil may cause restrictions. If you detect warm supply air or unusual sounds, stop using the system and call a professional due to possible compressor or refrigerant problems. A certified HVAC tech will inspect the blower motor, evaporator coil, refrigerant lines, and perform safe pressure checks.
Can a poor split explain uneven cooling in my home?
Yes. A poor temperature split can point to uneven cooling because it shows differences between supply and return air performance. Low supply airflow or incorrect refrigerant charge often causes weak room-by-room cooling and pressure imbalances. If you suspect this, caution: call an HVAC pro to measure splits, inspect the blower, ductwork, and refrigerant rather than attempting unsafe repairs yourself.