

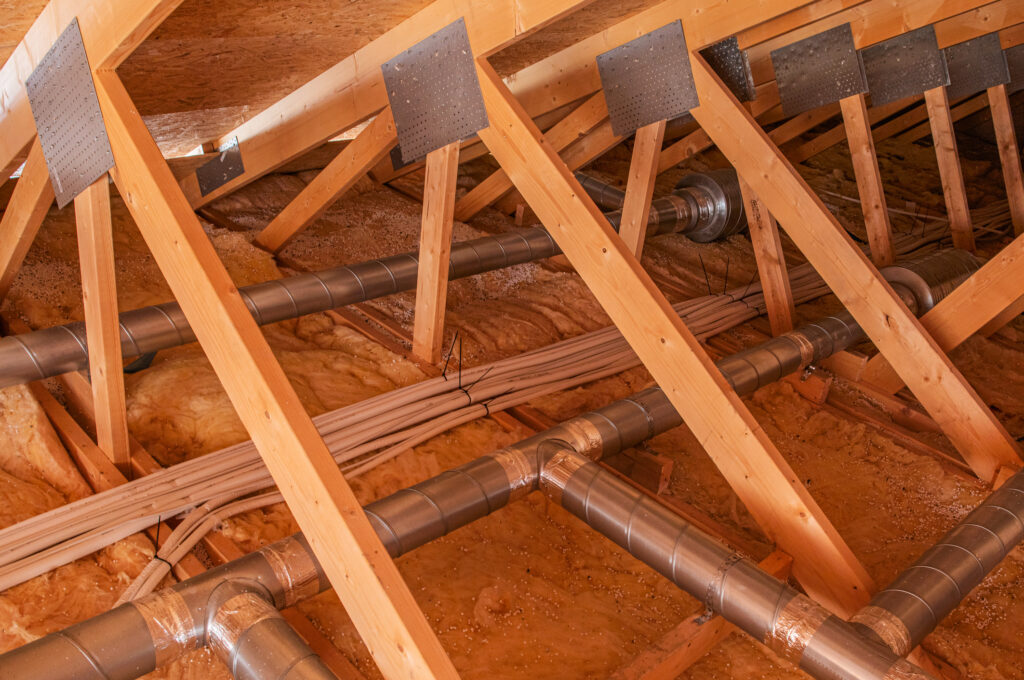
Duct Reconnection Repair After Attic Work
Key Takeaways About Duct Reconnection Repair
Duct reconnection repair fixes supply boots collars and seams disturbed during attic or renovation work. This guide is for homeowners and property managers who notice weak vents or new noises after trades finish.
- Identify loose boots collapsed ducts and slipped metal collars quickly.
- Prevent future detachment by adding straps and rerouting sharp bends.
- Avoid further contamination by sealing joints with mastic and foil tape.
- Spot leaks using a smoke source visual checks and simple vent tests.
- Reduce system strain by restoring balanced airflow to affected rooms.
- Plan professional inspection when multiple runs fail or airflow remains low.
Introduction
When attic or renovation trades move through a home, HVAC boots and collars often come loose without anyone noticing. A boot that slips off or a collar that works loose cuts airflow to rooms and changes system balance. Homeowners hear uneven cooling or heating and feel weak airflow at vents. In Haslet and similar areas, small disruptions can worsen comfort fast during seasonal swings.
Disconnected duct joints also let attic air and insulation fibers into the system. That contaminates the air handler and reduces system efficiency over time. You may notice whistling, rattling, or a sudden drop in vent pressure when a connection fails. These signs point to a reconnection need rather than a filter or thermostat problem.
Tradespeople stepping on ducts or shifting supply runs can bend collars and separate taped seams. Even properly slotted boots can work free when ducts are tugged or recessed. Left alone, gaps force the blower to work harder and shorten component life. Restoring seals and collars fixes airflow and protects the equipment from extra wear.
A professional inspection confirms where ducts lost contact and which connections need reseating or sealing. Technicians check boot seating, collar fasteners, and joint integrity with basic diagnostic checks and visual inspection. For property managers in Keller, TX, catching these issues early prevents tenant complaints and recurring service calls. If you spot weak vents or strange noises after attic work, schedule a qualified duct reconnection repair assessment.
How Ducts Become Detached During Attic Work
Duct reconnection repair describes how supply boots, collars, and seams separate after attic work and need reseating and sealing. Tradespeople moving through an attic can displace ducts by stepping on flexible runs or shifting them aside. Fastening screws and tape can loosen when insulation is moved or when ceiling drywall is installed. Homeowners often ask whether a visible gap always means a full reconnection is required, a brief inspection usually shows whether reseating and sealing will restore airflow.
- Workers stepping on ducts compress or crush flexible ducting.
- Insulation or batt installation can pull tape and break seams.
- Drywallers may push ducts aside and unseat metal collars.
- Plumbing or electrical trades can snag boots during routing.
Metal collars slip when ducts are tugged or when screws back out from vibration during other trades. A slipped collar often stays partly connected and creates a whistling sound or reduced vent flow. If a duct boot disconnects, the room may feel notably colder or warmer compared to others. For homeowners in Haslet, these problems often become clear after attic access or renovation work finishes.
Inspectors look for gaps, torn tape, bent collars, and crushed duct runs to diagnose reconnection needs. A technician will trace the run from the supply plenum to each boot and verify seating by hand and visual check. Simple diagnostic checks may include feeling for airflow at the vent and observing the system blower while a vent is opened and closed. For a formal assessment and targeted fixes, schedule a duct reconnection inspection like the one described on the duct reconnection inspection page.
Some detachments created during attic trades also let attic air and dust enter the system, reducing indoor air quality and performance. Reseating boots and resecuring collars restores balanced airflow and reduces strain on the blower motor and cabinet components. A clear sign you need reconnection is sudden uneven room temperatures after work in the attic. If you notice persistent weak vents or new noises after trades finish, call a professional for duct reconnection repair in Keller, TX.
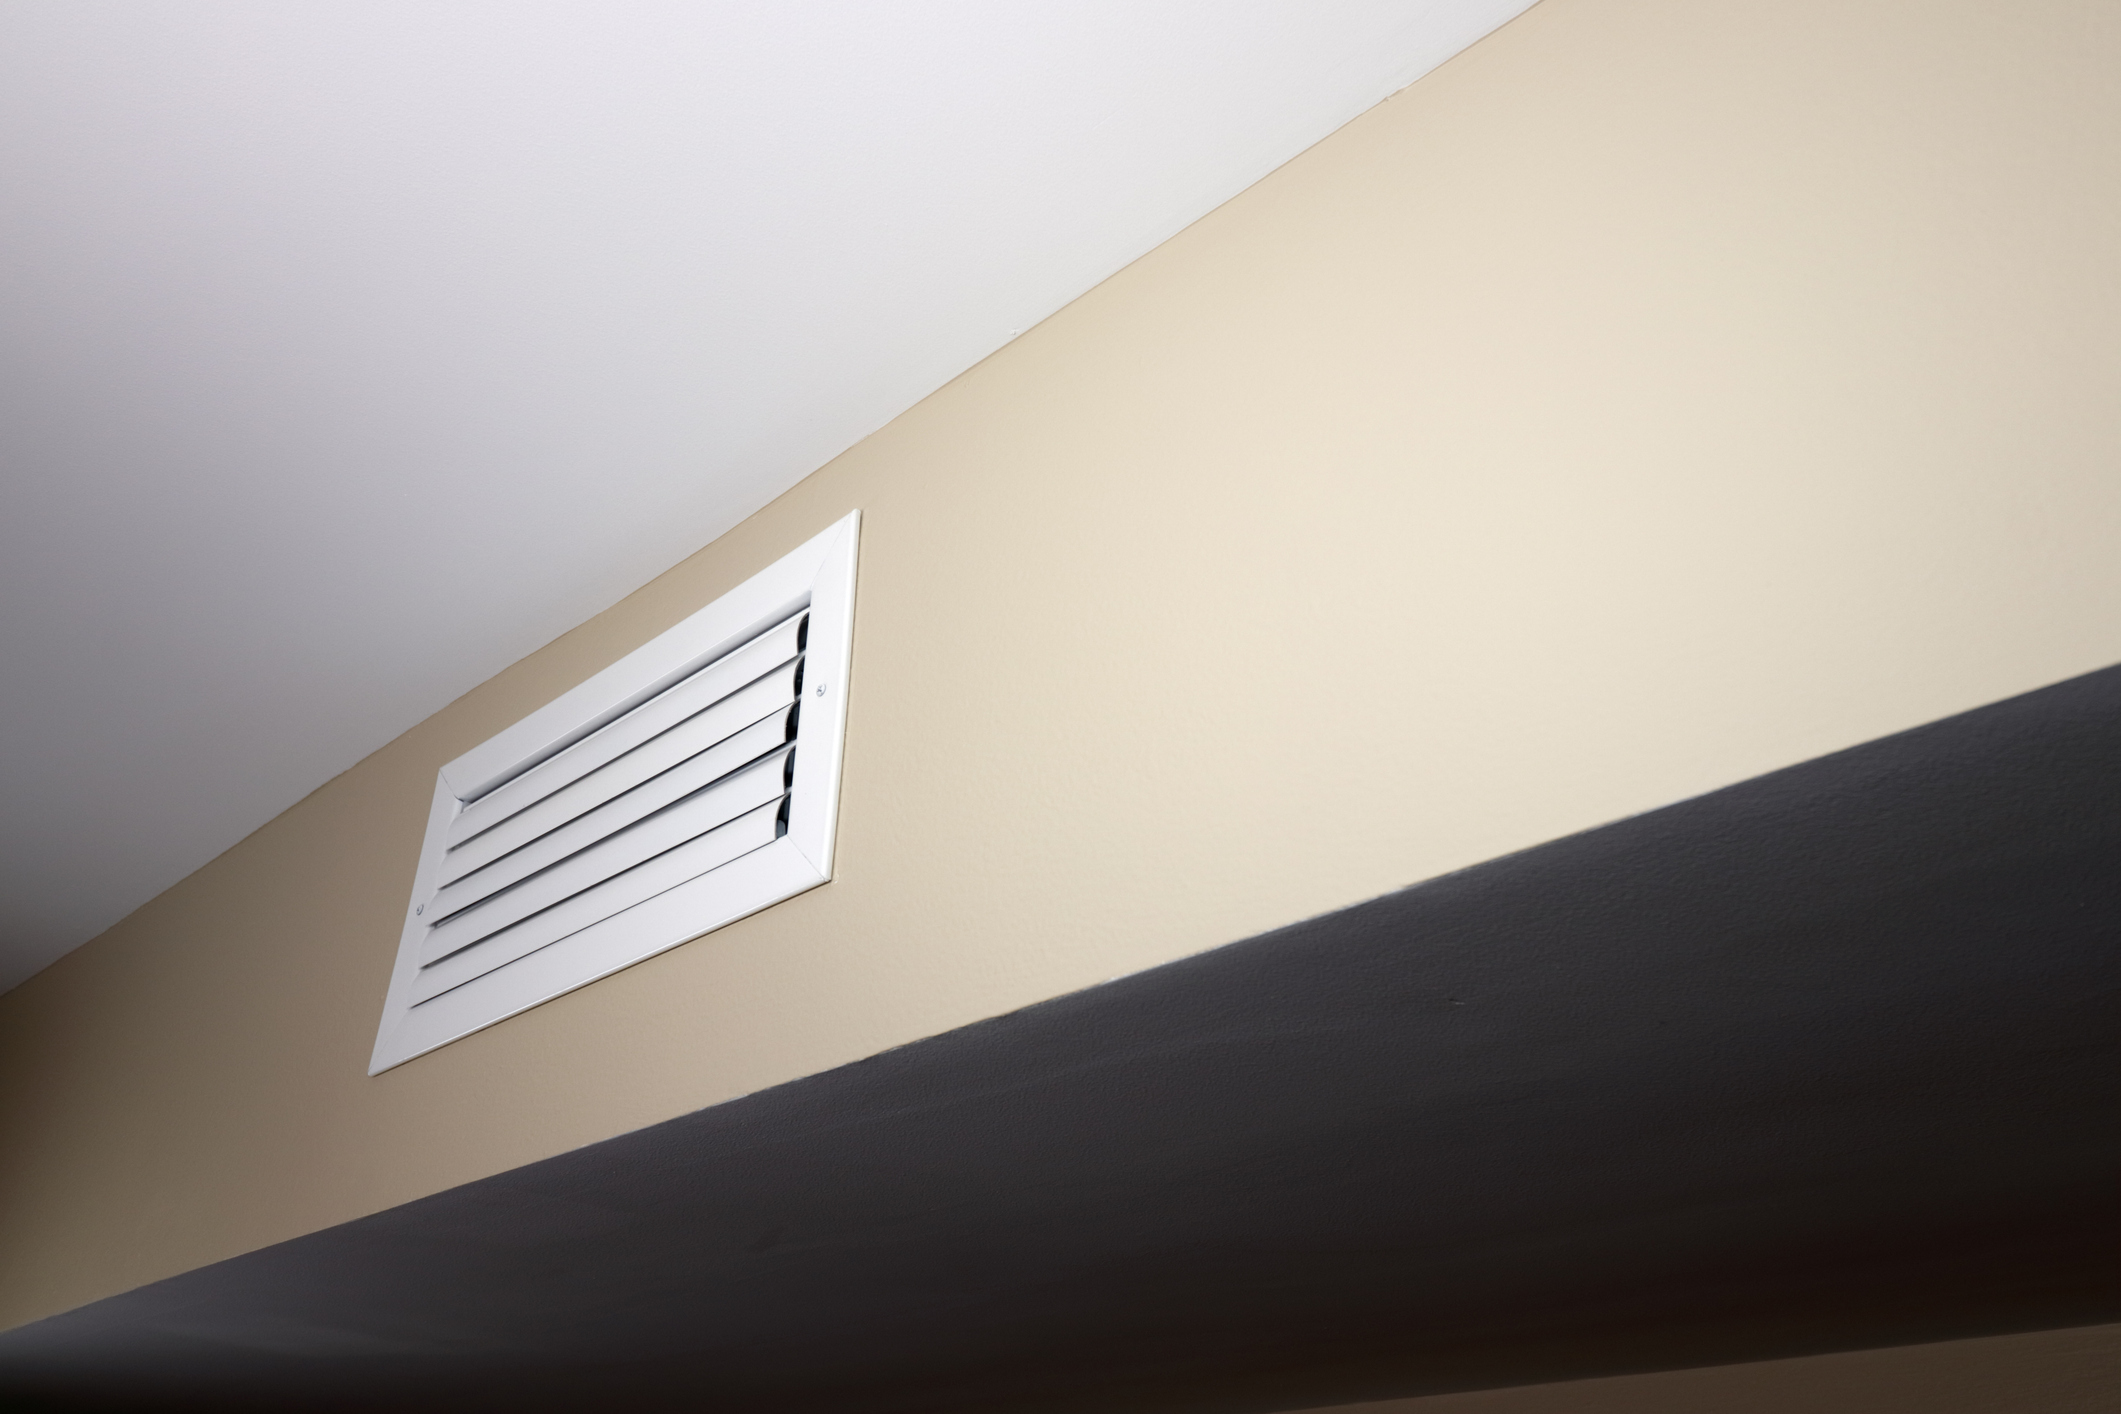
Common Signs You Need Duct Reconnection Repair
Flow problems that suggest duct reconnection repair often begin with clear changes at the register such as a sudden decrease in airflow or a whistling sound when the system runs. You might also notice uneven temperatures across rooms during a single call cycle, which points to disrupted supply paths rather than thermostat issues. Look for sudden changes that started after attic or ceiling work, because timing often ties the symptom to a disturbed connection. If airflow changes are intermittent, pay attention to when trades were in the attic and which vents were near the work.
Another sign is visible gaps around the boot or collar when you inspect the ceiling or access panel. Dust streaks or insulation fibers near a supply boot suggest the joint has opened and is drawing attic contaminants into the duct. A loose collar may also vibrate and create rattling noises that get louder when the blower speeds up. If you see tape peeling away or bent metal where a collar meets the boot, the connection likely needs reseating and resealing.
Pressure differences at the vent can reveal a detached run without opening the duct system. Test by covering one vent while the system runs and watching other vents for increased or decreased flow, significant changes indicate leaks or disconnections. A professional would use simple checks like the vent cover method, visual inspection of the supply plenum, and hand-feel at boots to confirm which joints lost contact. Technicians may also trace runs in the attic and look for crushed flexible ducts and loose fasteners to pinpoint problem areas.
Indoor air quality clues, such as new dust on furniture or a musty odor after attic work, can also point to reconnection needs in addition to flow problems. If you find these signs alongside weak vents, the next step is resealing the joints, which often starts with the service described on the duct sealing services page. Homeowners in Haslet and property managers in Keller, TX should document symptoms and take photos before scheduling an inspection to help technicians diagnose the exact reconnection work needed.
Why Duct Leaks Reduce Home Comfort And Efficiency
Leaky or disconnected duct joints reduce the amount of conditioned air that reaches rooms, which forces the system to run longer to hit set temperatures. Longer runtimes increase wear on the blower motor, contactor, and capacitor because components cycle more often and work under strain. Reduced airflow also lowers heat exchange at the evaporator coil or heat exchanger, which makes the system less efficient during each call. Over time, this combination of extra runtime and poorer heat transfer raises utility use and speeds component fatigue.
When supply boots leak, airflow patterns change and some rooms get too much air while others get too little, upsetting the designed balance of the system. This imbalance can cause short cycling of the compressor or furnace if the thermostat senses temperature changes near a misfed register. Inadequate airflow across the evaporator coil risks coil freezing in cooling mode, which creates condensation and possible water damage. A technician will note these symptoms and inspect the coil, blower motor, and thermostat behavior during diagnosis.
Air entering through gaps pulls attic dust, insulation fibers, and airborne particles into the duct system and onto the blower wheel and coil surface. Contaminant buildup reduces heat transfer and forces the blower to overcome restricted passages, which makes vents feel weaker even when the fan runs at full speed. Professionals often combine visual inspection with a quick airflow check at registers and an inspection of the air handler for dust patterns and insulation debris. In some cases, they recommend sealing connections and addressing nearby damaged insulation to stop ongoing contamination, which may include work described on the duct insulation repair page.
Uneven temperatures and higher energy use after attic trades are clear flags for a focused duct reconnection repair, especially when vents near the work show the worst symptoms. For example, in a common situation, a homeowner notices cold rooms after ceiling work and a technician checks boot seating, collar fasteners, and vent pressure. The technician can confirm leaks by feeling around boots, testing airflow at registers, and inspecting taped seams in the attic. If these checks reveal gaps, reseating and proper sealing restore balance and reduce strain on HVAC components.
Reseating Boots Step By Step For Homeowners
Begin by turning off the HVAC fan at the thermostat and accessing the attic near the affected run to reduce dust movement and avoid blower drag. Wear a mask and gloves while reaching into the attic to feel the boot and collar seating with a steady hand. Gently push the duct end onto the collar until the boot sits flush against the ceiling opening and the seam lines up. Hold the boot in place while preparing fasteners or sealing materials to prevent it from slipping back during the next steps.
- Use sheet metal screws at collar tabs.
- Apply HVAC foil tape to seams.
- Add mastic to gaps over tape.
- Support flexible ducts with straps if sagging.
Secure the collar using two or more sheet metal screws placed opposite each other to pull the joint tight and square. After screwing, run a bead of HVAC-rated mastic over the seam for a long-lasting airtight seal that resists vibration. Smooth the mastic with a putty knife to ensure full coverage and to prevent gaps that invite attic air inside the system. Inspect the duct run for kinks or sharp bends and reposition or add a support strap as needed to maintain straight airflow.
Test the reseated connection by closing nearby vents and turning the fan to low while observing the repaired boot for movement or air leakage. Feel around the sealed seam for any airflow or use a smoke pencil or incense stick to spot drafts that indicate incomplete sealing. If leaks remain, add another thin layer of mastic or reapply foil tape over the cured mastic for reinforcement. Document the repair with photos to show the fixed joint and the condition of surrounding insulation for future reference.
If you find multiple detached boots or recurring gaps after attic trades, consider inspecting attic returns and sealing pathways that pull dust into the system, as described on the attic return sealing and dust control resource. Homeowners in Haslet often notice improved vent pressure after these reseating steps, while property managers in Keller, TX may prefer a technician confirm balance with a simple airflow check. When in doubt about structural damage, bent collars, or stubborn leaks, contact a professional to avoid harming the duct or causing indoor air quality issues. Keep a maintenance note listing performed repairs and dates so future trades know which runs were resealed.
Reseal And Reroute Collars For Proper Airflow
Start by tracing the collar path from the plenum to the ceiling opening and look for misaligned elbows or folded metal that redirect airflow. Reroute any sharp bends so the duct enters the collar without twisting, and ensure the collar flange sits flat against the boot. Use sheet metal screws at opposing points to draw the collar tight and keep it from rotating under airflow stress. After securing hardware, check the duct for tension that could pull the connection loose when the system runs.
Once the collar sits correctly, apply a continuous bead of HVAC-rated mastic along the joint, working the sealant into gaps so air cannot bypass the connection. Smooth the mastic to remove voids and prevent trapping insulation fibers that could damage the blower wheel. For added confirmation, run the system on low and use a smoke source near the seam to spot any escaping air that needs further sealing. If small leaks appear, add a thin foil HVAC tape over the cured mastic for reinforcement.
Sometimes ducts require slight rerouting to reduce strain at the collar and prevent future detachment after attic work. Add straps every few feet on flexible runs so the duct carries its weight and does not tug the collar during expansion or vibration. Inspect any nearby insulation so loose batts do not press against the collar and open the seam when trades return to finish ceilings. Document the reroute and strap locations with photos for future reference and for technicians conducting an airflow balance test.
For properties in Keller, TX a technician may follow these reroute and reseal steps with an airflow performance test to confirm restored delivery to affected rooms.
After resealing and rerouting, verify room delivery using a simple vent check then record static changes across registers to confirm improvement. A professional may perform an airflow performance test to measure cubic feet per minute and ensure the system meets expected output. If readings still show deficits, the collar or boot may need replacement or the run could contain hidden damage requiring deeper inspection. For homeowners in Haslet, a clear test report helps decide whether further repairs are necessary or if normal airflow is restored.
When To Call A Professional For Duct Reconnection Repair
If vents remain weak after your reseating and resealing attempts, call a professional when troubleshooting steps fail to restore normal airflow. A technician will perform diagnostic checks like a static pressure test or targeted airflow readings to confirm hidden leaks or collapsed sections. Professionals also inspect the plenum, collar attachments, and duct support to identify damage that simple sealing cannot fix. For homeowners in Haslet, timely professional diagnosis prevents persistent comfort problems and repeated DIY attempts that do not address underlying issues.
Contact a pro if you find multiple detached boots or recurring gaps that reappear after repairs because this pattern suggests structural stress. The technician will use hand inspection, pressure measurements, and visual checks in the attic to trace where reconnections repeatedly fail. They may recommend replacing damaged collars, reinforcing flexible runs with straps, or repairing crushed duct sections to restore lasting performance. For property managers in Keller, TX a clear diagnostic report helps document needed repairs and confirm completion.
Call for professional help when you detect attic air or insulation fibers entering supply vents despite sealing, which risks indoor air quality and component contamination. A specialist can disassemble questionable joints, clean the blower wheel and coil if contaminated, and reinstall collars using proper fasteners and mastic for a durable seal. They will also verify that reroutes and supports remove tension that pulls joints loose during system operation. If you notice unusual noises or vibrations after DIY fixes, stop and arrange an inspection to avoid further damage.
Schedule a service when you want a formal confirmation that airflow meets expected performance rather than a guess based on vent feeling alone. Professionals may perform a duct static check and document readings to show improvement after repairs, providing measurable proof of restored delivery. If test results still fall short, the report guides next steps, such as replacing sections or balancing the system for even distribution. Request a written diagnosis and the performed test outputs so you have records for future maintenance and trades coordination.
Preventing Future Problems After Attic Trades Finish
After attic trades finish, mark repaired runs and note their locations so future workers know which ducts were resealed and supported. Leave visible tags near attic access or on the duct with a brief date and work description that future trades can see before they move insulation or equipment. Encourage trades to avoid stepping on marked runs and to use walking boards when routing materials through the attic. This simple communication reduces the chance of accidental tugging or crushing during later work.
- Place durable tags on repaired ducts.
- Document repair dates and actions taken.
- Install extra support straps near collars.
- Keep repair photos with maintenance records.
Inspect repaired joints after a short period of regular system use to confirm seals held and straps remained secure. A visual attic check and a quick vent pressure test provide early warning if movement reopened a seam or loosened fasteners. If you detect renewed whistling, vibration, or odd smells, pause further DIY fixes and schedule a professional diagnosis. Professionals will confirm integrity and recommend additional reinforcement if needed.
Include a duct check on routine HVAC maintenance visits so technicians verify reseats, collars, and mastic condition over time. Regular inspections catch slow failures caused by attic temperature cycles or vibration that gradual DIY checks may miss. For structured follow-ups, consider adding a ductwork inspection to your maintenance plan and reference the regular ductwork inspections resource for guidance. Homeowners in Haslet often find scheduled checks reduce repeat service calls and keep airflow stable.
Train household members and onsite trades to report any ceiling bulges, new drafts, or sudden room temperature shifts immediately after attic work finishes. Quick reporting allows timely reconnection efforts before contaminants enter the air handler or component wear accelerates. For property managers in Keller, TX, require documentation from trades showing they avoided marked runs and used protective measures. These steps help prevent recurring reconnection needs and maintain system balance long term.
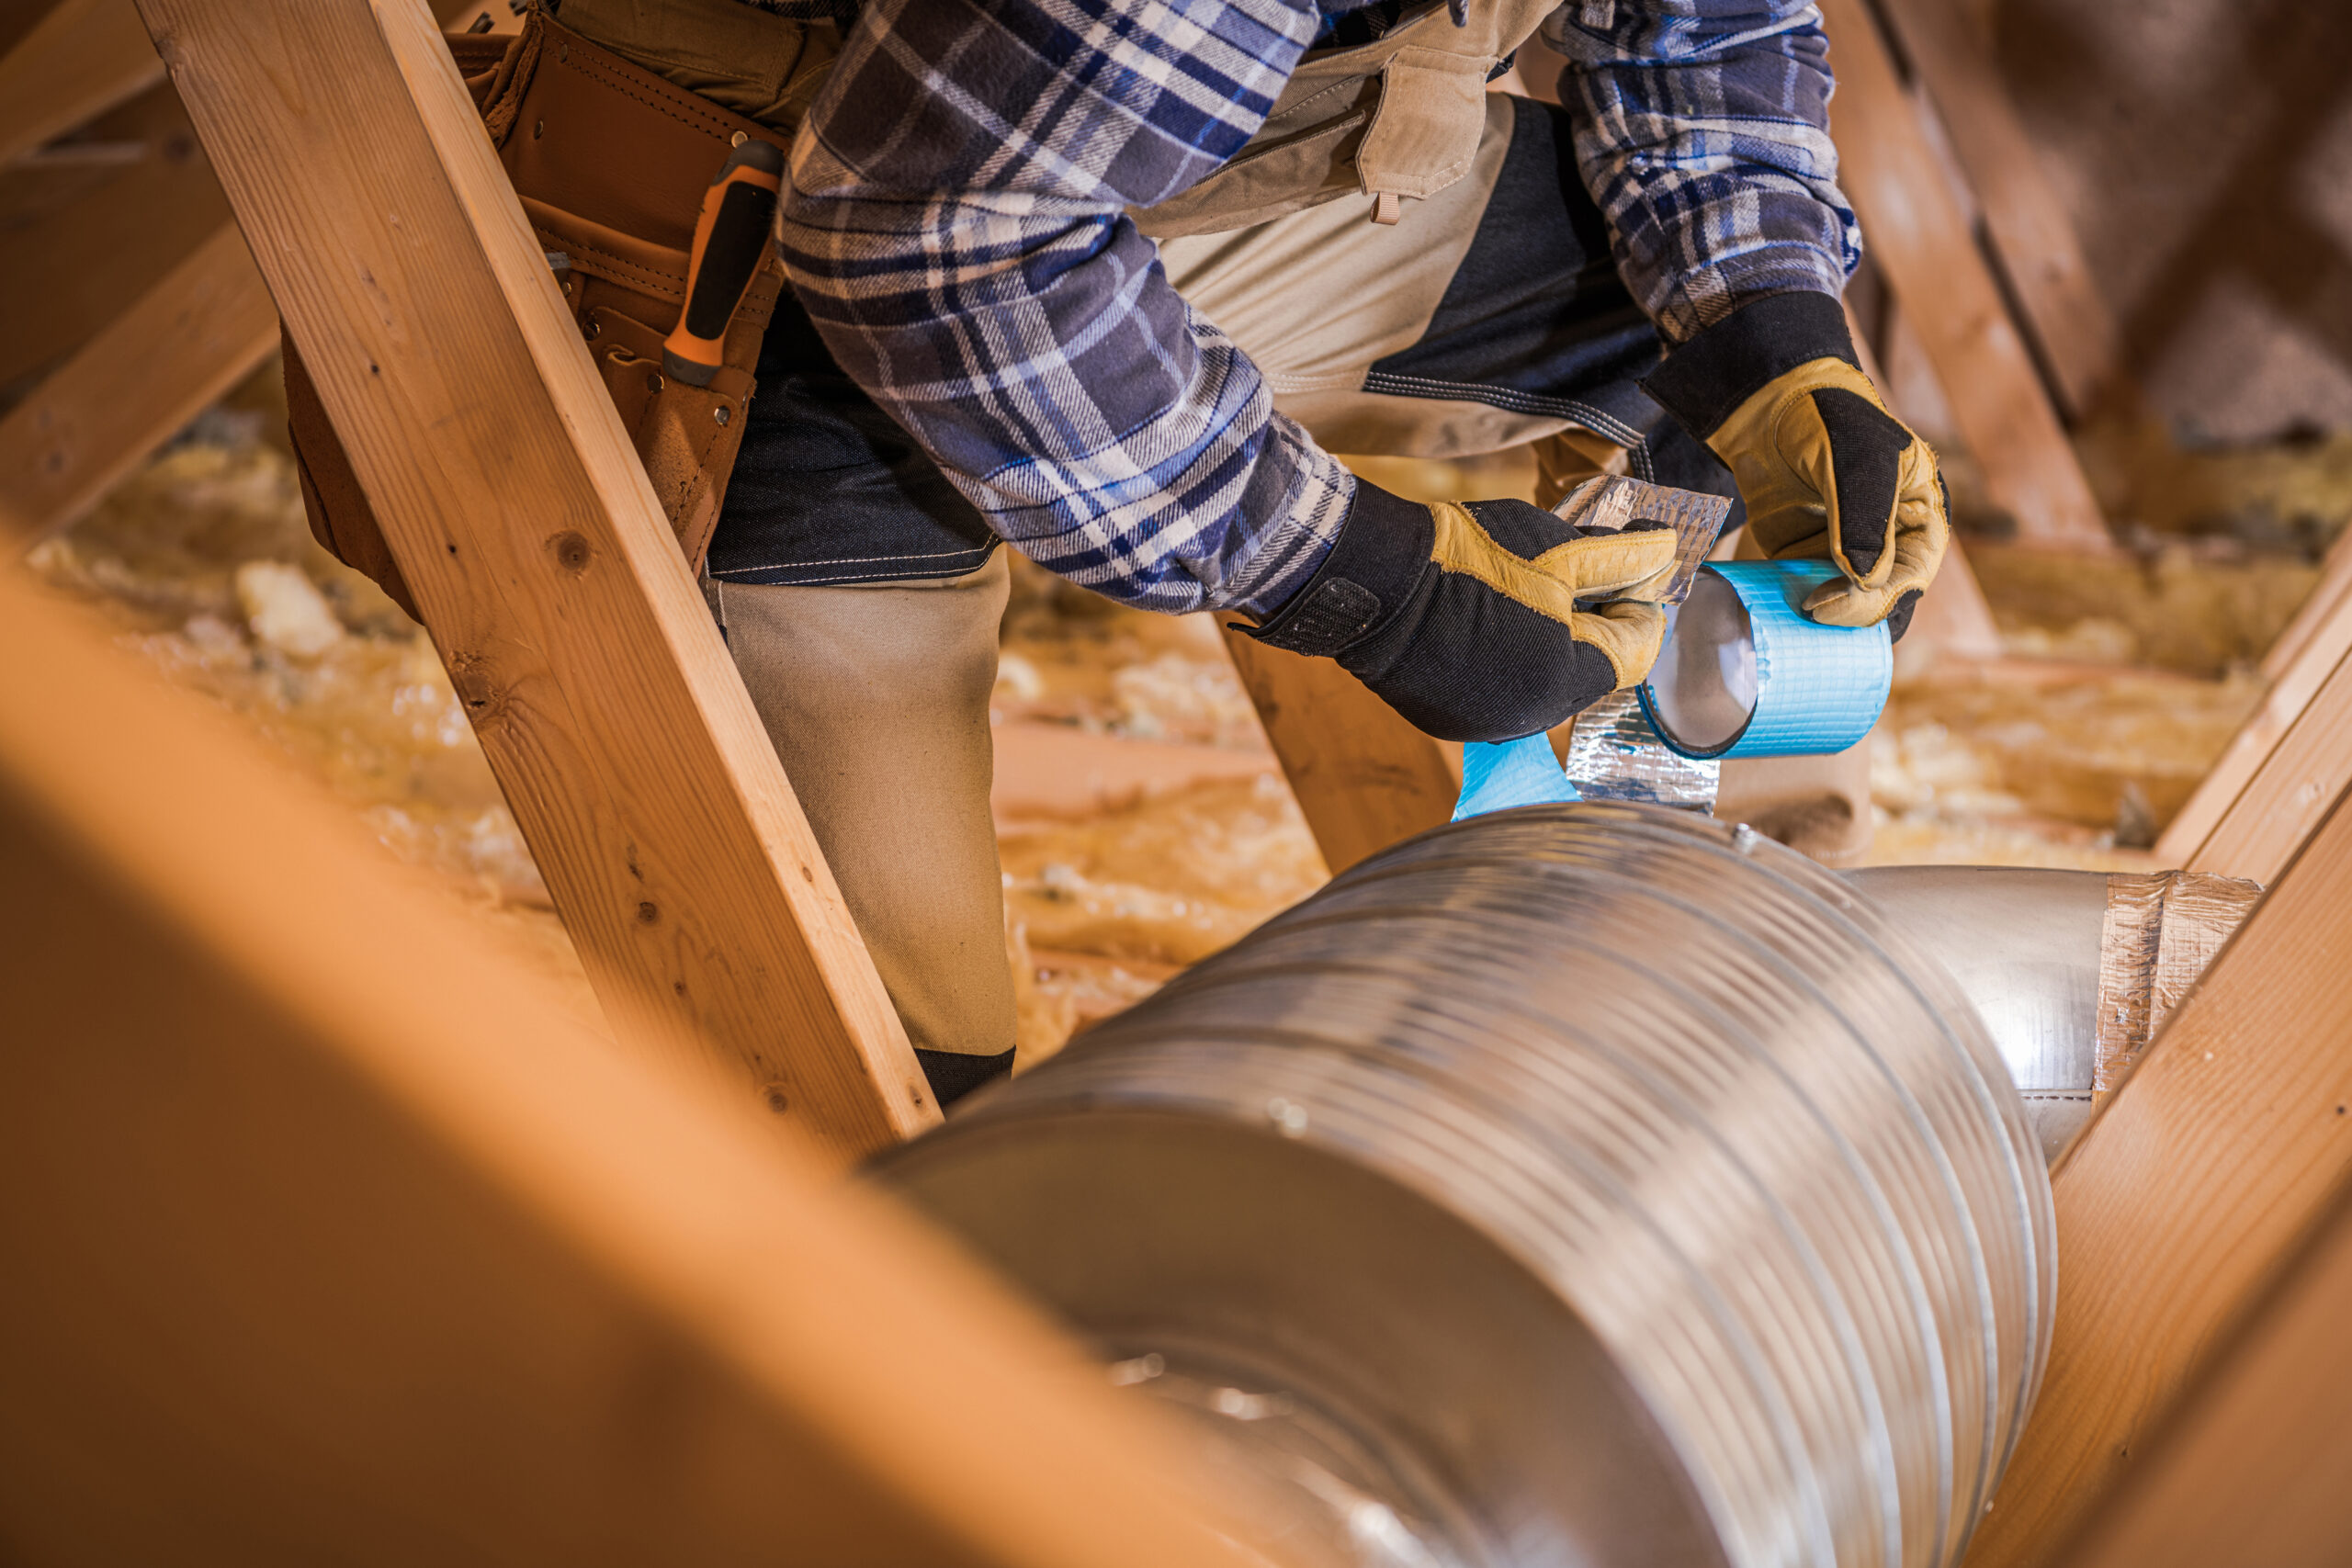
Quick Tools And Materials For Safe Duct Repairs
Keep a compact toolkit on hand for minor reconnection tasks so you can act safely after attic trades finish. Include sheet metal screws, an electric drill with a clutch to avoid overdriving fasteners, and HVAC foil tape rated for joints. Add a small bucket of HVAC mastic and a plastic putty knife to smooth seals without stretching close-fitting boots. Wear gloves, a dust mask, and eye protection to limit exposure to insulation fibers while working in the attic.
Bring support supplies that reduce future stress on collars and boots and prevent rework after repairs. Use adjustable duct straps and a few nylon zip ties to maintain gentle alignment on flexible runs and to prevent sagging. Keep a handheld flashlight or headlamp for clear visibility of seam gaps and collar seating in dark attic areas. A basic smoke source, like an incense stick, helps reveal escaping air when the system runs slowly during checks.
For diagnostic confirmation, include tools that let you verify repair effectiveness before finishing the job and closing the attic. A simple anemometer or flow indicator provides a quick vent reading to compare before-and-after delivery in the affected room. Carry a small camera or phone to document the sealed joints and strap locations so future trades see what you fixed. If readings remain low, pause and recommend a professional static pressure check to locate hidden leaks or damage.
Store reference materials that guide safe duct reconnection repair steps and proper sealing choices for long-term results. Keep a printed sheet noting accepted sealing products, fastening spacing, and mastic cure times to avoid common mistakes. Include the link to the guidance on eliminating leaks for more detailed sealing practices at eliminate ductwork leaks. For homeowners in Haslet and property managers in Keller, TX these quick tools and notes make small repairs safer and help decide when to call a pro.
Frequently Asked Questions
What is duct reconnection repair and when is it needed?
Duct reconnection repair fixes supply or return ducts that tradespeople disturbed during attic work, restoring proper airflow and balance. Technicians reseat boots, resecure collars, and seal joints to stop leaks and pressure loss. If ducts are crushed, disconnected, or leaking large gaps, airflow and comfort suffer and energy use rises. Exercise caution near attic insulation and wiring and hire a professional to avoid safety risks and ensure a correct repair.
How do I spot a loose boot or slipped collar quickly?
Look for uneven airflow and rooms that heat or cool slowly while the system runs, which often signals a loose boot or slipped collar. Inspect attic and crawlspace registers for visible gaps, disconnected tape, or crushed duct collar connections. Listen for whipping or rattling sounds near the supply plenum when blowers run, and feel for air leaking around seams with your hand. If you see damaged sheetmetal, large gaps, or feel sharp edges, use caution and call a professional for duct reconnection repair to avoid injury.
Can I reseat and seal ducts myself after attic work?
Yes, homeowners can reseat and seal some ducts after attic work if they have basic skills and the right materials. Check for disconnected boots, loose collars, and gaps before sealing to ensure you address the right joints. Exercise caution around insulation, wiring, and attic framing and stop if you encounter damaged ductwork or unsafe conditions. For persistent leaks, airflow issues, or safety concerns, call a professional for proper duct reconnection repair and testing.
What inspection steps does a pro use to confirm reconnection?
A technician first visually inspects boots, collars, and duct runs for gaps, crushed sections, or detached seams. They run the system to feel airflow at supply registers and compare airflow balance room-to-room. A pro uses smoke or incense to reveal leaks and may record pressure readings or photos for documentation. If attic access is unsafe or wiring is present, stop work and recommend a qualified professional for Duct reconnection repair and safety.
How long do mastic and foil tape seals typically last?
Mastic seals on metal duct joints often last 10 to 20 years when applied correctly and kept dry. Foil HVAC tape can perform well for 5 to 15 years, depending on adhesive quality and temperature swings. For duct reconnection repair after attic work, inspect seals regularly for cracks, gaps, or adhesive failure. If you see damage or smell dust and hear whistling, stop and call a professional because improper seals can worsen airflow and energy loss.