

Indoor Coil Cleaning in Argyle That Restores Cooling Performance
Key Takeaways About Indoor Coil Cleaning
Indoor coil cleaning removes dust and biological buildup from the evaporator coil so it can transfer heat efficiently. This guide is for homeowners and property managers who notice warmer rooms longer run times or musty odors and need a professional check.
- Identify weak airflow and uneven cooling at supply registers.
- Prevent biological growth by keeping condensate drains clear.
- Avoid compressor strain by restoring proper heat transfer quickly.
- Spot musty smells or frost on refrigerant lines as warning signs.
- Reduce energy use and shorter run cycles after professional cleaning.
- Plan follow up checks and filter schedules to limit regrowth.
Introduction
A clogged or dirty indoor coil can quietly reduce cooling without obvious alarms. Homeowners often notice warmer rooms, longer run times, or rising energy bills. Dust and biological growth on the evaporator coil block airflow and heat transfer. Left unchecked, the system works harder and suffers premature wear.
Signs like weak airflow at supply registers or uneven cooling across rooms point to restricted coil performance. You might find musty smells near the return grille or frosting on the refrigerant lines. These symptoms matter because they signal less efficient heat exchange and higher compressor stress. Early identification keeps a small issue from becoming a system failure.
Professional indoor coil cleaning restores the coil’s ability to pull heat from your home and move it outside. A thorough cleaning also helps stabilize thermostat swings and maintain designed airflow. Technicians inspect the evaporator coil, blower motor, and condensate drain during service. Their checks reduce the chance of recurring moisture and biological buildup.
Homeowners in Argyle and properties in Keller, TX notice the difference when rooms stop drifting several degrees apart. Improved cooling consistency also helps the system reach set temperatures faster and hold them longer. If you hear a change in run cycles or smell mildew near vents seek a professional inspection. A timely service visit helps protect comfort and extend equipment life.
What Indoor Coil Cleaning Does And How It Works
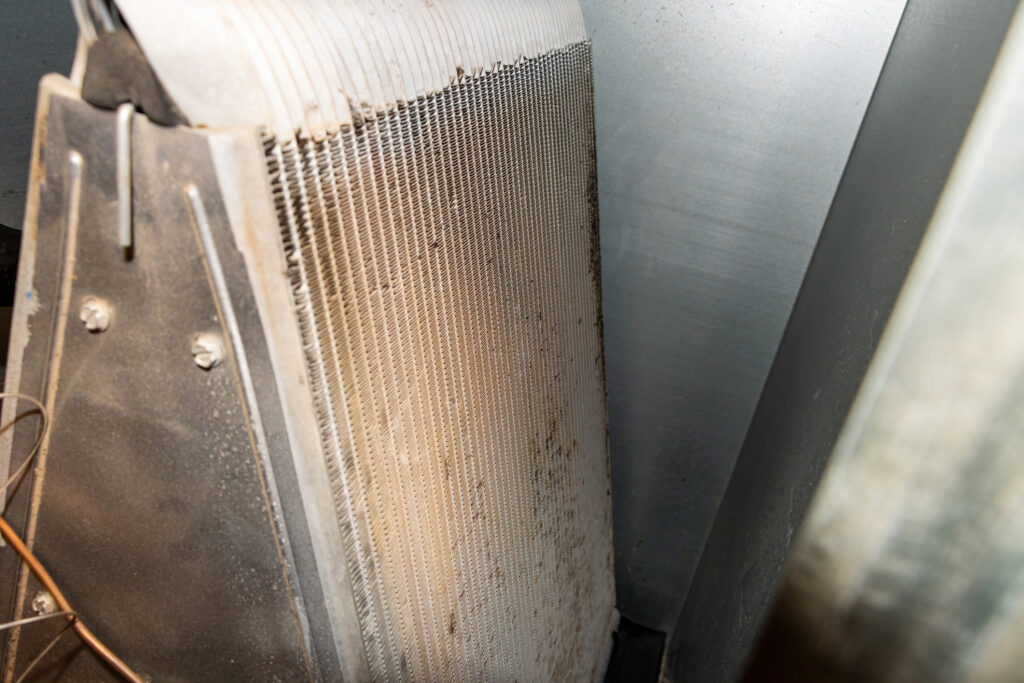
Indoor coil cleaning means removing dirt, dust, and biological buildup from the evaporator coil so it can transfer heat efficiently. A clean coil restores the coil’s thin aluminum fins and copper tubing to near-design performance for cooling. Homeowners often ask if cleaning actually changes room temperatures, and the answer is yes when airflow and heat exchange are improved. Technicians focus on restoring airflow and stopping moisture traps that feed mold and bacteria growth.
- Improves heat transfer.
- Reduces moisture and biological growth.
- Restores designed airflow.
- Helps prevent intermittent frost on refrigerant lines.
The process begins with an inspection of the evaporator coil, blower motor, and access panels to document visible deposits. A professional will confirm the problem using visual inspection, airflow checks at supply registers, and sometimes recorded photos. They may also check the condensate drain for slow flow that indicates trapped debris or biological slime. These diagnostic steps tell the technician whether cleaning alone will solve the issue or if additional repairs are needed.
Cleaning methods remove oils, dust, and biological matter without damaging fins or coils, using approved low-pressure sprays and cleaning solutions. Technicians rinse the coil and surrounding pan to clear loosened debris and then verify condensate flows freely. After cleaning, they test system run cycles and watch temperature split between return and supply air to confirm improved heat transfer. For homeowners in Argyle or for properties in Keller, TX, a clear before-and-after test result helps show restored performance.
Common Causes Of Indoor Coil Dirt And Debris
Homes accumulate indoor coil dirt from several common sources that start long before visible buildup appears. Airborne dust and pet dander travel through the return grille and settle on the evaporator coil when airflow slows. Construction or renovation dust can also enter the system and lodge between the coil fins, reducing heat transfer and trapping moisture. For homeowners in Argyle, seasonal pollen loads add to the particulate mix that ends up on coils.
Moisture and standing water in the drain pan encourage biological growth on coil surfaces and nearby components. When condensate drains slowly or the pan holds wet debris, mold and bacteria can seed the coil surface and form slimy layers. A technician may recommend a coil pan treatment to stop odors and limit regrowth by keeping the pan clean and biocide-treated. That treatment helps prevent the coil from becoming a recurring source of musty smells and reduced efficiency.
Restricted or dirty air filters cause more particles to bypass filtration and accumulate on the coil over time. A weakened blower motor, failing capacitor, or imbalanced fan can reduce airflow and increase deposition on the coil face. Technicians consider these component issues during inspection because correcting them reduces how quickly the coil soils again. These mechanical factors often show up when a system still runs but delivers less cooling than expected.
Improper return-air locations and leaky ductwork let dust-rich air bypass filter paths and reach the evaporator coil. A pro will inspect the return grille, duct seams, and supply plenum to find leak points and excessive dust pockets. Simple diagnostic checks include measuring airflow at supply registers and photographing coil surfaces for comparison after cleaning. For broader causes of inefficient cooling, homeowners may also review common performance issues explained by an HVAC provider.
Recognizing Warning Signs Of Reduced Cooling Performance
You may notice longer run cycles with the thermostat set the same, which often signals reduced heat transfer at the evaporator coil. Another cue is supply registers that feel warm compared to expected cool air, indicating the coil can’t absorb heat efficiently. Listen for higher fan speeds or unusual blower noise while the compressor runs, these can point to airflow strain from a soiled coil. Technicians will correlate these homeowner observations with system behavior to decide if cleaning is warranted.
A musty or sour odor near the return or vents can mean biological growth is present on the coil or in the drain pan. Visible dust at the return grille combined with persistent odors suggests particles are bypassing filters and settling deeper in the system. Homeowners in Argyle often report these smells as an early sign that a professional check is needed. A pro inspects the coil surface and drain pan to confirm whether the odor source is the evaporator area.
If you see frost or ice forming on refrigerant lines or the coil face, that symptom sometimes follows a heavily blocked coil restricting airflow and causing the refrigerant to overcool. A technician will check superheat and suction pressures and compare recorded temperature split between supply and return air to validate the diagnosis. That diagnostic step helps differentiate coil fouling from refrigerant charge issues or a failing blower motor. For related symptoms and fixes, professionals refer to guidance on evaporator coil freezing when investigating the root cause.
Uneven room temperatures or slow recovery after the compressor cycles off suggest a loss of effective airflow or heat exchange at the coil. During inspection, a technician measures airflow at supply registers and photographs the coil condition to document findings and recommend cleaning. These checks also include scanning the condensate drain and pan for slow flow that promotes regrowth on cleaned surfaces. Confirming these warning signs helps prioritize indoor coil cleaning and any additional corrective repairs.
How Dirty Coils Affect Energy Use And Temperatures
Dirty evaporator coils force the compressor and blower to work longer each cooling cycle, raising overall energy use without immediate fault codes. Reduced heat transfer makes the system run until the thermostat set point is reached, which lengthens run times and increases electrical draw. Technicians confirm higher run-time by checking system run cycles and recording supply-return temperature split during diagnostics. Homeowners often notice the increase as longer continuous operation and less cooling during peak afternoon hours.
- Longer compressor run times strain the motor.
- Higher blower usage increases fan motor wear.
- Blocked fins lower heat transfer efficiency.
- Biological growth adds thermal resistance.
Restricted coils decrease the temperature drop across the evaporator, so supply air warms and rooms take longer to reach set points. A pro will measure the delta-T between return and supply air and compare it to expected ranges to diagnose reduced performance. They may also inspect the evaporator coil visually and use temperature readings at refrigerant lines to confirm impaired heat exchange. These checks distinguish coil fouling from refrigerant charge problems or blower faults.
When the system works harder, internal components like the compressor run hotter and cycle more frequently, which can shorten equipment lifespan. Technicians look for higher suction pressures or inconsistent superheat as signs of stressed operation tied to poor coil condition. Cleaning the coil often restores proper temperature split and reduces the number of long cycles recorded on the thermostat. For odor-related performance impacts, consult guidance on common evaporator coil odor causes and fixes before assuming unrelated problems.
Stabilizing temperatures after cleaning happens because airflow and heat transfer return to design intent, reducing swing and overshoot at the thermostat. Professionals verify improvement by re-measuring airflow at supply registers and documenting cooler supply temperatures and shorter recovery times. For homeowners in Argyle and properties in Keller, TX, this means more even room temperatures and fewer late-afternoon cooling struggles. Follow-up checks help ensure condensate paths remain clear and regrowth does not undo the efficiency gains.
Professional Indoor Coil Cleaning Steps And Checks
Technicians begin with a controlled access inspection, removing panels to expose the evaporator coil and surrounding components for clear photographs. They check the blower motor, capacitor, and nearby refrigerant line set for signs that reduced airflow might have caused coil soil buildup. A pro may measure airflow at supply registers and record temperature split to confirm the coil is the limiting factor rather than a refrigerant issue. These recorded readings form a diagnostic baseline used to compare results after cleaning.
Cleaning starts by protecting nearby electronics and the air handler compartment to avoid water or cleaner damage during rinsing and agitation. Technicians apply an approved coil cleaner at low pressure and allow dwell time to break down oils, dust, and biological film without bending the aluminum fins. They rinse the coil and pan carefully, then vacuum rinsate and any loose debris to prevent it returning to the duct system. A clear condensate pan and free-flowing drain are verified to reduce the chance of regrowth on the cleaned coil.
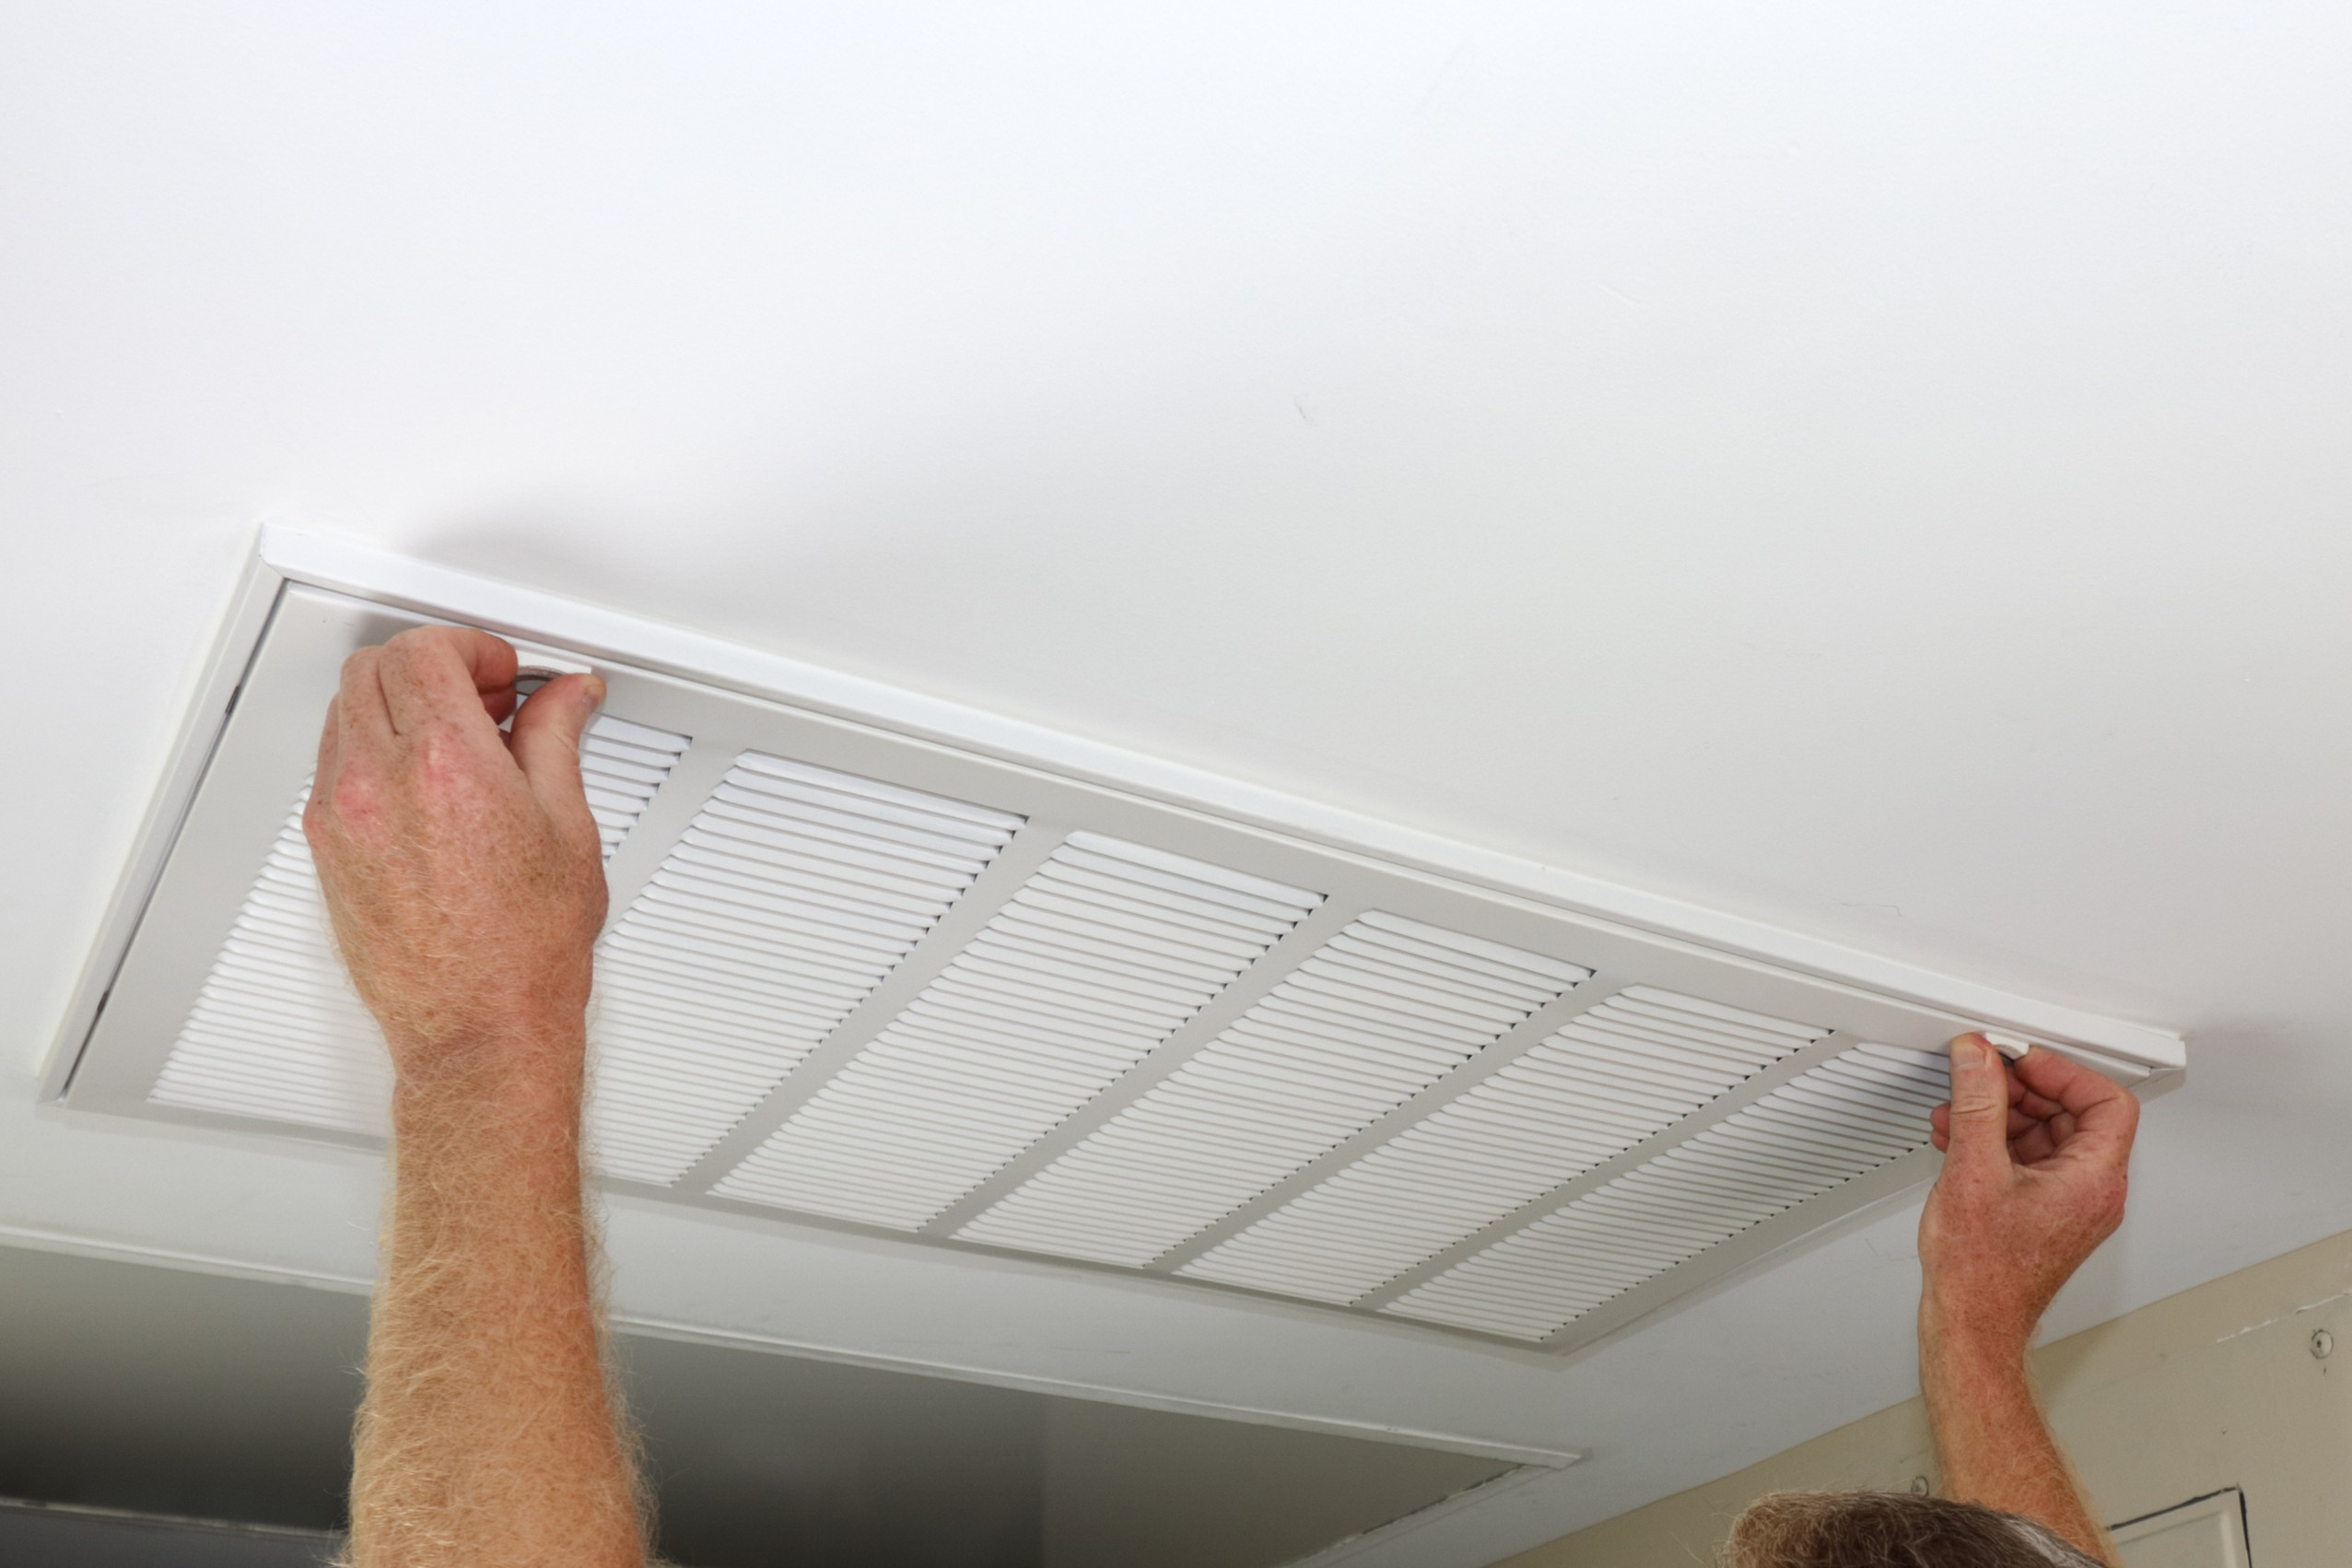
During the procedure, the blower wheel and housing receive attention to remove accumulated dust that can resettle on the coil and hinder restored airflow. A professional will check the return grille and filter seating while panels are off, noting any gaps or bypass that let unfiltered air reach the coil. They may also inspect duct seams and the supply plenum for heavy dust pockets that indicate broader airflow problems needing repair or sealing. If imbalances or dampers are present, technicians note them as part of a complete airflow assessment.
After cleaning, the tech runs the system to validate improvements using the same measurements taken before service, documenting supply and return temperatures and airflow at registers. They may compare before-and-after photographs and provide a written summary showing restored heat transfer and cleaner surfaces. For homeowners in Argyle or managers of properties in Keller, TX, these verification steps confirm performance gains and help plan follow-up maintenance. If airflow issues persist, the technician discusses next steps, such as deeper ductwork evaluation or component replacement, referencing common HVAC coil issues and airflow optimization resources when appropriate.
When To Call A Pro For Indoor Coil Cleaning Service
Call a professional when you notice persistent symptoms that simple filter changes don’t fix, such as continuing musty odors after filter replacement. A technician will perform diagnostic checks like measuring airflow at supply registers and recording temperature split to determine if the evaporator coil needs cleaning. They also inspect the blower motor, capacitor, and return grille to rule out mechanical causes that mimic coil fouling. If homeowners in Argyle see ongoing performance loss, scheduling a pro prevents further component stress.
Request a service visit if you detect recurring condensate pan overflow or slow drain even after clearing visible clogs because biological regrowth may hide on the coil surface. During a pro visit, the tech will open access panels and photograph the coil to document contamination and confirm that cleaning will address the problem. They might also test condensate flow and use temperature readings on refrigerant lines to separate coil issues from refrigerant charge faults. Clear documentation helps you decide on cleaning versus additional repairs.
Consider calling when the system exhibits longer recovery times or wider temperature swings that repeat despite thermostat adjustments and new filters. The technician will compare before-and-after measurements and may run the system to observe real-time changes while monitoring supply and return temperatures. If airflow remains low after cleaning, the pro will recommend deeper duct inspection or fan component servicing as the next diagnostic step. For managers overseeing multiple units in Keller, TX, early action helps maintain predictable operation across properties.
Schedule professional service when you detect visible grime on coil fins during an inspection or when routine maintenance flags heavy buildup on the blower wheel and housing. A qualified technician follows safe cleaning practices, protects electronics, and verifies condensate drain function to reduce regrowth risk after treatment. They provide a written summary with photos and measured improvements so you can track performance over time and plan follow-up checks. If safety concerns arise during inspection, the tech will stop and recommend the proper corrective repairs.
Preventive Maintenance Tips To Keep Coils Clean
Set a regular filter schedule based on your system’s filter type and household dust levels to reduce particle flow to the coil. Check the filter seating and return grille for gaps when you change filters so unfiltered air cannot bypass and reach the evaporator. Inspect the condensate drain and pan monthly for standing water or slime that can seed biological growth onto the coil. If you detect persistent slow drainage, contact a professional for a targeted drain cleaning and coil assessment.
- Change or clean filters regularly.
- Inspect return grilles for bypass gaps.
- Flush condensate drains when flow slows.
- Keep access panels secure after maintenance.
Keep the area around the air handler clear of dust-generating storage or insulation that sheds particles into the return air path. Run the system periodically during shoulder seasons to maintain airflow and prevent long stagnant periods that increase settling on the coil. Consider a scheduled airflow performance test to confirm supply-register airflow and temperature split match design expectations after preventive steps. A professional can perform that test to document system health and advise on further maintenance.
Monitor indoor humidity with a simple gauge and aim to reduce excess moisture that encourages biological growth on coil surfaces and in the pan. If humid conditions persist, discuss options like improved ventilation or dehumidification with a technician to reduce the coil’s moisture exposure. For homeowners in Argyle and managers overseeing units in Keller, TX, these steps reduce regrowth risk and extend the time between professional indoor coil cleaning visits. Keep written notes of inspections and any professional reports to track trends and inform future service decisions.
What To Expect After Cleaning And Follow Up Actions
After a professional indoor coil cleaning, expect the technician to run the system and record before-and-after temperature splits to confirm improvement. They often take photos of the coil and condensate pan to document the cleaning and any remaining concerns. You should notice shorter recovery times at the thermostat within a few cooling cycles after service. If odors persist, inform the technician so they can recheck the drain pan and nearby duct surfaces for hidden growth.
Technicians typically leave a brief report describing actions taken, measurements recorded, and recommended follow-up checks for airflow or drainage. Homeowners receive guidance on checking supply-register airflow and listening for unusual blower sounds during the first week of normal operation. If airflow remains weak, the report will note next diagnostic steps like a deeper duct inspection or blower motor testing. A written summary helps you track performance and decide on any further service needs.
Expect to schedule a short follow-up if the drain pan showed heavy biological matter or if the coil needed a biocide treatment to reduce regrowth risk. In those cases a return visit confirms condensate drains freely and that humidity or airflow conditions have not returned to levels that promote buildup. For routine cases, technicians often recommend a future inspection cycle timed with your filter routine and seasonal checkups. See the suggested filter intervals for different filter types to coordinate inspections and reduce particle load on the coil.
Make small checks at home after cleaning by inspecting return grilles for visible dust and by monitoring indoor humidity to limit moisture exposure to the coil. Homeowners in Argyle should watch for recurring musty smells that suggest regrowth in the system, and managers in Keller, TX might schedule coordinated checks across multiple units. If you detect unusual compressor cycling or persistent warm supply air, contact a professional for a re-evaluation and written diagnostic report. Maintaining notes from each service visit makes future diagnoses faster and more precise.
Frequently Asked Questions
How does indoor coil cleaning improve cooling consistency?
Indoor coil cleaning removes dust and biological buildup that block airflow and reduce heat transfer across the evaporator coil. Cleaner coils allow refrigerant to absorb heat more evenly, reducing hot and cold spots in the home. Technicians also inspect the blower motor, condensate drain, and thermostat to confirm balanced airflow and correct system response. Cleaning involves electrical and refrigerant-area risks, so contact a professional for safe, effective work.
What are the clear signs a coil needs professional cleaning?
Warm rooms that don’t match thermostat settings or long run times can indicate a clogged evaporator coil reducing cooling capacity.
Poor airflow, rattling or unusual blower noise, and visible dust at the return grille often accompany a soiled coil.
Ice on refrigerant lines or a sudden jump in indoor humidity also point to restricted heat transfer on the evaporator.
Because coils sit near electrical parts and refrigerant lines, avoid DIY cleaning and contact a professional for safe indoor coil cleaning and inspection.
How do technicians diagnose a dirty evaporator coil?
Technicians start with visible inspection of the evaporator coil through the air handler access panel for dust, mold, or oily film buildup. They check airflow by measuring static pressure and inspecting the blower motor, filter condition, and return grille. They test temperature split across the evaporator with temperature readings and check refrigerant pressures to rule out leaks or undercharge. If contamination or electrical risks appear, they caution homeowners and recommend a professional for safe indoor coil cleaning and any repairs.
Will cleaning the coil reduce my energy use and run times?
Yes. Cleaning a dirty evaporator coil reduces airflow restrictions so the system cools more efficiently and uses less electricity per hour. Improved heat transfer lowers compressor run times and helps stabilize indoor temperatures during peak cooling. Because cleaning can expose electrical components and refrigerant lines, use a trained HVAC professional to inspect and perform indoor coil cleaning safely.
What follow-up checks happen after indoor coil cleaning?
Technicians inspect the evaporator coil visually and with a flashlight for residual dirt, bent fins, or corrosion after indoor coil cleaning. They run the system while measuring supply and return air temperatures to confirm improved temperature split and stability. Technicians check the condensate drain, pan, and float switch to ensure no clogs or leaks remain, if water issues exist, turn off the unit and call a professional. Finally, they record refrigerant line temperatures, blower airflow, and any findings in a written report for the homeowner.