


Damper Linkage Lubrication for Quieter Positioning
Key Takeaways About Damper Linkage Lubrication
Damper linkage lubrication means cleaning and greasing pivot points and linkages so dampers move smoothly and seal better. This guide is for homeowners and property managers who notice noise or uneven temperatures and want practical steps before calling a technician.
- Identify noisy pivots and sticking blade movement early.
- Prevent dust and grit from building at pivot joints.
- Avoid overapplying grease that attracts debris into the duct.
- Spot worn pins bushings or bent linkage arms visually.
- Reduce actuator strain by checking torque and alignment properly.
- Plan regular inspections aligned with seasonal HVAC tune ups.
Introduction
Sticking or noisy dampers often trace back to dirty pivots, dry linkage parts, or loose torque adjustments. When dampers do not move smoothly they can let conditioned air leak between zones. That leakage raises run time and creates uneven temperatures in occupied rooms. Homeowners notice it first as odd drafts, doors that close differently, or rooms that never reach setpoint.
Pivot joints collect dust and grime that add friction and change how linkages travel. Lack of lubrication lets metal-on-metal contact make squeaks and jerks during damper motion. Incorrect torque means blades may not seal fully even when the actuator commands a closed position. These small issues multiply into comfort complaints and longer equipment cycles.
For properties in Watauga, occasional HVAC maintenance can prevent dampers from drifting out of adjustment over seasons. In North Richland Hills, TX homes with multiple zones, poor damper sealing can hide as a single room running hot or cold. Addressing the pivots and linkages helps dampers seat reliably against the frame and reduces airflow bypass. You will likely notice quieter starts and stops once the mechanisms return to smooth motion.
Diagnosing damper problems starts with observing sound and blade movement when zones change state. A professional will look for binding at the pivot, wear on linkage pins, and whether actuator torque matches manufacturer recommendations. They may also test zone performance with a thermostat call to see if the damper completes its travel. If parts show heavy wear or torque cannot be set correctly a technician can explain repair or replacement options.
How Damper Linkage Lubrication Works Mechanically
Damper linkage lubrication is the process of cleaning and greasing pivot points and linkages so dampers move smoothly and seal against the frame. Mechanics reduce friction at pivots and hinge pins so actuator torque produces full blade travel. Proper lubrication helps dampers stop short of scraping or wobbling, which improves sealing. Homeowners often ask whether lubrication really lowers noise and it does by smoothing metal-on-metal motion.
- Reduces friction at pivot pins.
- Prevents metal wear on linkage eyes.
- Allows actuators to reach specified torque.
- Improves blade seating against the frame.
Mechanically, cleaned pivots restore the original bearing surface so grease spreads evenly under load. Linkage bushings and clevis pins translate actuator rotation into blade swing and must turn freely. If these parts bind, the actuator shows higher current draw and blades stop before sealing. A quick homeowner check is to cycle the zone and watch for uneven blade motion or jerky starts.
Technicians diagnose issues by inspecting pivot play, linkage wear, and actuator response during testing. They may remove a linkage pin, inspect the bushing, and run a visual check of the blade edge for scoring. Professionals often verify torque with the actuator while observing blade travel to ensure full closure. If blade edges are damaged they recommend repair or refer to the damper blade repair service.
Understanding cause and effect helps homeowners decide what to do next and when to call for help. For example, a room that always lags after a zone change suggests binding or a torque mismatch, so a tech would inspect pivots and actuator output. In Watauga, seasonal dust build-up can speed pivot wear and require earlier attention. In North Richland Hills, TX homes with multiple zones, small leaks at dampers add up to longer runtimes and uneven comfort.
Common Causes Of Noisy Damper Pivot Binding
Dirt and grit in pivot bearings create uneven contact that shows as scraping or intermittent stiffness during damper travel. Corroded pins and fatigued bushings change the pivot geometry and cause blades to tilt instead of swinging true. Bent linkage arms from accidental knocks or poor installation put extra load on the actuator and make the mechanism cycle with jerks. In homes in Watauga, accumulated dust on older dampers can speed bushing wear and reveal these problems sooner.
Loose clevis pins or missing retaining clips let linkage ends shift, producing slop and a metallic knock when the damper hits stops. Over-tightened fasteners, conversely, squeeze bushings and stop free rotation, which shows as a tone change and stalled movement. Actuator misalignment lets the linkage travel bind at certain angles, increasing current draw and shortening actuator life. A common symptom is a damper that moves freely partway but hesitates near fully closed positions.
Build-up of dried lubricant or sticky residue from the wrong grease creates drag and traps dust against the pivot surface, worsening binding over time. Blade edge damage or worn seals force blades to rub against the frame, creating scraping sounds and uneven seating when the actuator applies torque. Thermal expansion in long duct runs can slightly warp damper frames, which changes clearance at pivots and makes alignment worse. In North Richland Hills, TX, seasonal temperature swings can make minor clearances more noticeable during transitions.
Incorrect actuator torque settings mask pivot problems by forcing motion through a damaged linkage, increasing wear and noise with each cycle. A mis-sized actuator may not supply smooth motion at low travel angles, causing choppy starts and stops that wear pivot pins. Foreign objects in the duct near the damper can intermittently jam blades, creating sudden bangs and uneven travel. For linked systems or when bypass airflow affects balance, consider checking the related zone bypass damper for interactions that transmit forces back to the pivot assembly.
Identifying Warning Signs And When To Act
Watch for changes in sound that signal worsening pivot wear, such as a rising pitch when the damper approaches closed position. Also note timing changes during zone calls, slower movement near the end of travel often means increased friction or bent linkage geometry. If you hear a metallic knock at end stops, inspect linkage retention hardware for looseness or missing clips that allow sudden shifts. These audible clues help prioritize action before seal damage appears.
Airflow changes can show up as rooms that reach setpoint then lose it quickly, which suggests bypass past a partially sealed blade. A technician will compare static pressure and room temperature before and after cycling to confirm leakage patterns. They may also use a simple smoke test at the grille to see whether air escapes around a supposedly closed damper. Such tests separate actuator faults from sealing or pivot problems.
Visible signs include shiny wear on pivot pins, scored blade edges, or gummed-up grease that traps dust and limits rotation. Inspectors look for side-to-side blade play and measure angular travel against actuator commands to verify alignment. In some multi-zone systems poor sealing in one damper affects balance across the network, so pros often tune related components like the airflow damper tuning setup while diagnosing. Photographs or written notes of worn parts help decide whether lubrication alone will suffice.
Actuator behavior gives clear diagnostic signals: higher current draw, stalled motion near end points, or inconsistent stroke speed indicate mechanical resistance at linkages. A technician typically disconnects the linkage to see if the actuator runs freely, confirming whether the problem is mechanical or electrical. For homeowners in Watauga, document when noises occur to help technicians replicate conditions quickly. In North Richland Hills, TX properties with several dampers, act on persistent symptoms sooner to avoid cumulative system inefficiency.
Cleaning Pivot Points Step By Step For Homeowners
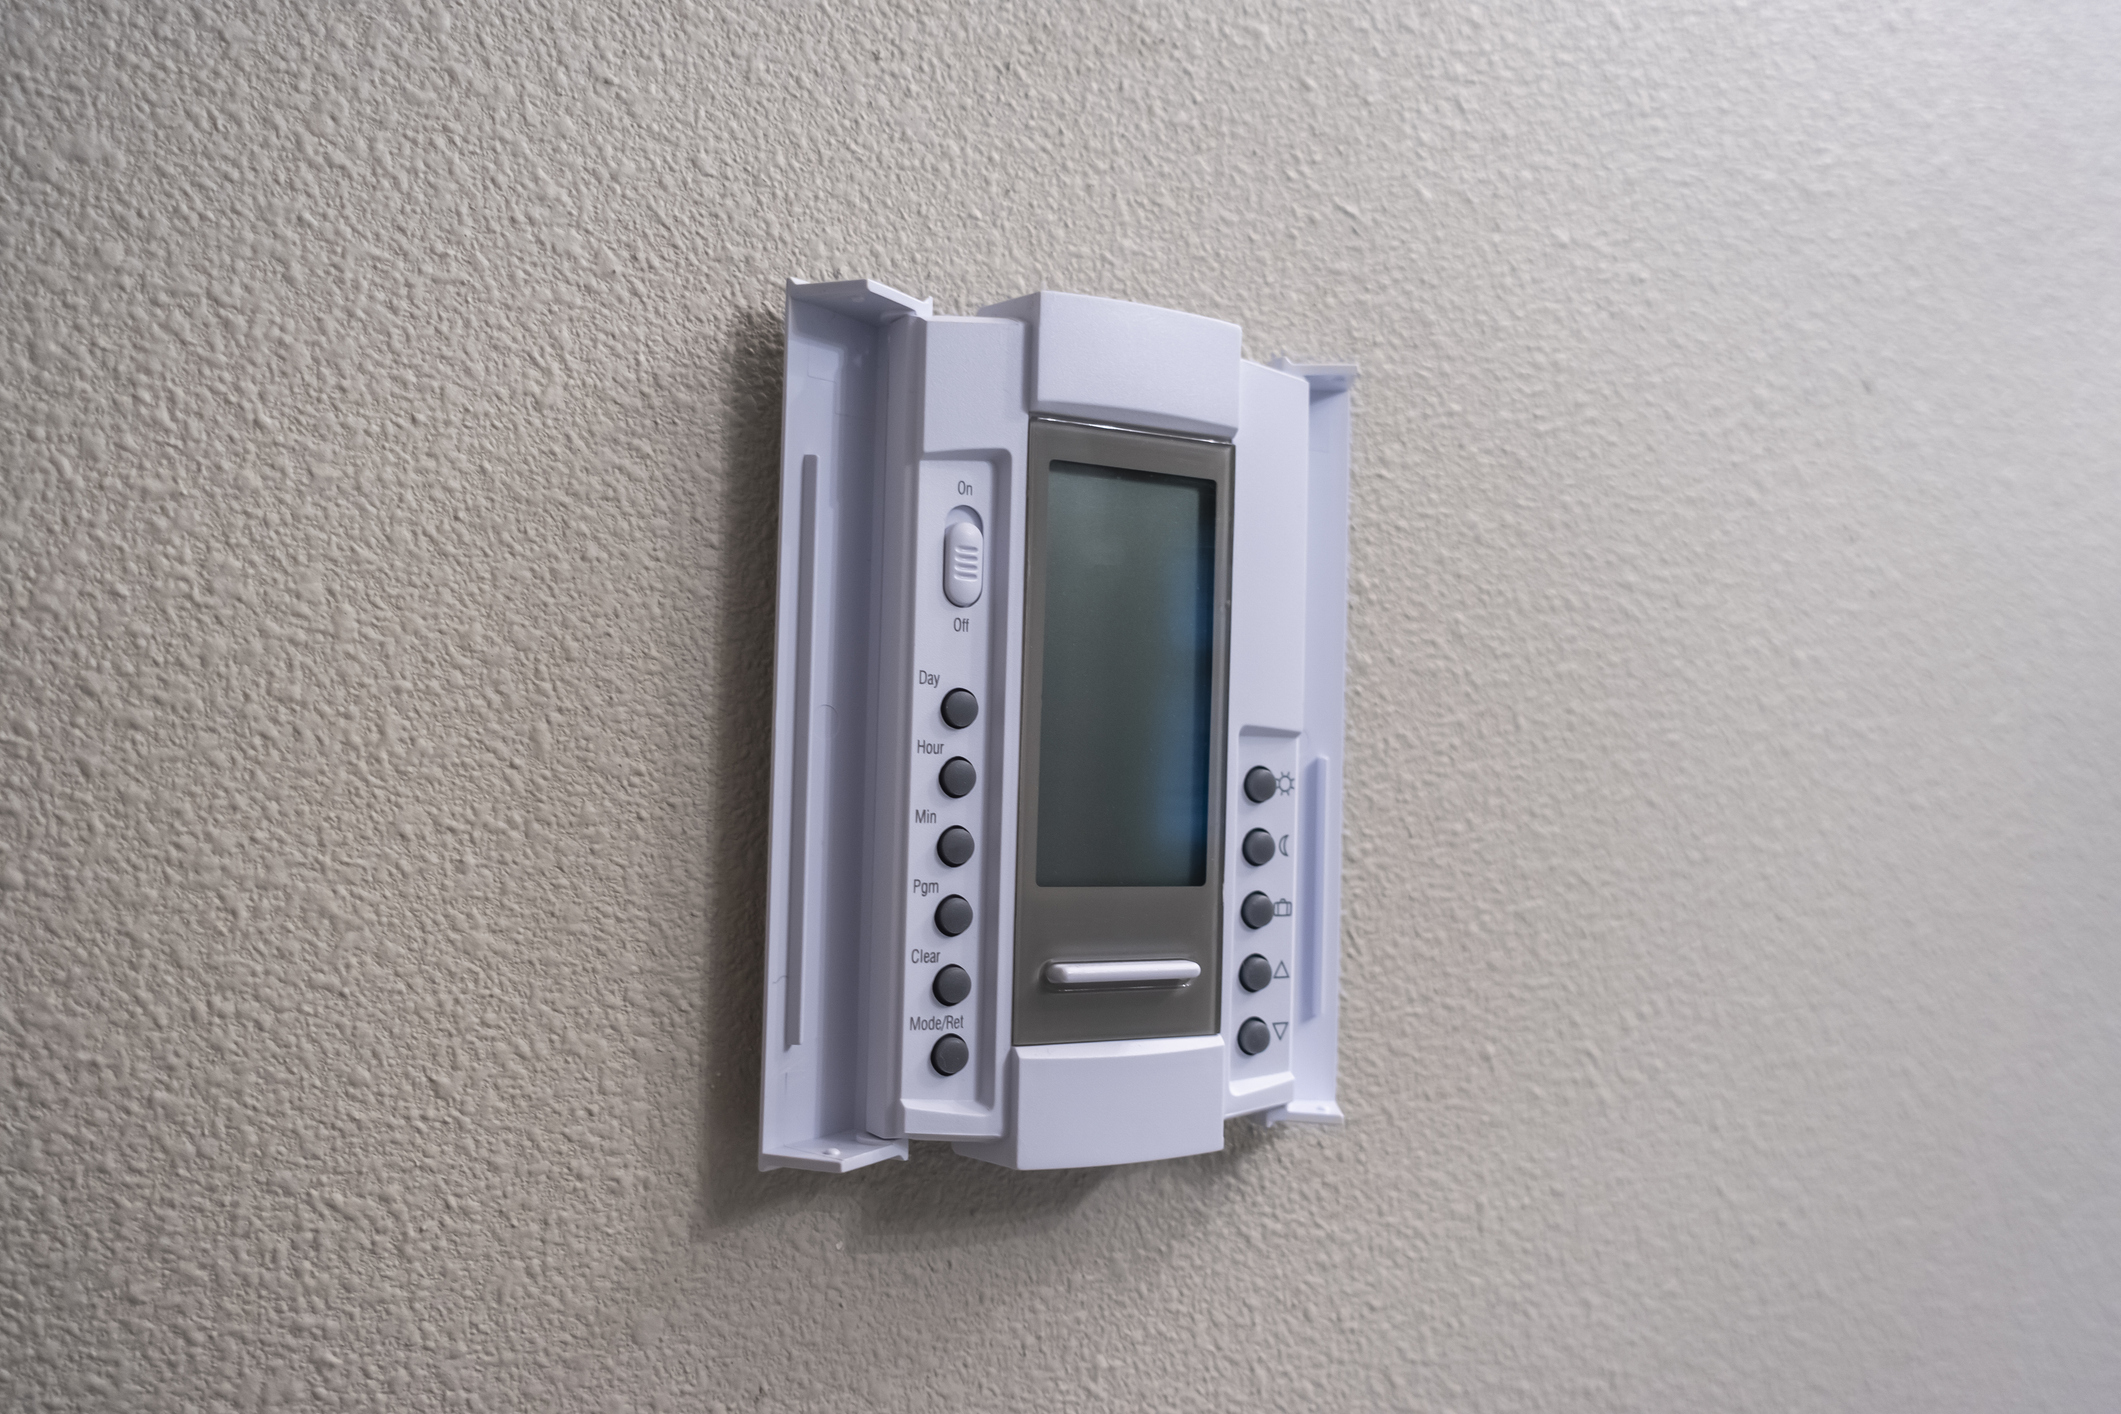
Start by shutting the zone off at the thermostat and switching power to the HVAC zone controller or actuator to prevent accidental movement. Remove the access panel on the duct section with the damper and use a flashlight to inspect the pivot area for compacted dust, rust, or old grease. If you see heavy rust or pitting on a pin, note it and avoid forcing the joint, a professional may need to replace the pin. For homeowners in Watauga, documenting visible damage with photos helps a technician plan repairs before arrival.
- Gather basic tools and safety gear.
- Remove retaining clips and pins carefully.
- Clean surfaces with a cloth and brush.
- Apply suitable lubricant sparingly.
- Reassemble and test damper movement.
With the pivot exposed, clean loose debris with a soft brush and vacuum nozzle to prevent particles re-entering the joint. Use a lint-free rag and, when needed, a small plastic scraper to remove hardened grease without scratching the pin surface. Avoid solvents that can damage bushings, if a gentle cleaner is required, choose one labeled safe for plastics and metals. After cleaning, wipe the area dry before applying lubricant so the grease bonds to the metal properly.
Next, inspect linkage eyes and clevis pins for play by gently moving the blade by hand through its travel while watching the pin fit. If a linkage bushing shows more than slight side-to-side movement, flag it for replacement rather than relying on lubrication alone. When pins rotate smoothly with the blade and show no scoring, apply a thin film of lubricant to the pivot and linkage contact points. After reassembly, cycle the zone from the thermostat and watch the blade for steady, even motion and complete seating.
Best Lubricants And Application Techniques Explained
Start with selecting the right lubricant for metal pivots and linkage eyes to prevent build-up and attract minimal dust. A light synthetic grease formulated for HVAC moving parts gives long-lasting lubrication without gumming up like heavy oils. Avoid oil-based penetrating lubricants that wash away quickly or products with thick tacky additives that trap dust against the pivot. For plastic bushings, pick a silicone-based spray labeled safe for plastics to prevent swelling or degradation.
Apply lubricant sparingly to the exposed pivot pin and the inner surface of the linkage eye so grease does not migrate into the duct airflow. Use a small brush or a cotton swab to place a thin film of grease directly where metal contacts metal, wiping excess with a clean shop rag. If using a spray, control overspray with a rag and spray a short burst aimed at the joint while supporting the linkage to prevent contaminating the blade edge. After application, cycle the damper several times to work the lubricant into the contact surfaces and observe motion smoothness.
For stuck pivots, combine targeted cleaning with lubricant application rather than forcing the joint to move under actuator power, which risks bending linkage arms. A penetrating lubricant can help free slightly corroded pins, but follow with a light synthetic grease after movement resumes to protect surfaces from future corrosion. When a pin shows light surface rust, remove it if possible, clean with a non-abrasive pad, and treat with rust-inhibiting grease before reassembly. If cleaning or lubrication does not restore smooth travel, document wear and contact a professional for pin or bushing replacement.
Proper application includes securing retaining clips and confirming the linkage retains full articulation without excess side play after lubrication. Check actuator torque and visually confirm the blade seals at the frame while the damper is closed, because lubrication can change feel and reveal alignment needs. For persistent noise or vibration after lubrication, consult HVAC noise management resources like HVAC noise management tips to locate related sources interacting with the damper. Homeowners in Watauga and property managers in North Richland Hills, TX should keep records of lubricant type and date for scheduled maintenance and technician reference.
Checking Torque And Alignment For Proper Sealing
Start by verifying the actuator stops and torque settings match the damper type before making adjustments, because incorrect torque prevents full sealing. Observe blade position at commanded closed and open points while another person slowly moves the thermostat, noting any lag or uneven travel. A professional will use a simple torque meter or the actuator’s calibrated stop settings to confirm the actuator applies intended force without overdriving the linkage. If torque is too low, the blade may not seat, if too high, pins and bushings can wear prematurely.
Check alignment by inspecting the linkage geometry from pivot to actuator connection and ensuring the clevis and eyelets line up without twisting. Small misalignments show as angular offset or bent linkage arms that pull the blade off its seating plane during movement. A technician often measures angular travel and compares it to the actuator stroke to confirm full travel and symmetry, adjusting rod length or repositioning the clevis as needed. Proper alignment reduces lateral loads on pins and improves long-term seal consistency.
After torque and alignment adjustments, test sealing with a simple smoke or tissue test at the grille to detect bypass airflow while the damper is commanded closed. If air passes around the blade edge, recheck blade perpendicularity to the frame and inspect sealing surfaces for wear or debris that prevents contact. Professionals also observe actuator current draw during a cycle, a steady low draw suggests smooth motion while spikes indicate binding or friction. Record findings and, if problems persist, plan for hardware replacement rather than repeated torque increases.
Include the air handler in system checks because upstream pressure or misadjusted dampers can mask alignment issues during testing, review the air handler maintenance guide for related steps. In Watauga homes, dust migrating from the air handler can change pivot behavior between inspections, so include the handler in preventive checks. In North Richland Hills, TX multi-zone systems, small misalignments on one damper often affect balance across others and require coordinated tuning. Keep a written note of final torque settings and linkage positions for future maintenance visits.
When To Call A Professional For Damper Linkage Lubrication
If the damper still sticks after cleaning pivots and applying lubricant, call a pro to avoid further damage. A technician can disassemble worn linkage assemblies safely and confirm bushing condition under light. They will also verify actuator compatibility and recommend replacement when travel or torque cannot be restored. For homeowners in Watauga, documenting when noise occurs helps the technician reproduce the fault during service visits.
- Visible pin wear that you cannot remove safely.
- Actuator stalls or shows high current draw.
- Blade edge rubbing despite lubrication.
- Loose or missing retaining hardware.
- Repeated binding after short-term fixes.
Call a professional when linkage geometry shows permanent bend or when bushings wobble under hand movement. A trained tech uses inspection tools and a visual report to decide between lubrication, pin replacement, or full linkage swap. They may test actuator output while disconnected from the linkage to isolate electrical from mechanical faults. If the air handler needs coordinated checks, the technician will reference the air handler repair details during diagnosis.
If noise returns soon after a DIY lubrication, schedule service because repeat symptoms imply deeper wear or misalignment. The pro will measure angular travel and compare it to manufacturer stroke specifications to confirm correct operation. They can also recommend preventive actions to reduce reoccurrence and document final torque and linkage settings. For multi-zone systems in North Richland Hills, TX, coordinated damper tuning often solves performance issues that a single repair cannot address.
Preventive Maintenance Schedule To Avoid Problems
Set a regular inspection cadence for pivots and linkages to catch early signs of wear before they affect performance. Aim to check pivot motion, linkage play, and actuator response at least twice a year, aligning checks with seasonal HVAC tune-ups. During each visit, note lubricant type and date so future technicians know what was used previously. Include a brief operational test where the zone cycles while watching for smooth, even blade travel.
Between full inspections, perform a quick monthly visual walk-through to spot new grease build-up or loose retaining clips that need attention. If you notice fresh dust accumulation or a faint scraping sound, mark that damper for a more thorough service. Homeowners in Watauga can keep a simple log of observations to help pros reproduce intermittent faults during service calls. Small, scheduled checks reduce the chance of sudden seal failure or actuator overload.
Every 12 months, combine pivot and linkage checks with system-level balancing and actuator verification for coordinated operation across zones. A technician will confirm torque settings, inspect bushing condition, and verify blade seating with a smoke or tissue test during this tune-up. For multi-zone systems in North Richland Hills, TX, coordinated tuning prevents one damper from masking problems in another zone. Record results and adjust the maintenance frequency if wear appears sooner than expected.
Use maintenance visits as opportunities to refresh preventive items such as light synthetic grease and retaining hardware to maintain reliable motion. If you plan DIY cleaning between professional visits, follow the lubricant manufacturer’s directions and avoid over-application that attracts dust. Professionals offering comprehensive checks will often include damper linkage work as part of an HVAC system tuning appointment. Keeping a consistent schedule prevents minor friction issues from turning into costly repairs later.

Frequently Asked Questions
How does damper linkage lubrication reduce HVAC noise?
Damper linkage lubrication reduces HVAC noise by eliminating metal-on-metal squeaks at pivot points and joints. Smooth pivots let dampers move without sudden jerks that cause rattles in ducts and frames. Proper lubrication and cleaned bushings improve seal contact so airflow changes do not create vibration noise. If linkages look corroded or stuck, use caution and consider hiring a professional to avoid damaging the actuator or control rod.
What are signs a pivot or linkage needs lubrication?
You may hear scraping, clicking, or grinding when dampers change position, indicating stiff pivots or dry linkage joints. Dampers that stick or hesitate before settling often show worn pivot pins or rusted linkage sleeves. Look for visible grease loss, rust, or metal-on-metal wear around pivot points and control rods. Caution: if you see damaged gears, excessive corrosion, or smoke, stop and contact a professional HVAC technician.
Can I safely clean and lube damper pivots myself?
Yes, many homeowners can safely clean and lubricate accessible damper pivots with basic tools and a cloth. Use a light lubricant labeled safe for HVAC linkages and avoid grease that attracts dust. Exercise caution around electrical panels and moving dampers, and shut power off if you must work near motors or actuators. If pivots are corroded, linkages bent, or torque adjustments needed, call a professional to avoid damage or safety risks.
How do torque and alignment affect damper sealing?
Proper torque ensures the damper shaft holds position so the blade presses evenly against the frame for a tight seal. Misalignment lets edges gap or bind, causing air leaks and loud fluttering during operation. Technicians check linkage geometry and apply Damper linkage lubrication to reduce play and protect pivot points from wear. If torque or alignment adjustments require disassembly or ladder work, use caution and consider calling a professional to avoid injury or damage.
When should I call a pro for persistent damper noise?
If noise returns after cleaning pivots and applying damper linkage lubrication, call a pro when rattles persist or worsen over a few days. A technician will inspect the actuator, linkage, and dampers for wear, misalignment, or broken springs. If you hear scraping, grinding, or smell burning, power down the system and contact a professional because those signs can indicate motor or wiring issues. A qualified HVAC pro can test torque, replace worn parts, and provide a written report of needed repairs.