

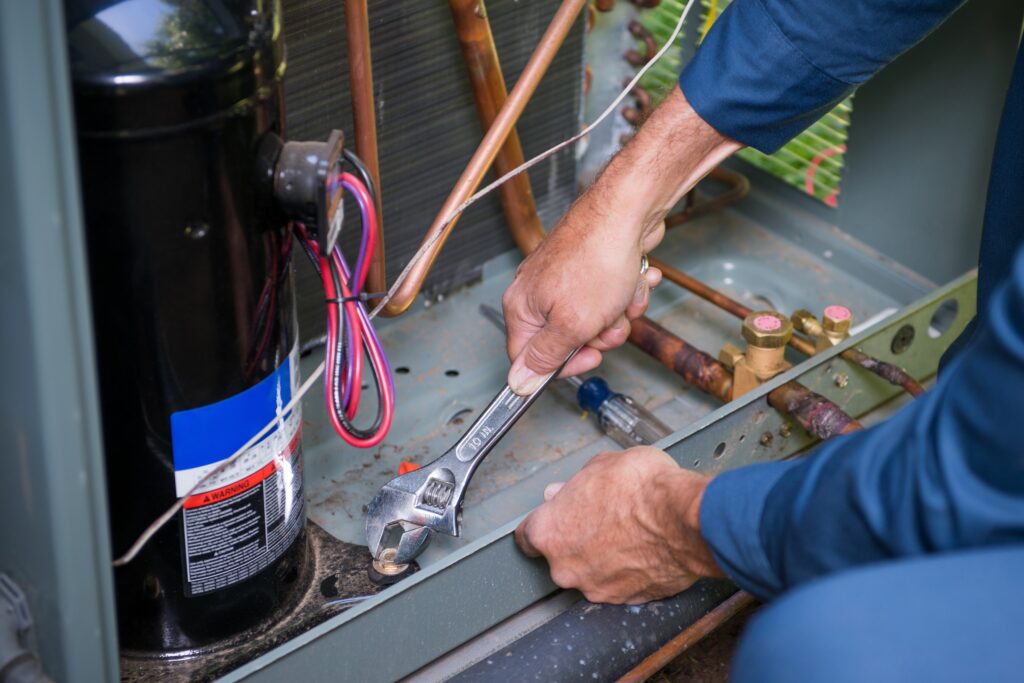
Crankcase Heater Check for Cold-Start Protection
Key Takeaways About Crankcase Heater Check
A crankcase heater check verifies the heater and controls that keep compressor oil warm to prevent refrigerant pooling. This guidance is for homeowners and property managers before cold-season startups or after long idle periods.
- Identify damaged wiring or loose compressor junction box terminals.
- Prevent refrigerant migration by ensuring heater energizes during shutdowns.
- Avoid costly compressor damage by testing continuity and control voltage.
- Spot oil discoloration or unusual startup noises that indicate dilution.
- Reduce risk with thermostat or timeclock interlock verification and adjustments.
- Plan professional diagnostics when multimeter readings or symptoms are unclear.
Introduction
Cold starts can damage compressors when refrigerant collects in the crankcase during long idle periods. A failed crankcase heater lets liquid refrigerant migrate and dilute oil, which reduces lubrication. That problem often shows up after cold nights or during fall startup checks. Homeowners in Aledo and nearby areas may not notice damage until the system fails under load.
Protecting the compressor depends on a working heater and correct control wiring. If the heater does not maintain oil temperature, refrigerant can condense and settle around moving parts. That increases wear and can lead to motor burnout or seized bearings. In Fort Worth, TX homes that sit idle for weeks, the risk rises as temperatures drop overnight.
Signs of a crankcase heater problem are subtle before a major failure. Owners might hear unusual compressor noises at startup or notice a longer runtime than before. Visible oil around service ports or an unexplained drop in system efficiency also point to trouble. These clues matter because early detection prevents larger mechanical damage and extended downtime.
Professional technicians verify heater operation and control logic with targeted tests and observations. They check continuity, control voltage, and proper thermostat or timeclock interlocks without relying on homeowner attempts. A clear diagnosis identifies whether repair, replacement, or a control adjustment protects the compressor. Prompt attention preserves system life and reduces the chance of a cold-start failure.
What A Crankcase Heater Does And Why It Matters
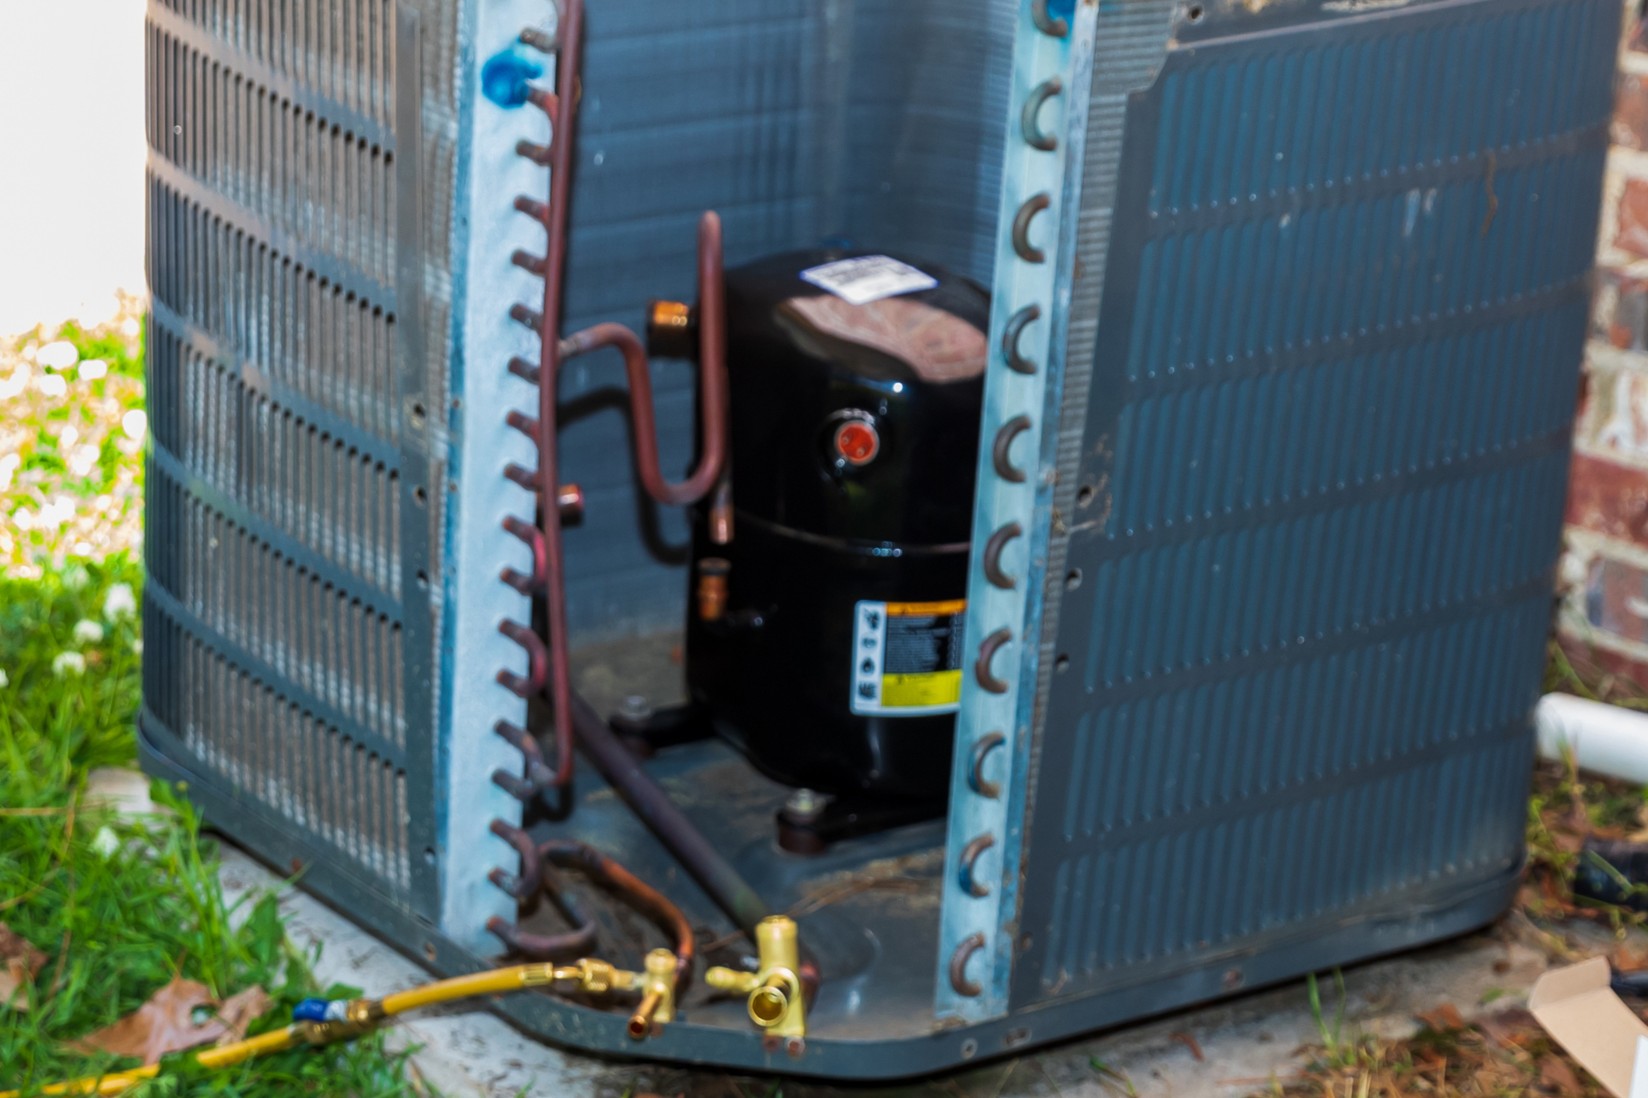
A crankcase heater is a small electric heater that keeps compressor oil warm to prevent refrigerant condensation and pooling. It sits around the compressor crankcase and raises oil temperature above the refrigerant boiling point. Keeping oil warm prevents refrigerant from diluting it during long idle periods. Homeowners often ask if the heater really matters, and the short answer is yes because it protects internal lubrication at startup.
- Maintains oil temperature during idle periods.
- Prevents refrigerant from condensing into the crankcase.
- Reduces wear on bearings and motor windings at startup.
- Works with controls to prevent early compressor cycling.
The heater matters most when systems sit unused through cool nights or long absences. Without heat, liquid refrigerant migrates and mixes with oil, lowering its lubricating ability. That mixed oil no longer protects moving parts and increases startup stress on the compressor. This failure mode can be gradual and go unnoticed until a severe mechanical problem appears.
In practice, a crankcase heater works with control wiring and timers to only run when needed and to avoid wasting energy. Technicians will confirm the heater is wired correctly and tied to any required interlocks or timeclock to prevent unintended operation. A simple homeowner question is whether a heater runs all the time, it normally only runs during extended off periods or per the control strategy. For more details on what a professional inspects during a crankcase heater check, see crankcase heater check.
Homeowners in Aledo should note visible oil leaks or oil-darkened panels can indicate long-term dilution and wear. Technicians use continuity tests, voltage checks, and visual inspection to verify heater function rather than guessing. In Fort Worth, TX properties that remain idle, the heater provides one of the few safeguards against refrigerant migration damage. If you notice odd startup noises, contact a technician to confirm the heater and controls protect your compressor.
How Refrigerant Migration Occurs And Why It Happens
Refrigerant migration starts when warm refrigerant naturally flows toward the coldest point in the system during long idle periods. Vapor can condense into liquid on the compressor shell or suction line if oil temperature falls below refrigerant saturation. That liquid refrigerant then pools in the crankcase where oil collects, causing dilution that reduces film strength and lubrication. Over time, this dilution raises friction and increases the chance of mechanical damage at the next startup.
Low ambient temperatures and a shutdown compressor create the ideal conditions for migration to occur inside the sealed system. Gravity and pressure differences drive liquid refrigerant into the lowest components, which is often the crankcase. A compressor sitting cold overnight can accumulate enough liquid to change oil viscosity and impair bearing lubrication. Technicians consider those pressure and temperature gradients when diagnosing migration risks.
Electrical and control issues can make migration worse by letting the heater stay off when temperatures would normally trigger it. If timers, thermostats, or relays do not allow the crankcase heater to run during extended idle periods, protective warming does not happen. Faulty wiring or misconfigured interlocks can appear as intermittent protection, which still allows refrigerant to condense. For a thorough electrical diagnosis, professionals may pair heater checks with a compressor insulation test similar to a megohm test of windings to confirm system health.
Internal oil properties and refrigerant type influence how easily migration causes harm because some refrigerants dissolve into oil more readily than others. Oil dilution reduces its load-bearing film and increases metal-to-metal contact on startup. Repetitive startups with diluted oil accelerate wear and reduce compressor lifetime. Understanding the refrigerant-oil interaction helps prioritize heater operation for systems with known migration tendencies.
For example, a property in Aledo with a long weekend vacancy showed longer-than-normal compressor cranking at first run, and the homeowner heard grinding noises at startup. A technician would inspect crankcase oil appearance, measure oil temperature, and verify heater continuity and control voltage next. They would also check suction line temperature and system pressure readings to confirm migration occurred before recommending corrective action. These diagnostic steps reveal whether heater repair or control changes will prevent future refrigerant migration damage in Fort Worth, TX homes.
Common Signs Of Heater Failure Homeowners Can Notice
Warm oil should look glossy on sight glass or at service ports, while dark, milky oil suggests refrigerant contamination inside the crankcase. Homeowners may notice a chemical or sweet smell near the outdoor unit after startup, which can signal oil-refrigerant breakdown rather than a refrigerant leak. Another observable cue is oil residue on access panels or around service ports, which indicates long-term dilution and possible seal degradation. When you see these signs, note timing and environmental conditions before contacting a technician for further checks.
Unusual startup sounds like prolonged humming, grinding, or repeated click-and-stop attempts often point to lubrication loss from diluted oil in the compressor. Short cycling or very long run times can also be indirect evidence that internal lubrication or valve seating is compromised. Technicians will want to compare those audible cues with control settings and observed compressor behavior during a diagnostic. Record the sounds or write down when they happen to help the technician diagnose quickly.
Visible corrosion or oil-darkened panels on the compressor shell can appear when refrigerant mixes with oil and migrates over time to external surfaces. Frost or icing on the suction line near the compressor at initial operation can indicate cold oil and remaining migrated refrigerant. Check for accumulated ice after a cold night to see if protection failed during idle periods. If you find such evidence, mention it during scheduling so the technician brings appropriate tools and tests.
For example, a homeowner in Aledo noticed a longer crank and faint grinding noise the morning after a week away, a technician would inspect oil appearance, measure crankcase temperature, and verify heater continuity using a multimeter. Technicians often follow those homeowner clues with suction line temperature checks and control voltage measurements to confirm heater failure. They may also inspect timeclocks and thermostat interlocks to ensure the heater was allowed to operate during idle periods. If you want general upkeep steps for compressors while you wait for service, read the related HVAC compressor care tips.
Simple Crankcase Heater Check Steps For Homeowners
Start with a visible check of the outdoor unit for obvious damage or loose wiring near the compressor crankcase. Turn power off at the disconnect before touching any wiring to avoid shock or shorting circuits. Look for the heater lead wires and note any frayed insulation, burnt terminals, or detached connectors that would stop heater current. If you see damage, stop and schedule a professional rather than attempting complex repairs yourself.
- Confirm power to the outdoor unit is off before inspecting.
- Locate heater leads at the compressor junction box.
- Look for burned or loose electrical connections.
- Note any oil residue near terminals or service ports.
When the visual check looks normal, homeowners can test heater continuity with a multimeter set to ohms if they are comfortable doing so. Remove the heater leads from the control or relay to avoid backfeeding and measure resistance across the heater element. A readable resistance indicates the element is not an open circuit, while an infinite reading shows an open heater that needs replacement. If you are unsure about readings or safe disconnection, call a technician to complete the test.
Next, verify the heater control logic by observing the thermostat or timeclock settings that allow the heater to run during extended idle periods. Ensure any interlock relay or thermostat output is not stuck open and that the heater has permission to energize when the system is off. Homeowners can note whether the heater gets warm after several hours of shutdown, but avoid touching the element directly. If the heater never warms despite correct control signals, document your observations for the technician.
If a homeowner suspects refrigerant migration or wants containment documented before service, mention a professional refrigerant recovery check when scheduling. A technician will use pressure gauges and temperature probes to confirm migration and safe recovery procedures if needed. Providing photos of wiring, oil staining, and your continuity readings speeds diagnosis and helps the technician bring proper parts. In Aledo properties and homes in Fort Worth, TX with extended idle periods, these simple checks help determine whether a professional crankcase heater inspection is warranted.
When To Call A Professional For Heater Problems
If you detect heater wiring damage, persistent startup noise, or milky oil, call a technician to avoid further compressor harm. A pro will perform live-voltage checks and continuity tests safely with the unit energized and locked out. They can also verify heater control timing and interlock operation using a voltmeter and control panel inspection. These steps reduce the risk of misdiagnosis from homeowner attempts without proper PPE and tools.
Contact a technician when your multimeter shows an open circuit but the heater appears intact, or when the heater never warms during extended shutdowns. A qualified tech will trace control wiring, test relays, and measure current draw at the heater terminals to confirm element function. They will also check compressor crankcase temperature and suction line behavior under controlled conditions for a clear diagnosis. That approach prevents unnecessary heater replacement when controls or relays are at fault.
Arrange professional service if you notice oil staining around service ports, continued hard starts, or unexplained compressor overheating after startup. The technician will inspect the compressor junction box, verify grounding, and evaluate oil condition and viscosity to determine refrigerant dilution. They may recommend improving suction line routing or adding insulation to prevent cold spots, and will check existing insulation during the visit. For guidance on insulating lines during repairs, see refrigerant line insulation.
Call sooner rather than later when systems sit unused through cold nights and warm-up startup problems appear repeatedly in Aledo properties. A pro will also look for timeclock misconfiguration and confirm heater energizes during long idle periods to protect the compressor. In Fort Worth, TX homes where HVAC downtime is costly, prompt diagnostics catch migration damage before it becomes catastrophic. Early professional involvement offers the best chance to preserve compressor life and avoid extended outages.
What Technicians Inspect During A Crankcase Heater Check
Technicians begin by energizing the unit under controlled conditions and measuring heater voltage and current at the compressor junction box. They use a multimeter and clamp ammeter to confirm the heater draws rated current and receives proper control voltage. The tech will also inspect relay contacts and terminal screws for heat damage or loose connections that cause intermittent operation. Photos and written readings are recorded for the service report to guide next steps.
Next, the technician measures crankcase temperature with an infrared probe or contact thermometer to confirm the heater raises oil temperature above expected ambient levels. Suction line and compressor shell temperatures are compared to detect cold spots that promote refrigerant pooling. If temperatures remain low despite proper voltage, the heater element may be internally damaged or poorly mounted. The tech documents these temperature readings to support repair recommendations.
Technicians also trace the control circuit from the thermostat or timeclock to the heater relay, checking interlock logic and ensuring the heater receives permission during extended idle periods. They test relay coil continuity and control outputs while simulating off-cycle conditions to verify timing functions. If relay or timeclock faults appear likely, the technician will recommend correcting control wiring rather than immediate heater replacement. This control verification step prevents repeat failures caused by misconfigured interlocks.
As part of a full diagnostic, the technician inspects oil condition and visual signs of refrigerant dilution through service ports and sight glass, noting any milky appearance or oil thinning. They often pair these findings with a system pressure check and may suggest a refrigerant assessment when evidence suggests migration, using a refrigerant charge audit for more detailed analysis. The technician compiles all readings, visual evidence, and control test results into a report so homeowners in Aledo and Fort Worth, TX can decide on repairs with clear documentation.

Preventive Maintenance Tips To Avoid Cold Start Damage
Schedule an annual inspection that includes heater mounting, terminal tightness, and control sequencing to catch issues before cold weather. Technicians can adjust timeclock or thermostat interlocks so the heater energizes only when needed. Regular inspections also verify insulation on nearby suction lines stays intact to reduce cold spots. Documenting those checks helps track recurring failures and control adjustments over time.
- Confirm heater mounting is secure.
- Verify terminal screws are tight.
- Check control relay operation.
- Inspect nearby line insulation.
- Record temperature readings for comparison.
Keep surrounding equipment clear of debris and vegetation that trap cold air near the compressor, which increases migration risk. Maintain a dry, ventilated pad under the outdoor unit to prevent moisture buildup and ice formation during shutdown periods. Replace any damaged conduit or cable clamps that allow water ingress and possible shorting of heater circuits. These basic site upkeep steps reduce environmental stresses on the heater and controls.
Test heater function before long absences by measuring crankcase temperature after a controlled off period to ensure the element warms the oil. If temperatures remain low, have a technician trace control wiring and test relay outputs under simulated off-cycle conditions. Also ask the technician to confirm correct heater element specification for your compressor model during the visit. Keeping test records supports targeted repairs if the heater shows intermittent performance later.
Consider adding a simple timed controller or integrating the heater into an existing building automation schedule to ensure consistent coverage during prolonged shutdowns. A timed control prevents human error and avoids running the heater continuously when not needed, balancing protection and energy use. For eco-friendly tips that align heater scheduling with efficient home heating and cooling strategies, review guidance on avoiding emergency heating and cooling repairs. Homeowners in Aledo and Fort Worth, TX can benefit from coordinated maintenance and smart scheduling to reduce cold-start risks.
Cost Considerations And Safety When Replacing Heaters
Replacing a failed crankcase heater requires attention to electrical safety and proper part matching to the compressor model. A technician will confirm heater voltage and mounting before proceeding, and they follow lockout-tagout procedures to prevent accidental energizing. Homeowners should ask for documentation of the replacement part specification and the measured current draw after installation. This helps verify the new heater meets manufacturer recommendations and operates as expected.
Proper wiring and secure terminals prevent intermittent operation that can masquerade as a new failure soon after replacement. Technicians will replace corroded terminals, repair damaged conduit, and verify relay or timeclock interlocks function with the new heater. They also test crankcase temperature rise after installation using a contact thermometer to ensure the heater warms the oil effectively. If controls fail to energize the new heater, the replacement will not protect the compressor despite appearing correct.
There are safety considerations when removing oil-stained covers or opening the compressor junction box, so professionals use gloves and eye protection during these steps. Technicians will look for oil contamination and degraded insulation that could indicate wider damage needing attention before reassembly. For homeowners concerned about multiple service visits, consider proactive measures documented in the technician’s report to prevent repeated failures. Review the technician’s findings alongside guidance in the service recommendations to reduce future call-backs and repair cycles.
Documenting the repair with photos, measured voltages, and temperature readings supports warranty claims or future diagnostics when problems recur. Ask the technician to record control logic tests and any adjustments made to timeclocks or relays for future reference. If you plan a long vacancy in Aledo, mention that during scheduling so the tech can set appropriate heater interlocks. Properties in Fort Worth, TX benefit from this documentation when comparing seasonal performance across visits.
Frequently Asked Questions
What is a crankcase heater check and why perform it?
A crankcase heater check verifies the heater warms the compressor oil to prevent refrigerant migration when the system is off. Technicians inspect wiring, heater resistance, and the control circuit for proper operation and continuity. Performing the check reduces start-up stress on the compressor and lowers risk of slugging or motor damage. If you suspect a heater fault, exercise caution around live electrical components and call a qualified HVAC professional.
How do I spot signs of refrigerant migration at startup?
Listen for unusual compressor labored starts or long crank times that suggest oil dilution from refrigerant migration. Look for excessive oil on the compressor sight glass or at service ports during initial inspection. Notice strong refrigerant smell or hissing near the compressor at startup, and shut down if present because of safety risk. If you suspect refrigerant migration, request a professional crankcase heater check and compressor diagnostic to confirm and repair.
Can I test crankcase heater continuity safely myself?
You can perform a basic Crankcase heater check by visually inspecting connections and confirming power is off at the breaker. Use a multimeter to test continuity only if you know safe electrical practices and can access terminals without touching live parts. Exercise caution, working near motors and capacitors carries shock and injury risks, so stop and call a professional if unsure. For safety and accurate diagnosis, hiring an HVAC technician is the recommended next step.
When should I call a pro for a crankcase heater check?
Call a pro if the compressor shows hard starts, unusual noise, or repeated lockouts during cool mornings. Schedule a crankcase heater check before winter or after long shutdowns to prevent refrigerant migration. If you smell oil or see oil stains near the unit, stop use and call a technician immediately. Electric work and heater replacement carry shock and refrigerant risks, so always hire a licensed HVAC professional.
What steps do technicians take to diagnose heater control faults?
Technicians start by visually inspecting the crankcase heater wiring, terminal connections, and the heater element for obvious damage. They take voltage and continuity readings at the heater and control relay to confirm proper power and circuit integrity. If readings are abnormal, they test the thermostat or control module inputs and the compressor crankcase temperature sensor. For safety, they recommend a trained professional perform any repairs and to isolate power before working on the circuit.