
Thermostat Calibration for Steadier Temperatures
Key Takeaways About Thermostat Calibration
Thermostat calibration means adjusting the thermostat so its temperature reading matches actual room conditions. This summary is for homeowners and property managers troubleshooting overshoot and frequent cycling.
- Identify sensor placement issues near vents or heat sources.
- Prevent overshoot by tightening control deadband settings.
- Avoid wiring faults by checking continuity and terminal screws.
- Spot intermittent sensor failure with timed thermometer logging.
- Reduce short cycling by confirming prompt HVAC response to calls.
- Plan professional diagnostics when errors persist after adjustments.
Introduction
Thermostat calibration matters when rooms swing between too hot and too cold. Many homeowners notice temperature overshoot and frequent cycling that waste energy. Those symptoms often mean the thermostat or its sensor reads wrong or reacts too slowly. In Grapevine, a misreading can make comfort problems more obvious during seasonal change.
A thermostat that misreads temperature forces the HVAC system to run longer than needed. That extra run time shortens component life and raises utility use without improving comfort. You might hear short cycling or notice the system never seems to hold a steady temperature. For properties in Frisco, TX, uneven cooling or heating can feel especially frustrating on humid days.
Calibration and sensor verification aim to match the thermostat’s reading to actual room conditions. Technicians check the sensor location, compare thermometer readings, and confirm the thermostat control response. Accurate calibration reduces overshoot and prevents the system from switching on and off too often. Proper checks also reveal if a thermostat or wiring fault causes the issue.
Homeowners often spot the problem through sounds, timing, or visible temperature swings between rooms. A steady setpoint that still feels wrong usually points to calibration or sensing errors. When symptoms persist, professional diagnosis can confirm whether recalibration or component replacement is needed. Acting on those signs helps restore consistent comfort and steadier system operation.
How Thermostat Calibration Works And Why It Matters
Thermostat calibration means adjusting the thermostat so its temperature reading matches the actual room temperature within a small margin. Technicians start by confirming the thermostat’s internal sensor and setpoint behavior before changing anything. This process matters because an inaccurate reading causes overshoot when the system cools or heats past the desired point. A clear homeowner question is whether calibration will stop short cycling, yes, fixing a misreading often reduces frequent on-off cycles.
- Compare thermostat reading with a reliable thermometer.
- Check sensor placement and nearby heat sources.
- Inspect wiring and the control response.
- Adjust offset or recalibrate the thermostat sensor.
Calibration begins with a controlled comparison using a handheld thermometer placed near the thermostat sensor. A professional will log readings over 10 to 20 minutes to catch transient differences before adjusting the offset. They will observe whether the HVAC responds promptly when the thermostat calls for heat or cool, noting any delay or overshoot. If the thermostat uses a remote sensor, the technician will verify the sensor’s connection and mounting for accurate sampling.
Proper calibration reduces the amount of overshoot by tightening the control deadband and improving setpoint accuracy. During the check, the technician also checks the control wiring and may reference whether a dedicated common wire exists for stable power. Homeowners interested in wiring details can learn more about the thermostat C wire by reviewing guidance on thermostat C wiring. In Grapevine and Frisco, TX, confirming accurate readings helps systems run less and keeps indoor comfort steady.
Common Causes Of Temperature Overshoot And Cycling
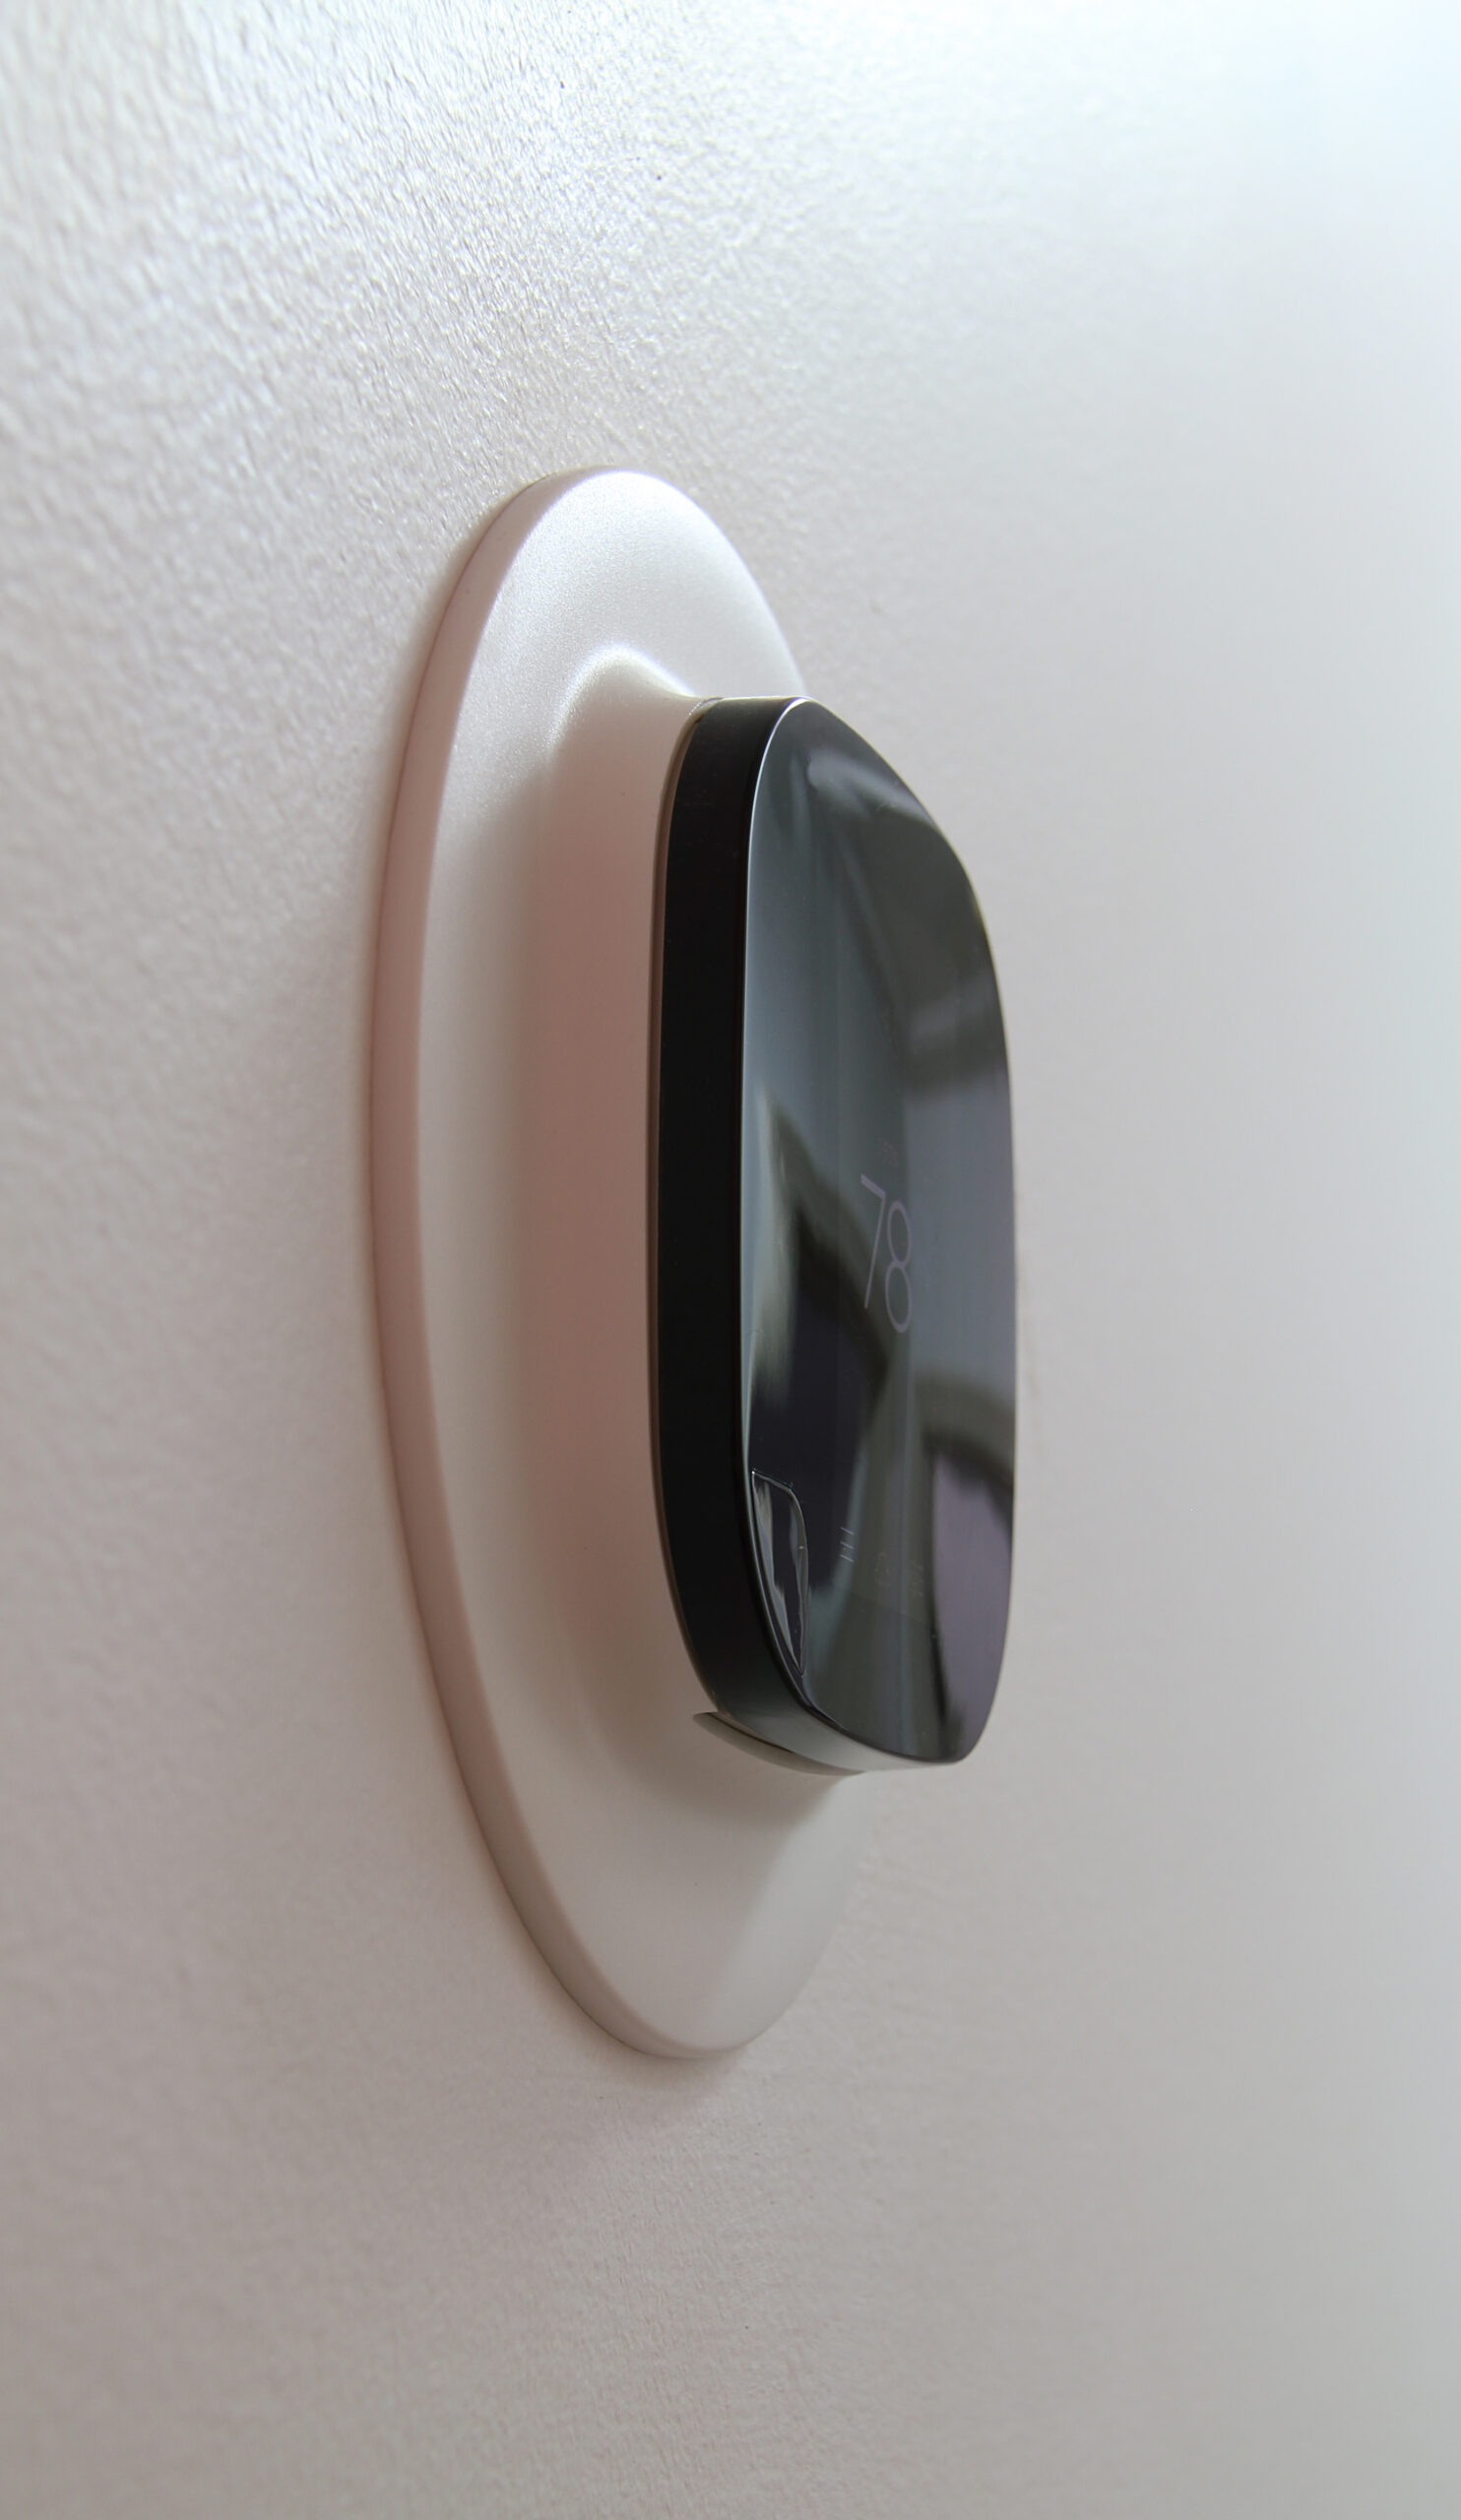
One common cause is a thermostat installed near heat sources like direct sunlight, lamps, or supply registers that bias sensor readings. When the sensor sees warmer air, the thermostat can shut off cooling too early, which later causes the room to drift past the setpoint. Another installation issue is mounting the thermostat on an uninsulated exterior wall where drafts or thermal transfer skew readings. Homeowners in Grapevine sometimes find obvious placement problems when one room feels different than the rest.
Incorrect control settings and excessive temperature differential settings also drive overshoot and cycling. If the thermostat deadband or differential is set too wide, the system will run longer and then overshoot the target before shutting off. Older mechanical thermostats may have worn contacts producing short cycling as the relay chatter trips the system repeatedly. Modern digital units can also misbehave when internal settings conflict with system type selection.
Sensor faults and wiring issues create intermittent or steady misreads that force frequent on-off cycles. A loose sensor lead, corroded terminal, or broken wire can make the thermostat see jumps in temperature that do not match the room. Remote sensors that sit in basements or attics instead of main living areas will report conditions that cause inappropriate control decisions. Technicians verify this by checking continuity at the thermostat and comparing sensor resistance or voltage against expected values.
System lag and oversized equipment contribute to overshoot after the thermostat stops calling for heat or cool. Large-capacity furnaces or AC units change room temperature quickly, so a slow thermostat response or poor air circulation lets the space keep moving past the setpoint. A professional will observe start-stop timing, measure supply and return temperatures, and note airflow at the return grille to diagnose lag. For guidance on using thermostat controls to prevent unnecessary calls, review the advice about the thermostat hold feature which can reduce manual overrides that worsen cycling.
How To Verify Sensor Accuracy At Home
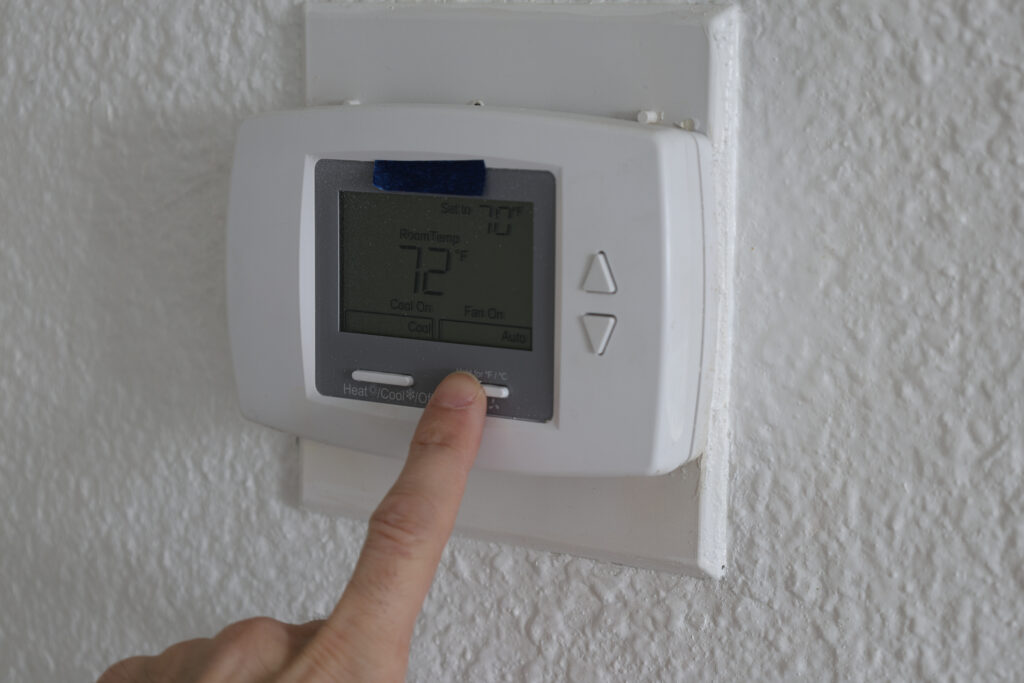
Start by placing a reliable digital thermometer directly beside the thermostat cover to check its reading against room air. Leave both devices undisturbed for at least 15 minutes to let temperatures stabilize before noting differences. If the thermometer shows more than a couple degrees difference, that indicates the thermostat sensor may need adjustment or relocation. Homeowners in Grapevine often find this simple comparison reveals obvious sensor bias caused by nearby heat sources.
Next, verify that the thermostat sits flush and the cover does not trap warm air from electronics or wiring behind it. Remove the cover carefully and look for dust, loose wires, or a displaced sensor element that can change readings. A quick continuity check on sensor leads can reveal intermittent wiring faults that mimic sensor failure. In Frisco, TX properties, tight mounting and clean sensor contacts often correct small reading errors.
For thermostats with remote or wall sensors, confirm the sensor is mounted where representative air mixes, not in a drafty corner or near a register. Temporarily move a portable thermometer to the sensor location and compare readings to a central room spot to detect sampling errors. If the remote sensor consistently reads differently, swapping it with a known-good sensor or testing resistance can confirm a fault. This approach prevents control decisions based on unrepresentative data that lead to overshoot and cycling.
A professional diagnosis usually follows simple home checks with more controlled tests like logging temperature over time and measuring control response. A technician will observe start and stop behavior, inspect the sensor, measure voltage or resistance, and confirm the thermostat commands the HVAC correctly. If the home checks show marginal errors, schedule a service visit where a technician can use a stabilized reference thermometer and record results in a written report. For advice on gradual control strategies that reduce overshoot during transitions, review the guidance about thermostat staging and comfort transitions.
Tools And Steps For Simple Thermostat Calibration
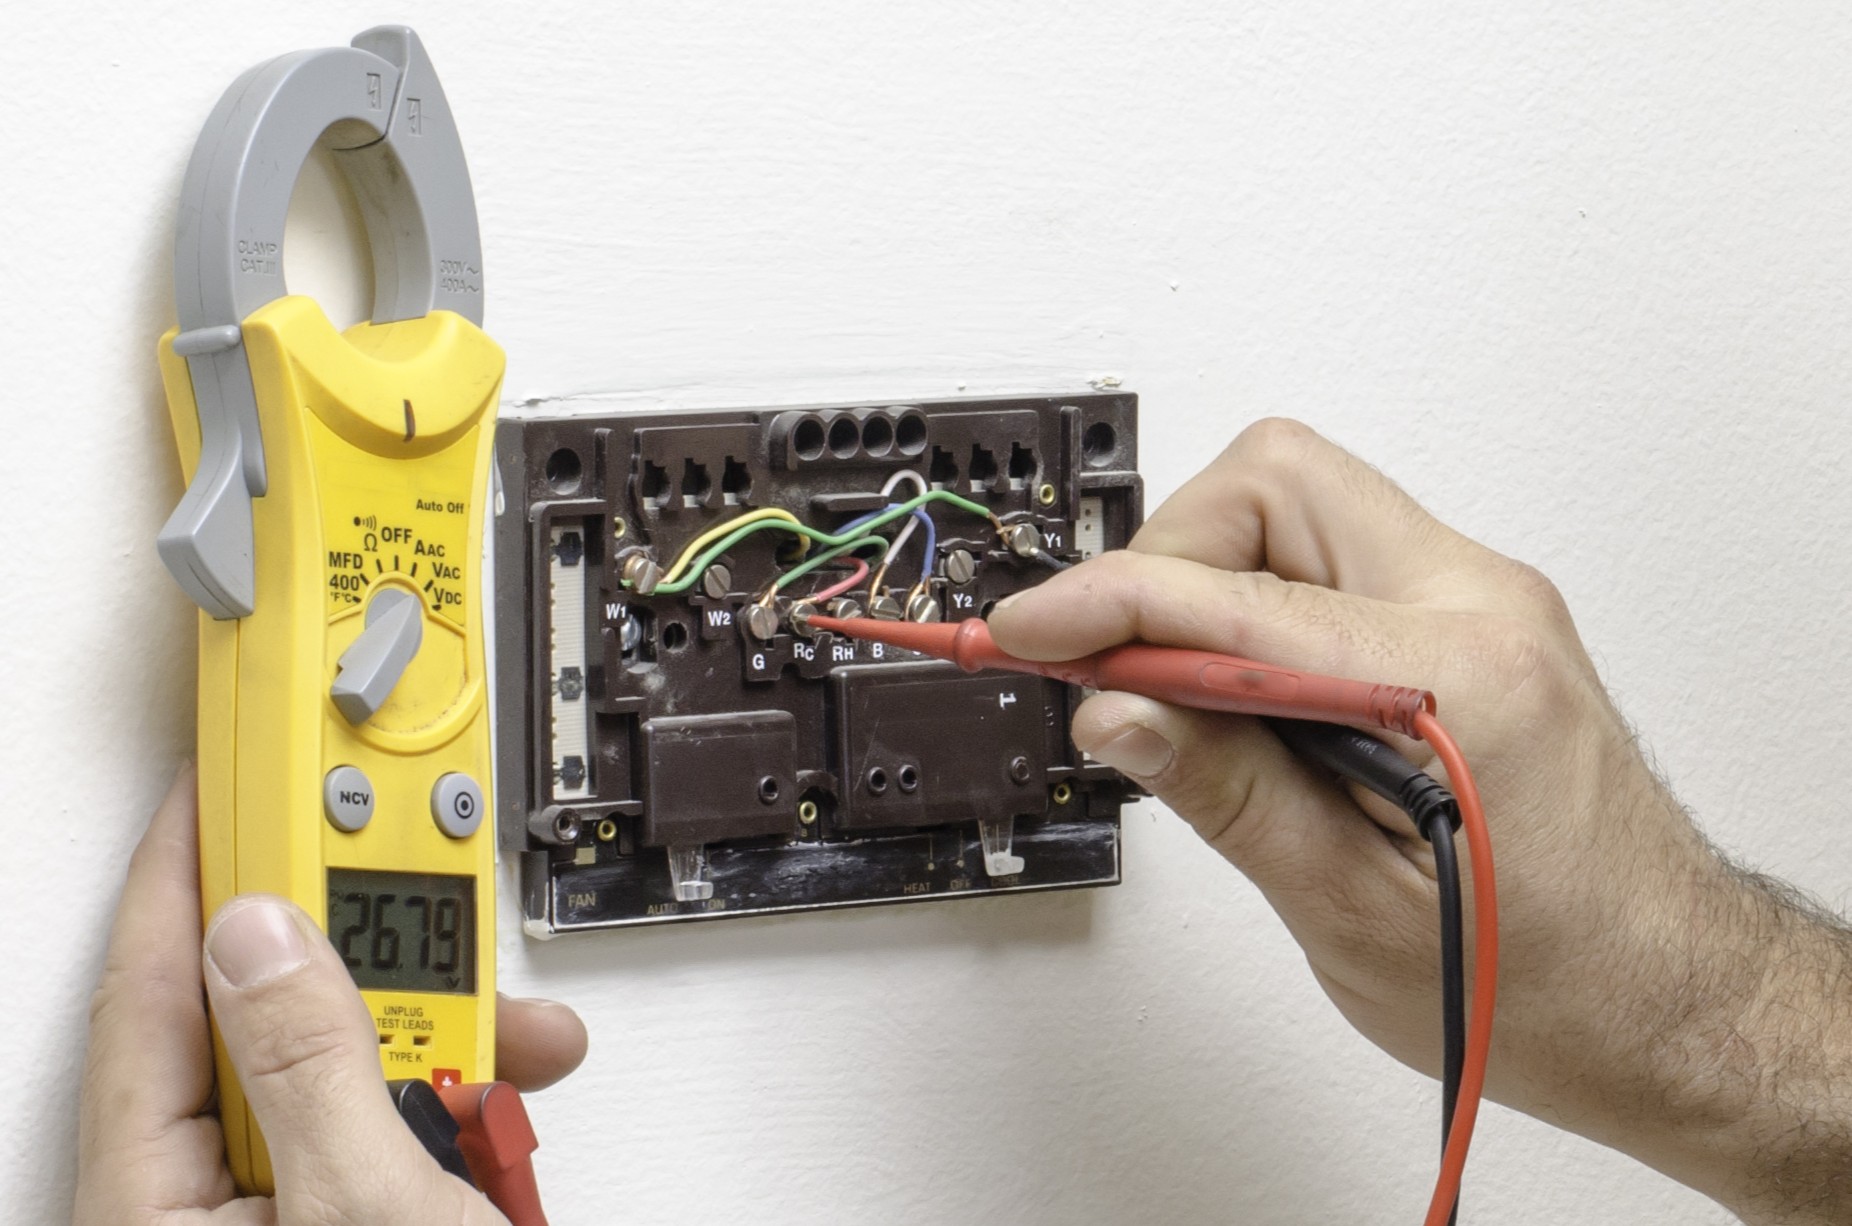
Gather a small set of basic tools before you begin thermostat calibration to make the steps efficient and safer. A reliable digital thermometer helps compare readings near the thermostat sensor. A small screwdriver set and needle-nose pliers let you access terminals and secure loose wires. A multimeter provides quick voltage and continuity checks for wire faults or missing common power.
- Digital reference thermometer for comparison.
- Multimeter for voltage and continuity checks.
- Screwdrivers and pliers to access terminals.
- Soft brush to remove dust from the sensor area.
Start by powering down the thermostat at the breaker to prevent short circuits when you open the cover. Remove the cover and inspect the sensor area for dust, nylon debris, or displaced foam that can insulate the sensor. Clean the area gently with the soft brush and reseat any loose sensor leads at their terminal points. After reassembly, restore power and let the thermostat settle before testing readings.
With the thermostat running, place the digital thermometer within one inch of the sensor and record both temperatures every five minutes for 15 minutes. If readings differ by more than 1 to 2 degrees, use the thermostat menu to set the calibration offset per the manufacturer instructions. Confirm the HVAC responds by observing start and stop timing and noting whether overshoot reduces. For wiring checks that need more inspection, consider having a technician perform a detailed thermostat wiring inspection.
If the thermostat uses remote sensors, test each sensor location individually by repeating the thermometer comparison at those spots. Swap sensor wiring terminals if allowed by the thermostat to see whether the error follows wiring or the thermostat electronics. A persistent error after calibration indicates a failing sensor or internal thermostat fault that needs professional diagnosis. Homeowners in Grapevine and in Frisco, TX should document readings and symptoms before calling a technician for a follow-up service visit.
When To Recalibrate Versus Replace The Thermostat
Start by noting persistent symptoms that suggest replacement rather than recalibration, such as wild temperature swings despite repeated adjustments. If the thermostat shows erratic local readings that change when you wiggle wires, internal electrical failure may be present. A device that resets, loses programming, or fails to power up often needs replacement. In Grapevine, homeowners sometimes see repeated resets after storms that point to device failure instead of a simple offset.
Recalibrate when the display and controls work reliably but the sensor reads a consistent offset of one to two degrees. Perform the calibration steps and then log temperature and run cycles over several hours to confirm improvement. If overshoot and frequent cycling persist after proper offset adjustments, this suggests a deeper control or sensor fault. Technicians will escalate to replacement when calibration no longer produces stable control behavior.
A professional diagnosing a suspected thermostat failure will check sensor continuity, terminal voltages, and control outputs while observing system response. They often use a multimeter to verify 24VAC supply and check for correct signal to the furnace or air handler. A technician may also compare a stabilized reference thermometer reading with the thermostat and record values in a written report. These diagnostics confirm whether the problem lies in wiring, the sensor, or the thermostat electronics themselves.
Consider replacement when the unit is older, lacks modern features like the correct differential settings, or cannot accept remote sensors needed for balanced control. Newer thermostats offer tighter deadband control that reduces overshoot and prevents frequent cycling by design. If your system requires advanced controls or staging and the current thermostat cannot support them, replacement yields measurable performance gains. For homeowners seeing specific sensor faults, review guidance about thermostat sensor problem spotting before scheduling a professional evaluation in Frisco, TX.
How System Placement Affects Temperature Readings
Thermostat location affects how quickly it senses room changes, so placement near return grilles or supply vents can bias readings toward system output. Sensors mounted on interior walls away from direct airflow give more representative averages for control decisions and reduce false calls. A thermostat tucked behind furniture or electronics may read warmer than the room and trigger unnecessary cooling cycles. For homeowners in Grapevine, relocating the device a few feet can noticeably change the control behavior and reduce overshoot.
Vertical placement also matters because heat stratifies, making higher wall positions warmer during cooling cycles and cooler during heating cycles. Mounting the thermostat at typical breathing height helps it measure the living zone where occupants feel comfort differences most. Avoid placing the unit on exterior walls where thermal transfer distorts sensor readings during weather swings. If a remote sensor is required, place it centrally in an occupied room to sample representative air mixing rather than corners or hallways.
Proximity to heat-producing appliances, lamps, or windows creates local hot spots that skew sensor data and cause the system to cycle incorrectly. Even tight clusters of wiring behind a thermostat can emit small amounts of heat that bias readings, so ensure the backplate has airflow where possible. A technician will inspect surrounding sources and may test by temporarily relocating a reference thermometer to compare responses. When professional relocation is needed, technicians document readings and adjust sensor offset per guidance in the thermostat sensor offset guide to align control with true room conditions.
Airflow patterns from fans or returns influence how quickly the thermostat senses changes, which affects overshoot and short cycling frequency. Poor return placement causes sluggish mixing and delayed feedback, so the system keeps running past the setpoint before the thermostat registers the change. A professional diagnosis includes tracing supply and return airflow and measuring temperature differences at the grille and thermostat location. In Frisco, TX properties, correcting airflow or moving the sensor often improves steady control without replacing the entire thermostat.
When To Call A Professional For Thermostat Calibration
Call a professional when basic checks do not stop frequent cycling or overshoot and the thermostat still shows inconsistent behavior. A technician will perform controlled diagnostics that require equipment and experience beyond homeowner tools. They can log temperature trends, measure control voltage at the terminals, and observe system response through multiple cycles. Professional diagnosis helps avoid repeated trial-and-error adjustments that can mask underlying wiring or control faults.
- Record temperature drift over several hours.
- Check 24VAC supply and relay output with a multimeter.
- Inspect sensor wiring for intermittent faults.
- Test control response under actual load.
Schedule service if the thermostat resets, loses programming, or intermittently fails to call the system reliably. A technician will bench-test the thermostat, verify remote sensor resistance, and swap components to isolate the fault. They often use a stabilized reference thermometer and log readings while the HVAC cycles to quantify overshoot. This measured approach identifies whether the thermostat, sensor, wiring, or control board needs repair.
Contact a pro when room-to-room differences persist despite relocating or recalibrating the sensor near the equipment return grille. The technician will trace airflow, measure supply and return temperatures, and verify deadband and differential settings match system capabilities. They may adjust control parameters for tighter deadband using proven reference settings and document the results. Homeowners in Grapevine and in Frisco, TX benefit from a clear written report that shows diagnostics and recommended next steps.
Preventive Maintenance Tips To Keep Temperatures Steady
Keep thermostat sensor openings clear of dust and paint buildup to preserve accurate temperature sampling over time. Inspect the thermostat cover and backplate twice a year during seasonal filter changes to catch debris that traps heat. Gently clean around the sensor area with a soft brush and avoid pressing directly on delicate components. If battery-powered, replace batteries annually even when the display looks normal to prevent intermittent power glitches affecting calibration.
Verify return-air grille filters and supply vents stay clean and unobstructed so air mixing remains consistent near the thermostat. Check that furniture, curtains, and drapery do not block airflow in front of the device to prevent local hot or cold pockets. Rotate ceiling fan direction seasonally to improve vertical mixing and reduce stratification that confuses the thermostat sensor. When using remote sensors, occasionally inspect their mounts and wiring for tight connections and stable placement.
Periodically run short manual tests to confirm the thermostat calls for heat and cooling as expected and that the system responds within a normal time window. Log a few start and stop cycles over 30 to 60 minutes to spot creeping delays or overshoot that develops with system wear. Note unusual sounds at the air handler or furnace and report hard cycling or delayed shutoff to a technician before failures escalate. For homes considering an upgrade instead of repeated fixes, review replacement options and strategies linked to thermostat replacement strategies.
Create a simple maintenance calendar that pairs thermostat checks with seasonal HVAC inspections to catch sensor drift early and prevent frequent cycling. Record measured offsets, observed overshoot, and any corrective actions so patterns emerge over time and technicians can act faster. Schedule professional diagnostic visits when manual checks reveal inconsistent control behavior or worsening overshoot despite routine cleaning. Homeowners in Grapevine and Frisco, TX benefit from proactive maintenance that keeps equipment life longer and comfort steadier.
Frequently Asked Questions
How does thermostat calibration reduce temperature overshoot?
Thermostat calibration reduces overshoot by aligning the thermostat sensor reading with the actual room temperature, so the system stops closer to the setpoint. Calibrated controls prevent the thermostat from calling for heat or cooling longer than needed, which cuts overshoot and short cycling. A technician will verify sensor location, compare readings with an accurate thermometer, and adjust the thermostat or replace a faulty sensor. If you detect large discrepancies, use caution around wiring and consider calling a professional for safe calibration and repairs.
What signs show my thermostat needs calibration now?
If rooms consistently read several degrees different from the thermostat when checked with a reliable thermometer, calibration may be needed. Rapid on-off cycling or frequent overshoot where the system keeps cooling or heating past set temperature signals a sensor or calibration issue. Visible dust on the thermostat sensor, loose wiring, or unresponsive buttons also point to accuracy problems and possible safety concerns, avoid poking at live wires and call a pro. A technician will confirm with temperature readings, inspect the sensor, and recommend Thermostat calibration or replacement as needed.
How do I compare a reference thermometer to the thermostat?
Place a calibrated reference thermometer at the same height and near the thermostat, avoiding direct sun or drafts that skew readings. Wait at least 10 minutes for the room and devices to stabilize before noting temperatures from both instruments. Compare readings and record the difference, small variances suggest minor Thermostat calibration, while larger gaps indicate sensor or placement problems. If readings differ significantly or you see rapid cycling, exercise caution and contact a professional to inspect sensors and controls.
Can wiring or placement cause frequent cycling?
Yes—poor thermostat placement near a supply vent, heat source, or in direct sunlight can trick the sensor and cause frequent cycling. Incorrect or loose wiring can send erratic signals to the system, making short cycles or unexpected starts. During thermostat calibration, a pro checks sensor location, wiring connections, and control responses to confirm true room temperature. If you suspect wiring issues, stop probing wires yourself and call a professional because live electrical work poses a safety risk.
When should I call a pro instead of DIY calibration?
Call a professional when thermostat calibration checks show errors larger than a few degrees or inconsistent readings across rooms. If the thermostat wiring looks corroded or you see loose connections, stop DIY work and contact a technician. If the system still cycles frequently after simple recalibration, a pro can inspect the control board, contactor, and temperature sensor. For any electric shock risk or gas furnace concerns, avoid DIY and ask a licensed HVAC technician to diagnose and repair.